9 Digital Filtering
29
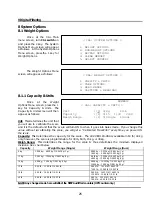
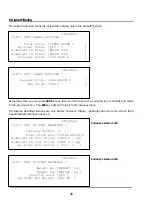
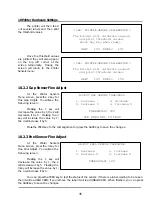
< CAL: SYSTEM OPTIONS >
1. WEIGHT OPTIONS
2. NON-WEIGHT OPTIONS
3. KEYPAD OPTIONS
4. CLEAR MEMORY
5. SELECT COUNTRY
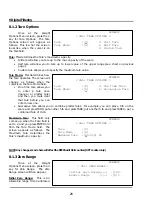
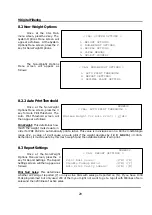
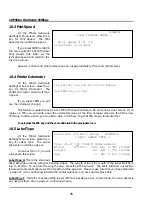
< CAL: NON -WEIGHT OPTIONS >
1. AUTO PRINT THRESHOLD
2. REPORT SETTINGS
3. DECIMAL PLACE SETTING
NUMERIC
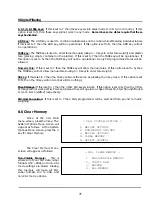
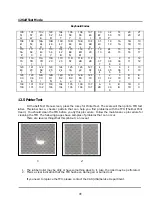
< CAL: AUTO PRINT THRESHOLD >
Minimum Weight for Auto Print: [ 2]div
NUMERIC
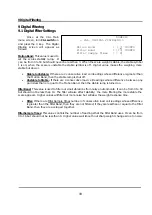
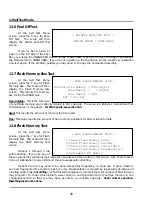
< CAL: REPORT SETTINGS >
Print Null Sales? (Y/N) :[N]
Disable Takeup Motor? (Y/N) :[Y]
Auto Print Verify Labels? (Y/N) :[N]
8.2 Non-Weight Options
Once at the CAL Main
menu screen, press the 2 key. The
System Options Menu screen will
appear as follows. At the System
Options Menu screen, press the 2
key for Non-Weight Options.
The Non-Weight Options
Menu screen will appear as
follows:
8.2.2 Auto Print Threshold
Once at the Non-Weight
Options Menu screen, press the 3
key for Auto Print Threshold. The
Auto Print Threshold screen will
then appear as follows:
Min Weight:
This determines how
much the weight must deviate in
order for PRE PACK to automatically print a label. This value is in divisions so on a 60 lb x 0.02lb Single
range LP-2, a value of 2 will cause an auto print if the weight deviates by
( 2 X 0.02 lb )
= 0.04 lb.
Remember, it must deviate by this much weight and then stabilize before it can print.
8.3 Report Settings
Once at the Non-Weight
Options Menu screen, press the 4
key for Report Settings. The Report
Settings screen will then appear as
follows:
Print Null Sales:
This determines
whether all PLUs get reported (Y) or only active PLUs with sales get reported on (N). If you have 1000
PLUs programmed but only used 200 of them you might not want to get a report with 800 lines of zero
sales and then 200 lines of active sales.
Summary of Contents for LP-2G
Page 2: ......
Page 8: ......
Page 11: ...1 General 3 Note Specifications are subject to change without notice ...
Page 46: ...11 Network Options 38 11 Network Options Refer to Network manual ...
Page 66: ...16 Troubleshooting 58 16 2 Versioning Changes ...
Page 69: ...17 Schematic Diagrams 61 17 3 Main PCB ...
Page 70: ...17 Schematic Diagrams 62 17 4 Ethernet Memory Expansion PCB ...
Page 71: ...17 Schematic Diagrams 63 17 5 Power Supply PCB ...
Page 72: ...18 Exploded Views 64 18 Exploded Views 18 1 Scale ...
Page 73: ...18 Exploded Views 65 18 2 Printer Assembly ...
Page 74: ......
Page 89: ...Appendix C 85 ...
Page 90: ...Appendix C 86 ...
Page 91: ...Appendix C 87 ...
Page 92: ...Appendix C 88 ...
Page 93: ...Appendix C 89 ...
Page 94: ...Appendix C 90 ...
Page 95: ...Appendix C 91 ...
Page 96: ...Appendix C 92 ...
Page 97: ...Appendix C 93 ...
Page 98: ...Appendix C 94 ...
Page 99: ...Appendix C 95 ...
Page 100: ...Appendix C 96 ...
Page 101: ...Appendix C 97 ...
Page 102: ...Appendix C 98 ...
Page 103: ...Appendix C 99 ...
Page 104: ...Appendix C 100 ...

