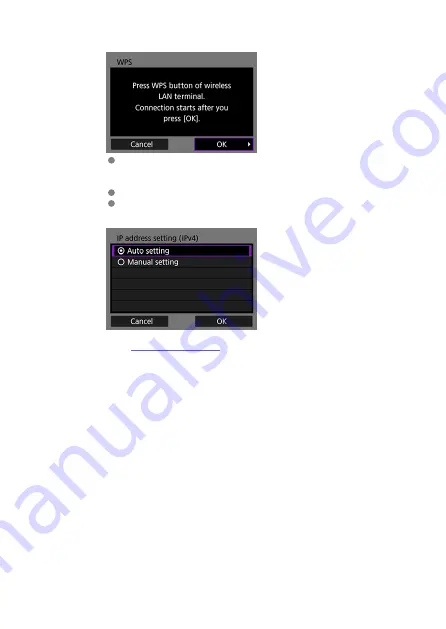
3.
Connect to the access point.
Press the access point's WPS button. For details about where the
button is located and how long to press it, refer to the access point's
instruction manual.
Select [
OK
] to establish a connection with the access point.
When a connection with the access point is established, the next
screen is displayed.
26
Summary of Contents for WFT-E9
Page 12: ...Nomenclature 1 4 2 3 1 Attachment pin 2 Tightening screw 3 Terminal 4 Terminal cap 12 ...
Page 59: ...10 Select OK This is not displayed for offline settings 11 Select OK 59 ...
Page 71: ...6 Select Transfer 7 Select OK The selected images are transferred to the FTP server 71 ...
Page 74: ...When OK is selected the selected image is transferred to the FTP server 74 ...
Page 91: ...7 Select OK The selected images are transferred to the computer 91 ...
Page 94: ...When OK is selected the selected image is transferred to the PC 94 ...
Page 114: ...114 ...
Page 150: ...Terminating the Connection and Reconnecting Terminating the Connection Reconnecting 150 ...


