


104
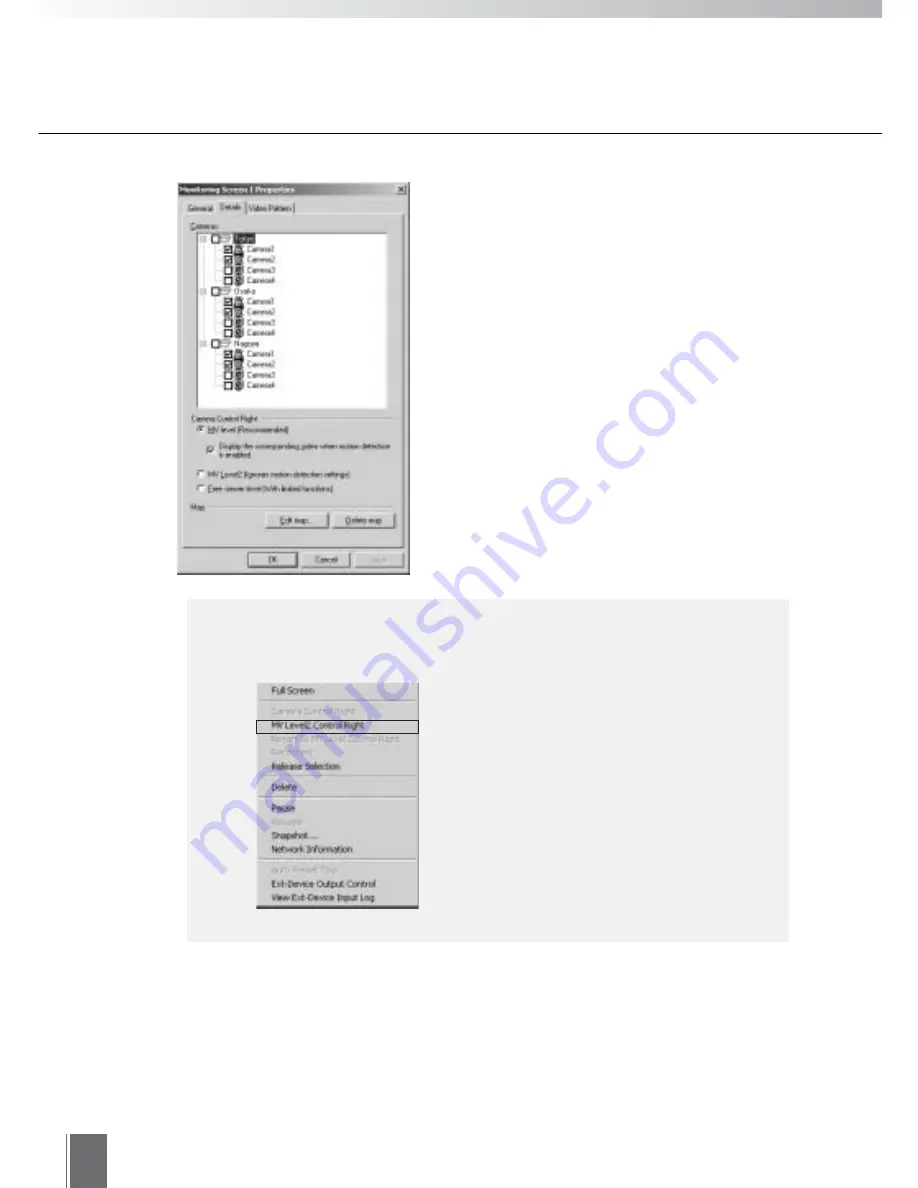
• You can select the cameras to be used.
Select by checking the boxes. Also, when
a camera server is selected directly, all
cameras connected to that camera server
will be selected. Deselect any cameras
that are not to be used.
• You can select from "MV Level", "MV
Level 2" or "Free viewer level" as the
camera control right level (see p. 105).
• If the motion detection is enabled on the
VB150, be sure to select the "Display the
c o r r e s p o n d i n g v i d e o w h e n m o t i o n
detection is enabled" check box.
• You can start up Map Editor with the "Edit
map" button to edit maps. You can also
delete saved maps with the "Delete map"
button.
●
Details Tab
c
Note
In the MV Station, you can temporarily switch the control right level from MV
Level to MV Level 2 on the monitoring screen.
To switch the camera control rights
level to MV Level 2, right-click on the
viewer and select "MV Level2 Control
Right" from the menu. To revert to MV
Level, select "Revert to MV Level
Control Right".
The Free Viewer Level selected in the
monitoring screen cannot be changed
to MV Level or MV Level 2 in the MV
station.
Summary of Contents for WebView LivescopeMV
Page 1: ...High performance Monitoring Software User s Manual ...
Page 49: ...Chapter 5 Monitoring Displaying and monitoring images with the WebView Livescope MV Station ...
Page 66: ...66 ...
Page 110: ...110 ...
Page 111: ...Appendix ...


