1. Select a fax/telephone number, then press the
OK
button.
The fax/telephone number selected from the outgoing call logs is displayed.
2. Check the fax/telephone number, then press the
OK
button.
The fax/telephone number is registered to the printer and the screen to enter the recipient's
name is displayed. Go to next step.
•
From call log (IN)
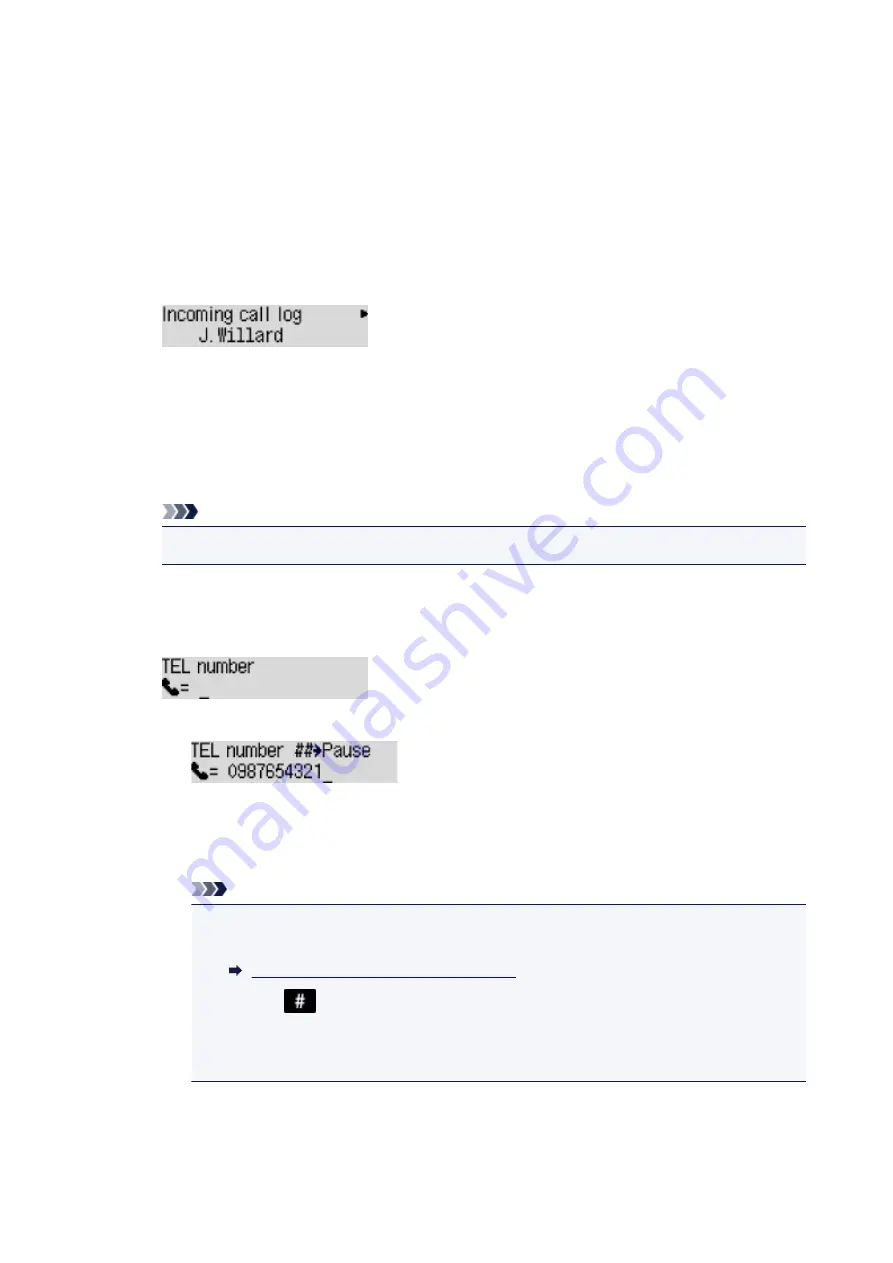
When you select this registration method, the screen to select the fax/telephone number or the
name from the incoming call logs is displayed.
1. Select a fax/telephone number or a name, then press the
OK
button.
The fax/telephone number selected from the incoming call logs is displayed.
2. Check the fax/telephone number, then press the
OK
button.
The fax/telephone number is registered to the printer and the screen to enter the recipient's
name is displayed. Go to next step.
Note
• This registration method may not be available depending on the country or region of purchase.
•
Direct entry
When you select this registration method, the screen to enter the fax/telephone number is
displayed.
1. Use the Numeric buttons to enter the fax/telephone number you want to register.
2. Press the
OK
button.
The fax/telephone number is registered to the printer and the screen to enter the recipient's
name is displayed. Go to next step.
Note
• You can enter the fax/telephone number up to 60 digits (40 digits for the US, Canada,
Korea and some regions of Latin America), including spaces.
Entering Numbers, Letters, and Symbols
• Press the
button twice to enter a pause.
• When
Telephone line type
in
FAX user settings
under
Fax settings
is set to
Rotary
pulse
, you can enter a tone ("T") by pressing the
Tone
button.
10. Use the Numeric buttons to enter the recipient's name.
311
Summary of Contents for G4200
Page 20: ...Basic Operation Printing Photos from a Computer Copying Faxing 20...
Page 31: ...Handling Paper Originals Ink Tanks etc Loading Paper Loading Originals Refilling Ink Tanks 31...
Page 32: ...Loading Paper Loading Plain Paper Photo Paper Loading Envelopes 32...
Page 49: ...Refilling Ink Tanks Refilling Ink Tanks Checking Ink Status 49...
Page 64: ...Adjusting Print Head Position 64...
Page 77: ...Transporting Your Printer Legal Restrictions on Scanning Copying Specifications 77...
Page 78: ...Safety Safety Precautions Regulatory Information WEEE EU EEA 78...
Page 96: ...Main Components Front View Rear View Inside View Operation Panel 96...
Page 113: ...pqrs PQRS 7 tuv TUV 8 wxyz WXYZ 9 0 _ SP 2 Switch the input mode 2 SP indicates a space 113...
Page 140: ...Refilling Ink Tanks 140...
Page 143: ...Network Connection Network Connection Tips 143...
Page 213: ...Note This setting item is displayed when standard copying is selected 213...
Page 245: ...Defaults You can restore the settings in the displayed screen to the default settings 245...
Page 260: ...Scanning Using AirPrint Using IJ Scan Utility Lite 260...
Page 271: ...Scanning Tips Positioning Originals Scanning from Computer Network Scan Settings 271...
Page 342: ...Sending Faxes from Computer Mac OS Sending a Fax General Notes 342...
Page 344: ...5 Specify fax paper settings as needed 6 Enter fax telephone numbers in To 344...
Page 394: ...Back of Paper Is Smudged Uneven or Streaked Colors 394...
Page 408: ...Scanning Problems Scanner Does Not Work Scanner Driver Does Not Start 408...
Page 413: ...Faxing Problems Problems Sending Faxes Problems Receiving Faxes Telephone Problems 413...
Page 414: ...Problems Sending Faxes Cannot Send a Fax Errors Often Occur When You Send a Fax 414...
Page 422: ...Telephone Problems Cannot Dial Telephone Disconnects During a Call 422...
Page 434: ...Errors and Messages An Error Occurs Message Appears 434...
Page 465: ...Cleaning the Print Head Performing System Cleaning 465...


