
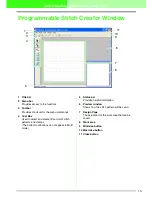


29
Tutorial
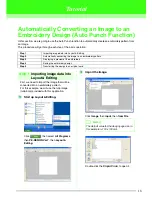
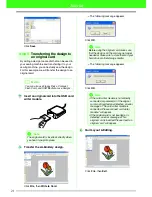
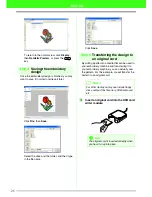
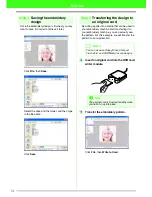
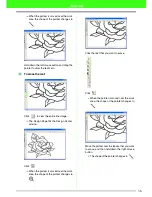
Drag the handles to adjust the mask to the
desired size.
Move the pointer inside the mask, drag the mask
to the desired position, and then click
Next
.
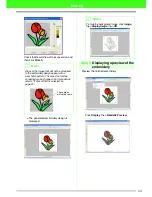
Check the preview of the area to be converted,
and then click
Next
.
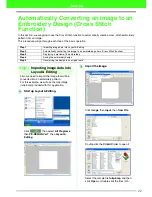
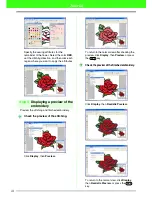
Convert the image to an embroidery pattern.
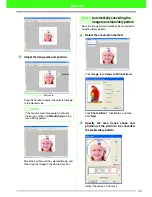
Click
Select from Candidates
....
→
There are six patterns with different
brightness and contrasts based on the
original image. The image showing the
current settings is selected in the
Select
from Candidates
dialog box.
b
Memo:
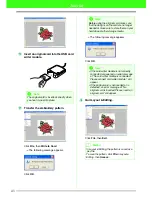
Areas not set to be sewn are shown filled with
a crosshatch pattern.
b
Memo:
While converting an image into an embroidery
pattern, various changes can be specified
manually. (For more details, refer to page 84.)
3


