


115
Arranging Embroidery Designs (Layout & Editing)
Changing colors of a stitch
pattern
The colors of imported stitch patterns or objects
converted to stitches can be changed in the following
way.
Toolbar button:
1.
Click
, or click
Sew
, then
Sewing Order/
Color
.
→
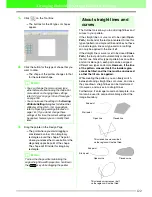
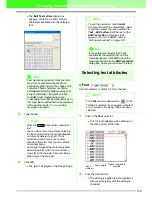
The
Sewing Order/Color
dialog box
appears with each data in the pattern in a
separate frame.
2.
Select the frame for the data whose color you
want to change.
3.
Click .
→
The
Thread Color
dialog box appears.
4.
Select the desired color, and then click
OK
.
→
The object appears in the new color in the
Sewing Order/Color
dialog box and in
the Design Page.
5.
Repeat steps
2.
to
4.
for each data whose
color you want to change.
6.
Click
OK
.
→
The pattern is displayed with the new colors.
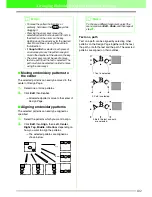
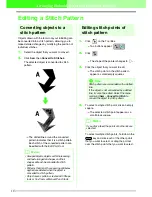
Converting a stitch pattern
to blocks
Imported stitch data or patterns converted to stitch
pattern can be converted into blocks (manual
punching data), allowing you to change some of their
sewing attributes and to scale individual colors while
keeping their stitching quality.
1.
Select the stitch pattern imported into the
Design Page where you want to apply the
setting.
2.
Click
Sew
, then
Stitch to Block
.
→
The
Stitch to Block sensitivity
dialog
box appears.
3.
Move the slider to select the desired
sensitivity.
4.
Click
OK
.
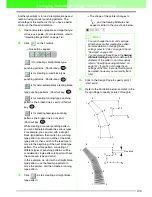
→
The data in the blocks are grouped so that
any setting change will affect the whole
pattern, and the Sewing Attributes bar
appears as shown below.
b
Memo:
To close the dialog box without applying the
changes to the settings, click
Cancel
.
b
Memo:
The
Normal
setting should provide
satisfactory results in most cases, but
depending on the complexity of the pattern,
you may need to select a setting more
towards
Coarse
or
Fine
.


