Scan Using the Scan Button on Your Brother Machine
> Send Scanned Data to an Email
Server
Send Scanned Data to an Email Server
Send scanned data from your Brother machine directly to your email server, for delivery to an email recipient
without using a computer.
•
(DCP-L5500DN/DCP-L5600DN/DCP-L5650DN/MFC-L5700DW/MFC-L5800DW)
To use this function, go to your model's
Downloads
page on the Brother Solutions Center at
to update your machine's firmware or the program in your machine.
•
To send scanned data to an email server, you must configure your machine to communicate with your
network and mail server. You can configure these items from the machine's control panel, Web Based
Management, Remote Setup, or BRAdmin Professional 3.
1. Load your document.
2. Press
[Scan]
.
3. Swipe left or right to display
[to E-mail Server]
.
4. Press
[to E-mail Server]
.
The icon moves to the middle of the Touchscreen and is highlighted in blue.
5. Press
[to E-mail Server]
.
6. Do one of the following to enter the destination email address:
•
To enter the email address manually, press
[Manual]
, and then enter the email address using the
keyboard on the LCD. When finished, press
[OK]
.
•
If the email address is stored in the machine's address book, press
[Address Book]
, and then select
the email address.
Press
[OK]
.
7. Confirm the email address, and then press
[Next]
.
8. Do one of the following:
•
To change the settings, press
[Options]
, and then select the button you want to change. Follow the
machine's instructions.
-
To set your own default settings: after making changes to settings, press the
[Set New Default]
option, and then press
[Yes]
.
-
To restore the factory settings: press
[Factory Reset]
, and then press
[Yes]
.
•
Press
[Start]
to start scanning without changing additional settings.
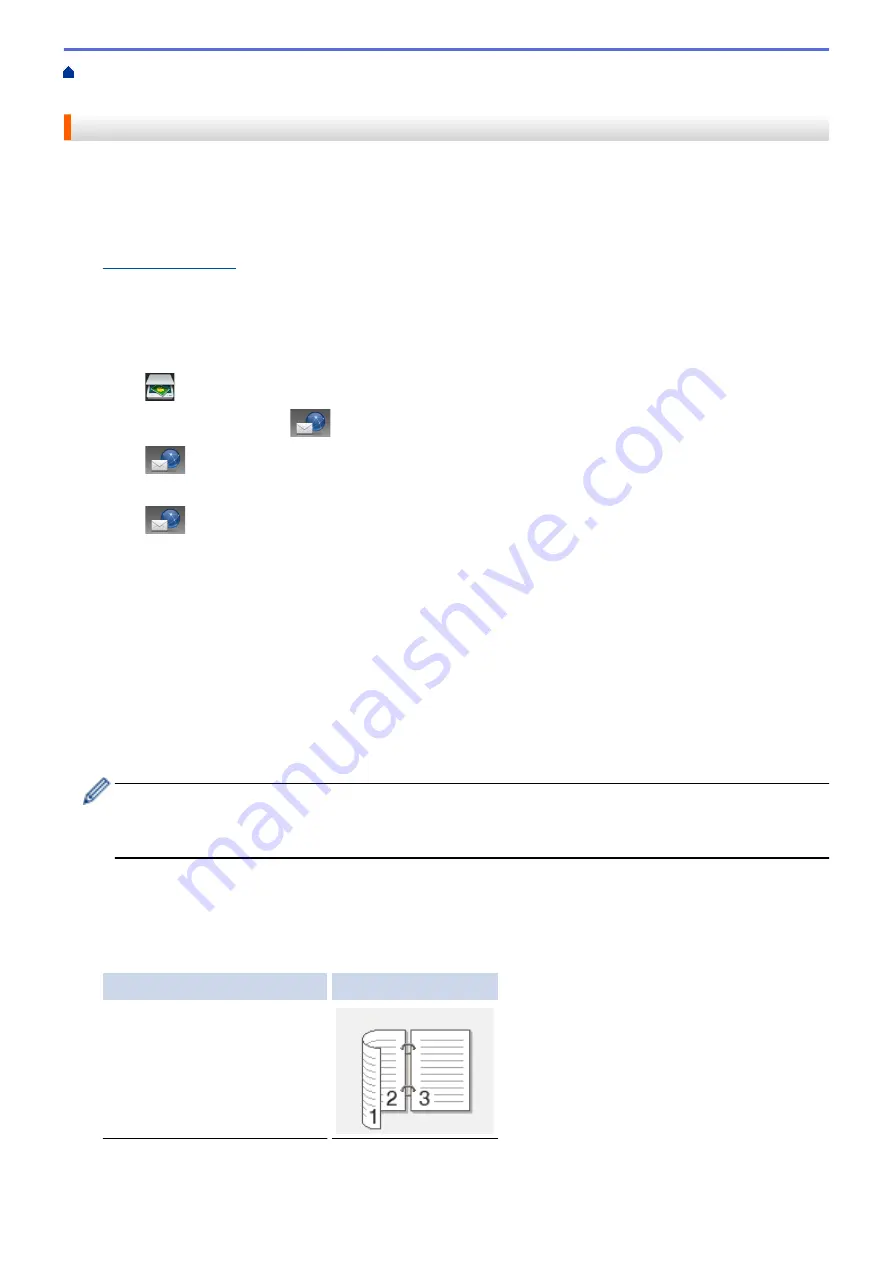
9. To scan both sides of the document (DCP-L5650DN/MFC-L5850DW/MFC-L5900DW/MFC-L6700DW/
MFC-L6800DW):
•
Press
[2-sided Scan]
, and then select the document type.
Option
Description
2-sided Scan: Long Edge
104
Summary of Contents for DCP-L5500DN
Page 17: ...Related Information Introduction to Your Brother Machine 10 ...
Page 23: ...6 Press Med 7 Press Related Information Introduction to Your Brother Machine 16 ...
Page 25: ...Related Information Introduction to Your Brother Machine 18 ...
Page 61: ...Related Information Print from Your Computer Windows Print Settings Windows 54 ...
Page 72: ... Create or Delete Your Print Profile Windows Print Settings Windows 65 ...
Page 85: ...Related Information Print from Your Computer Macintosh Print Options Macintosh 78 ...
Page 90: ... Printing Problems 83 ...
Page 190: ...Related Information Scan Using Windows Photo Gallery or Windows Fax and Scan 183 ...
Page 206: ...Related Information Scan from Your Computer Macintosh TWAIN Driver Settings Macintosh 199 ...
Page 302: ...Home Fax PC FAX PC FAX PC FAX for Windows PC FAX for Macintosh 295 ...
Page 306: ... Transfer Faxes to Your Computer 299 ...
Page 323: ...Related Information Run Brother s PC FAX Receive on Your Computer Windows 316 ...
Page 371: ...364 ...
Page 411: ...Home Security Security Lock the Machine Settings Network Security Features 404 ...
Page 429: ...Related Information Use Active Directory Authentication 422 ...
Page 482: ...Related Information Configure an IPsec Template Using Web Based Management 475 ...
Page 490: ...483 ...
Page 521: ...Related Information ControlCenter4 Windows 514 ...
Page 544: ...5 Put the paper tray firmly back in the machine Related Information Paper Jams 537 ...
Page 551: ...Related Information Paper Jams 544 ...
Page 590: ... Clean the Corona Wire Clean the Drum Unit Clean the Paper Pick up Rollers 583 ...
Page 599: ...Related Information Clean the Machine Printing Problems 592 ...
Page 692: ...Related Information Appendix 685 ...
Page 695: ...Related Information Appendix Replace Supplies 688 ...
Page 704: ...X Xmit Report Transmission Verification Report Home Glossary 697 ...


