EN
| 22
Bosch Security Systems | 02 April 2004
LTC 8850 |
Instruction Manual
|
Allegiant Server
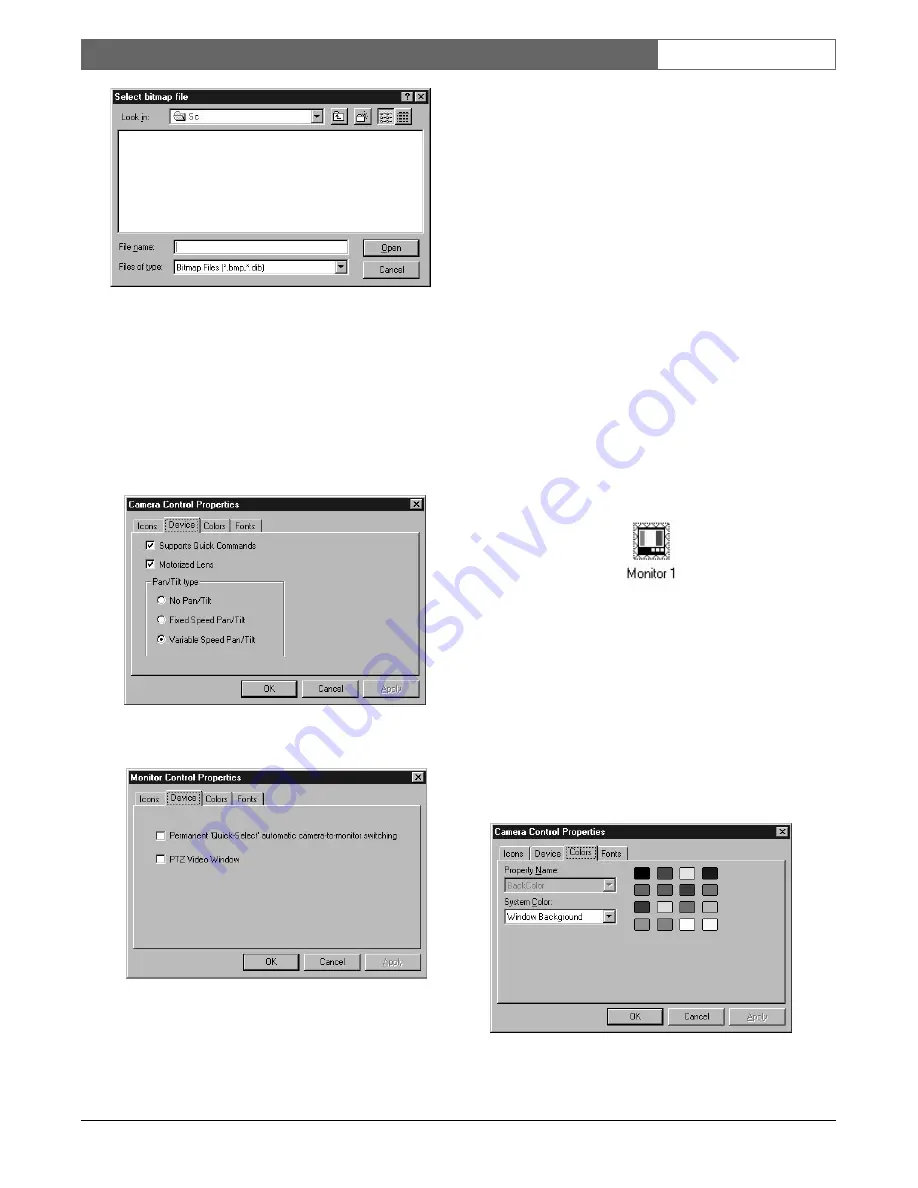
Figure 47 Select Bitmap File Dialog Box
NOTE: Upgrading or reinstalling the GUI software
may remove custom icons from the icon list. Always
keep a copy of each .bmp or .dib file added so they
can be added again after a software upgrade or
reinstallation.
Camera and Monitor icons have a
Device
that is used
to configure device specific information.
Figure 48 Camera Icon Device Tab
Figure 49 Monitor Icon Device Tab
For camera icons, select the available features which
match the characteristics of your device. Checking
Supports Quick Commands
will make a button
appear in the camera’s expanded control panel called
Commands
... . Clicking
Commands
... will display a
dialog box for entering Camera commands.
The
Device Properties
tab of a monitor icon has two
options that can be checked.
Permanent ‘Quick-Select’ automatic camera-to-
monitor switching
- Select this check box to make
this monitor always automatically switch to the next
camera selected in the map. For example if Monitor 1
is a ‘Quick-Select’ monitor and the user clicks on the
Camera 2
icon, Monitor 1 will switch to Camera 2.
Then, if the user clicks on the
Camera 3
icon,
Monitor 1 will switch to Camera 3. Permanent ‘Quick-
Select’ monitors will be outlined with blue cross hatch
to visually stand out from other monitor icons. There
can be any number of permanent Quick-Select
monitors at a time.
Figure 50 Permanent Quick-Select Monitor
PTZ Video Window
- Select this check box to
associate the PTZ video window with this monitor. At
most, two monitor controls can have this selection
checked. A video board is required to use the PTZ
Video board (see the In Window PTZ SECTION).
To change the icon background color, click the
Colors
tab. Click on a new color block from within the color
palette provided. The color selected will become
silhouetted, designating that is the active color.
Figure 51 Color Selection Tab


