R5906852 /09
F80
96
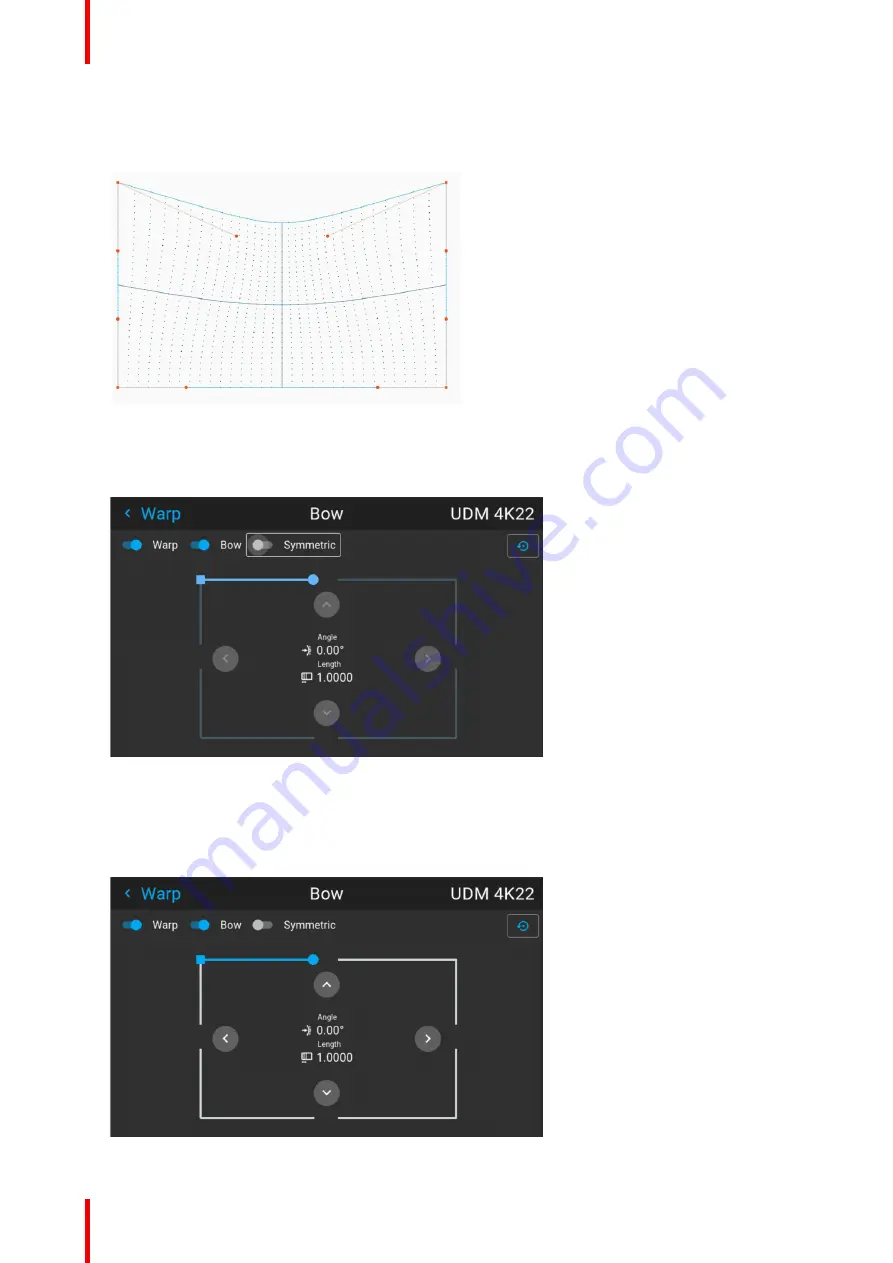
The correction will occur symmetrically on each side of the center of the highlighted side.
7.
Repeat this step for all sides of the picture that has to be corrected, until the desired transformation has
been achieved.
Image 8–42 Example of a symmetric bow correction
Asymmetric bow correction
1.
In the Bow menu, enable the Bow slider and disable the symmetric slider.
Image 8–43 Example of the bow menu, with the Symmetric slider disabled
There are now two vectors on each side of the picture that can be adjusted individually.
2.
Use the arrow keys to select the helping lines that represent the picture and confirm.
The helping lines that represent the projected picture are now colored blue, while the others are colored
white.
Image 8–44
Summary of Contents for F80-Q12
Page 1: ...ENABLING BRIGHT OUTCOMES User Manual F80 ...
Page 22: ...R5906852 09 F80 22 Safety ...
Page 34: ...R5906852 09 F80 34 Getting Started ...
Page 44: ...R5906852 09 F80 44 Remote Control Unit ...
Page 56: ...R5906852 09 F80 56 GUI Introduction ...
Page 62: ...R5906852 09 F80 62 GUI Source ...
Page 78: ...R5906852 09 F80 78 GUI Image ...
Page 146: ...R5906852 09 F80 146 GUI System Settings ...
Page 156: ...R5906852 09 F80 156 Advanced Settings ...
Page 160: ...R5906852 09 F80 160 GUI Status menu ...
Page 176: ...R5906852 09 F80 176 Specifications ...
Page 181: ...181 R5906852 09 F80 Image B 1 HDCP revision information Connector specifications ...
Page 182: ...R5906852 09 F80 182 Connector specifications ...
Page 186: ...R5906852 09 F80 186 Control interface specifications ...
Page 194: ...R5906852 09 F80 194 Regulatory information ...
Page 205: ...205 R5906852 09 F80 DMX chart F ...
Page 209: ......


