


69
R5906852 /09
F80
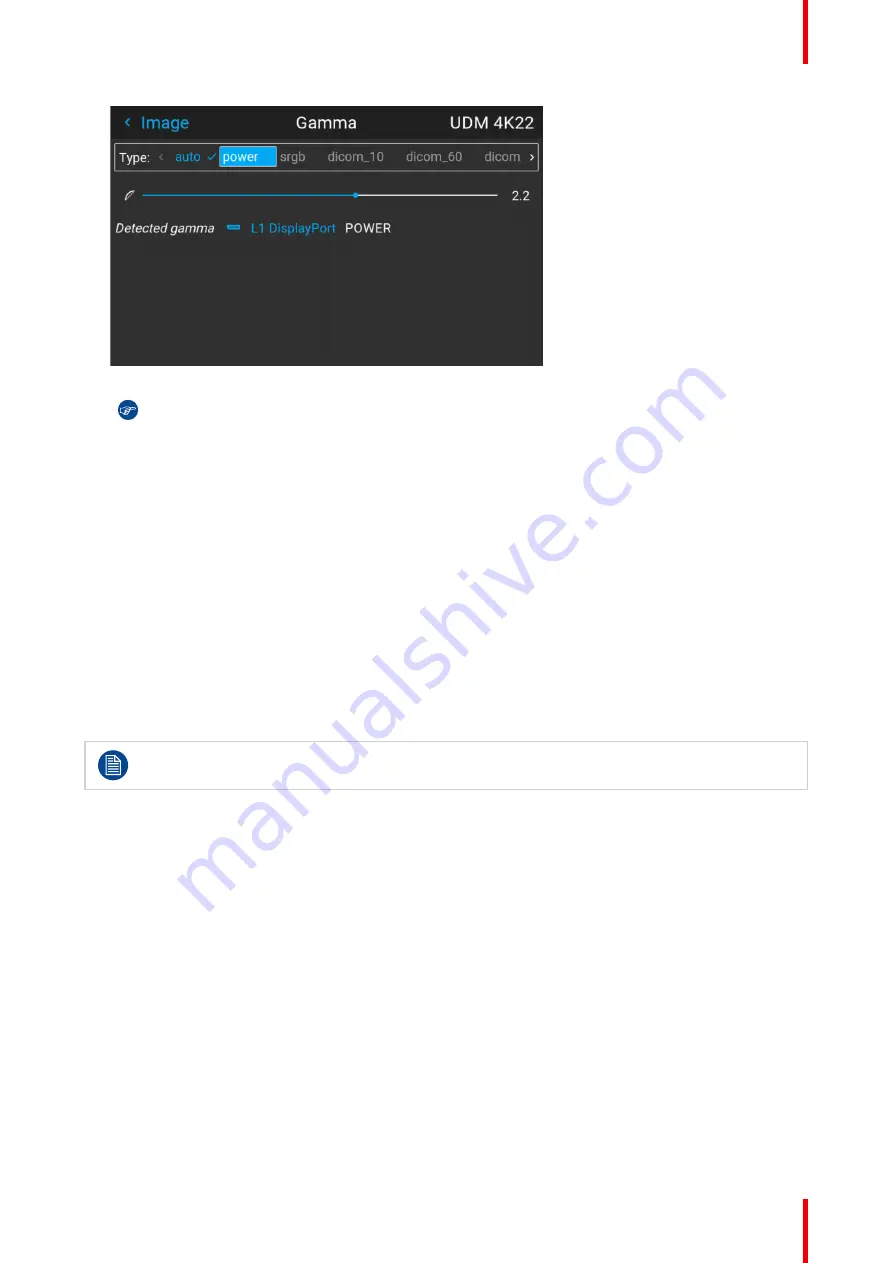
Image 7–15 Example of selecting a gamma type
Tip:
If not sure what gamma type to select, keep the default value
auto
selected. This automatic
mode will determine the used gamma type based on the incoming signal.
However
: keep in mind when using the automatic mode, your media player needs to be
configured correctly as well. While most mainstream media player devices will be configured
correctly by default, we cannot guarantee this is the case for every device available on the market.
If you notice the projected image seems “off”, it may be necessary to check the configuration of
your media player. For more info, check the user guide of your media player device.
7.5 Digital shift & zoom
What can be done?
The image can be optically shifted by using the vertical and horizontal lens shift.
If you want to reach a lens shift beyond what is possible with the optical shift, you can also perform a digital
lens shift. This digital shift will occur on the DMD, rather than the lens holder. So take into account that this
additional shift is minimal and restricted to the limits of the chip used.
For the optical zoom and lens shift, navigate to
Home
→
Installation
→
Lens
.
Lens shift is only possible when the used lens has been fully calibrated. To calibrate the current lens,
navigate to
System Settings
→
Maintenance
→
Lens Calibration
.
The effect of digital zoom
This function zooms in the picture digitally. When zooming in, the center of the image will increase in size. This
means that the outer part of the picture will be outside the picture frame. When zooming out, the result is that
the picture will be smaller than the projectors picture frame. The area outside the rendered picture will then be
black.
For an example, see the following photos. The red lines in the figures represent the DMD outline.
Summary of Contents for F80-Q12
Page 1: ...ENABLING BRIGHT OUTCOMES User Manual F80 ...
Page 22: ...R5906852 09 F80 22 Safety ...
Page 34: ...R5906852 09 F80 34 Getting Started ...
Page 44: ...R5906852 09 F80 44 Remote Control Unit ...
Page 56: ...R5906852 09 F80 56 GUI Introduction ...
Page 62: ...R5906852 09 F80 62 GUI Source ...
Page 78: ...R5906852 09 F80 78 GUI Image ...
Page 146: ...R5906852 09 F80 146 GUI System Settings ...
Page 156: ...R5906852 09 F80 156 Advanced Settings ...
Page 160: ...R5906852 09 F80 160 GUI Status menu ...
Page 176: ...R5906852 09 F80 176 Specifications ...
Page 181: ...181 R5906852 09 F80 Image B 1 HDCP revision information Connector specifications ...
Page 182: ...R5906852 09 F80 182 Connector specifications ...
Page 186: ...R5906852 09 F80 186 Control interface specifications ...
Page 194: ...R5906852 09 F80 194 Regulatory information ...
Page 205: ...205 R5906852 09 F80 DMX chart F ...
Page 209: ......


