R5906852 /09
F80
40
3.6 Pulse RCU, function of the “RGB filter” button
Filtering the color of the projected image
By pressing the RGB filter button on the RCU you can place a color filter on the output of the projector. This
feature can be useful during the installation and configuration of a multi-projector or multi-channel setup. By
having one projector project a red image and another project a green image, it is easier to spot and adjust the
overlap section.
By pressing this button multiple times, you will have different active filters, in the following cycle:
•
Red + Green + Blue (default)
•
Red only
•
Green only
•
Blue only
•
Red + Green
•
Green + Blue
•
Red + Blue
•
Red + Green + Blue
•
etc
After powering up, the colors will always revert back to full RGB.
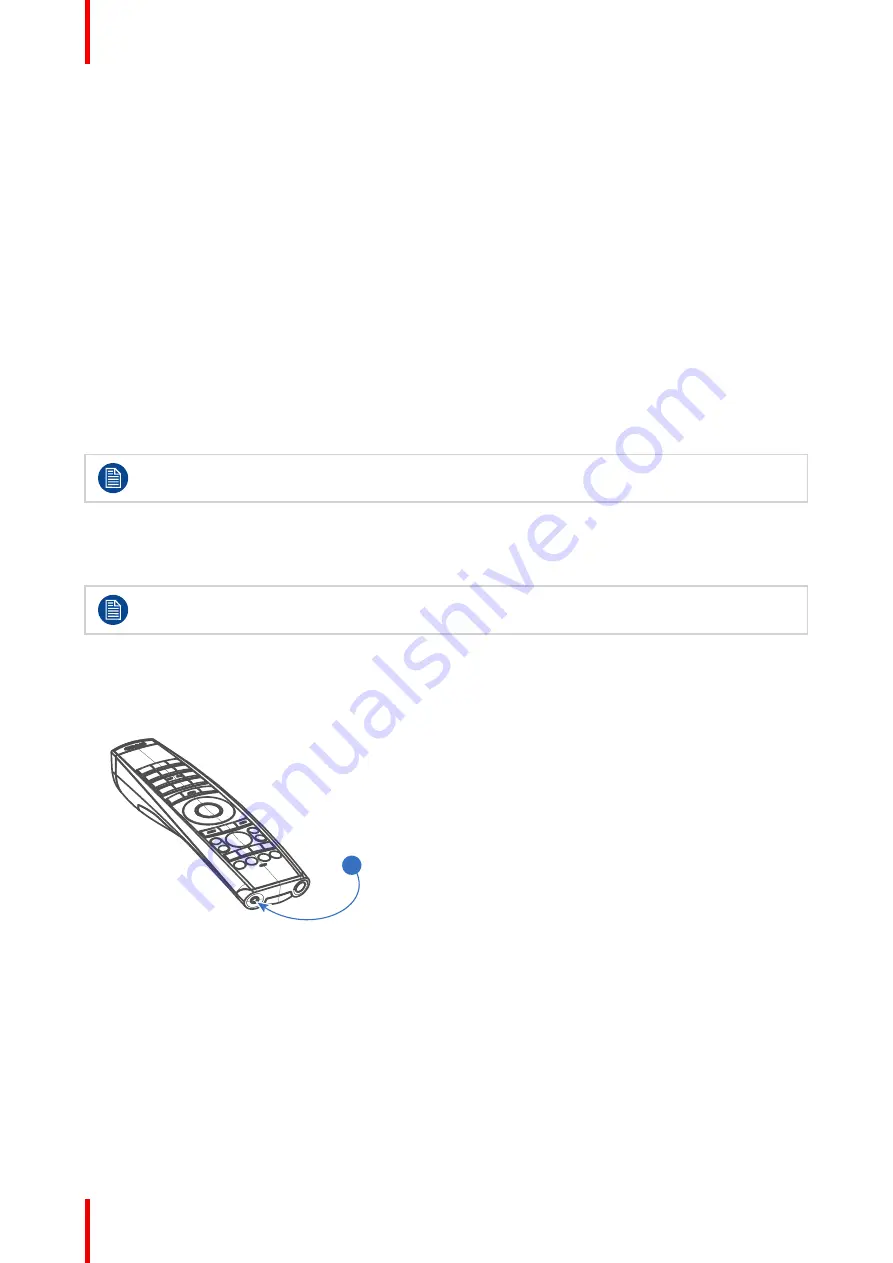
3.7 Using the mini-jack connector of the RCU
Connecting a cable with the mini-jack connector will reset the broadcast address of the RCU to its
default value '0'.
How to use the mini-jack connector
1.
Connect a cable with the mini-jack connector (reference 2
) of the RCU.
2.
Connect the other end of the cable with the mini-jack input of the projector.
2
Image 3–7
3.8 Pulse RCU, function of the on/off button
Function of the remote control on/off button
The Pulse remote control unit has at the front side an on/off switch (reference 1
). Switching off the
remote control prevents that unwanted commands are send due to an accidental key press. Furthermore,
switching the RCU off will extend the battery life time of the remote control.
To activate the remote control, press the on/off button.
To deactivate the remote control, press the on/off button again.
Summary of Contents for F80-Q12
Page 1: ...ENABLING BRIGHT OUTCOMES User Manual F80 ...
Page 22: ...R5906852 09 F80 22 Safety ...
Page 34: ...R5906852 09 F80 34 Getting Started ...
Page 44: ...R5906852 09 F80 44 Remote Control Unit ...
Page 56: ...R5906852 09 F80 56 GUI Introduction ...
Page 62: ...R5906852 09 F80 62 GUI Source ...
Page 78: ...R5906852 09 F80 78 GUI Image ...
Page 146: ...R5906852 09 F80 146 GUI System Settings ...
Page 156: ...R5906852 09 F80 156 Advanced Settings ...
Page 160: ...R5906852 09 F80 160 GUI Status menu ...
Page 176: ...R5906852 09 F80 176 Specifications ...
Page 181: ...181 R5906852 09 F80 Image B 1 HDCP revision information Connector specifications ...
Page 182: ...R5906852 09 F80 182 Connector specifications ...
Page 186: ...R5906852 09 F80 186 Control interface specifications ...
Page 194: ...R5906852 09 F80 194 Regulatory information ...
Page 205: ...205 R5906852 09 F80 DMX chart F ...
Page 209: ......


