


29
R5906852 /09
F80
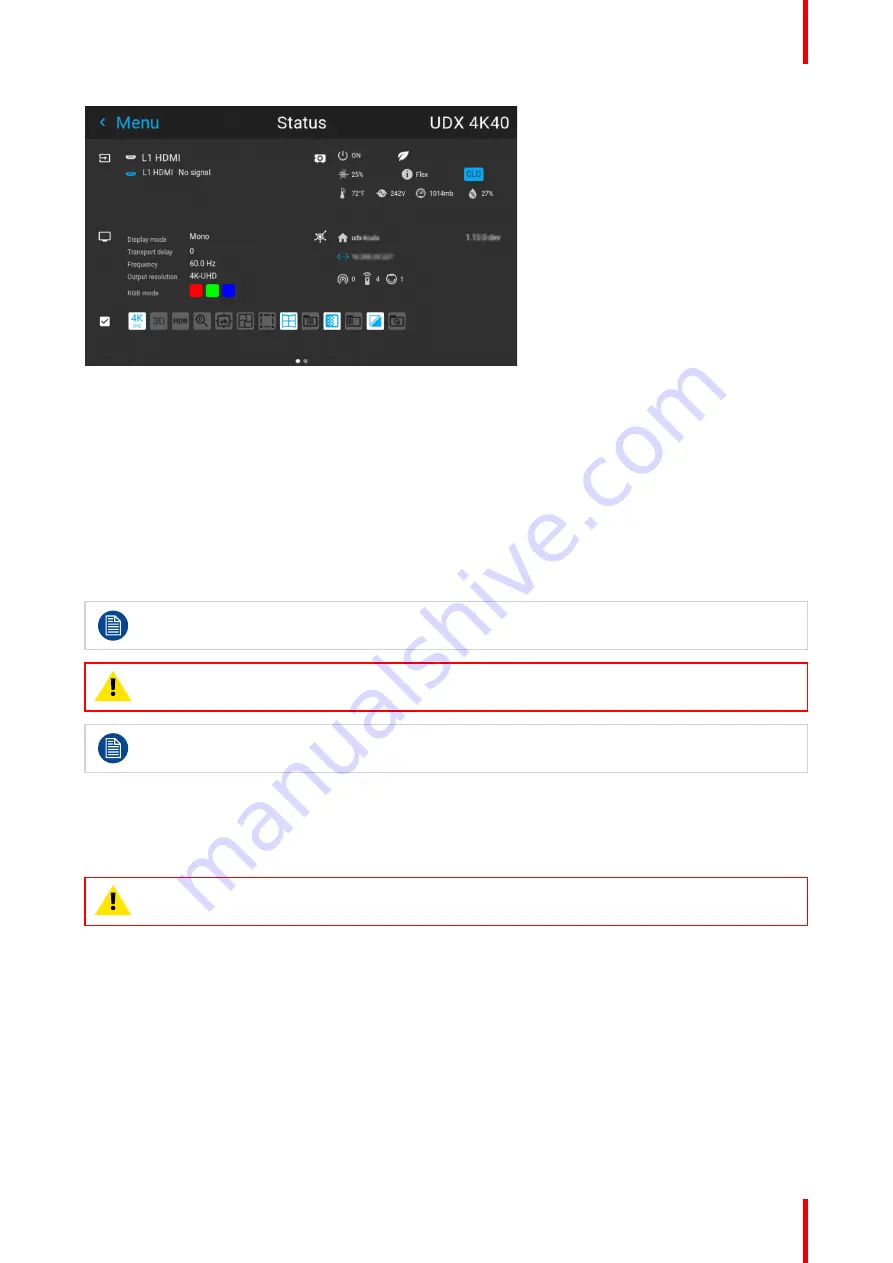
Image 2–6 Example of a status menu
2.7 Power off projector
How to Switch off the projector
1.
Use the
standby button
, or the
Power On
button on the remote control, to switch off the projector.
The projector will switch to
READY
mode first in order to run through a cool down phase.
2.
If
ECO
Standby mode is enabled in the service menu (refer to the section "GUI - system settings/Standby
ECO", in User Guide) the projector will automatically go to
ECO
standby mode after a time-out (default 15
minutes).
Some actions like apply a grey test pattern are done during the two minutes of the cool down phase
in order to minimize the potential effect of burn-in and increase the projector lifetime.
CAUTION:
Never switch off the projector by means of unplugging mains cord or by cut down of
mains power.
Barco advises to keep the projector always powered and use the
ECO
mode for low power
consumption.
How to unplug the projector
1.
Follow the procedure above to Switch Off the projector.
2.
Wait at least 2 minutes prior to unplug the projector by removing the power cord from the AC outlet.
CAUTION:
It is very important to wait few minutes before unplug the power cord. If the cool down
phase is not adhered, projector lifetime could be degraded.
2.8 Increasing the projector life time
General
Barco propose the following recommendations to increase the projector life time:
•
Dimming out the laser output intensity (70%).
•
Use the device in regulated temperature area.
•
Apply the recommendations describe in the “Operating in 24/7 Mode” chapter if the projector is destined to
be operated continuously 24 hours a day / 7 days a week.
Summary of Contents for F80-Q12
Page 1: ...ENABLING BRIGHT OUTCOMES User Manual F80 ...
Page 22: ...R5906852 09 F80 22 Safety ...
Page 34: ...R5906852 09 F80 34 Getting Started ...
Page 44: ...R5906852 09 F80 44 Remote Control Unit ...
Page 56: ...R5906852 09 F80 56 GUI Introduction ...
Page 62: ...R5906852 09 F80 62 GUI Source ...
Page 78: ...R5906852 09 F80 78 GUI Image ...
Page 146: ...R5906852 09 F80 146 GUI System Settings ...
Page 156: ...R5906852 09 F80 156 Advanced Settings ...
Page 160: ...R5906852 09 F80 160 GUI Status menu ...
Page 176: ...R5906852 09 F80 176 Specifications ...
Page 181: ...181 R5906852 09 F80 Image B 1 HDCP revision information Connector specifications ...
Page 182: ...R5906852 09 F80 182 Connector specifications ...
Page 186: ...R5906852 09 F80 186 Control interface specifications ...
Page 194: ...R5906852 09 F80 194 Regulatory information ...
Page 205: ...205 R5906852 09 F80 DMX chart F ...
Page 209: ......


