R5915525 /00
Fx400 Series
66
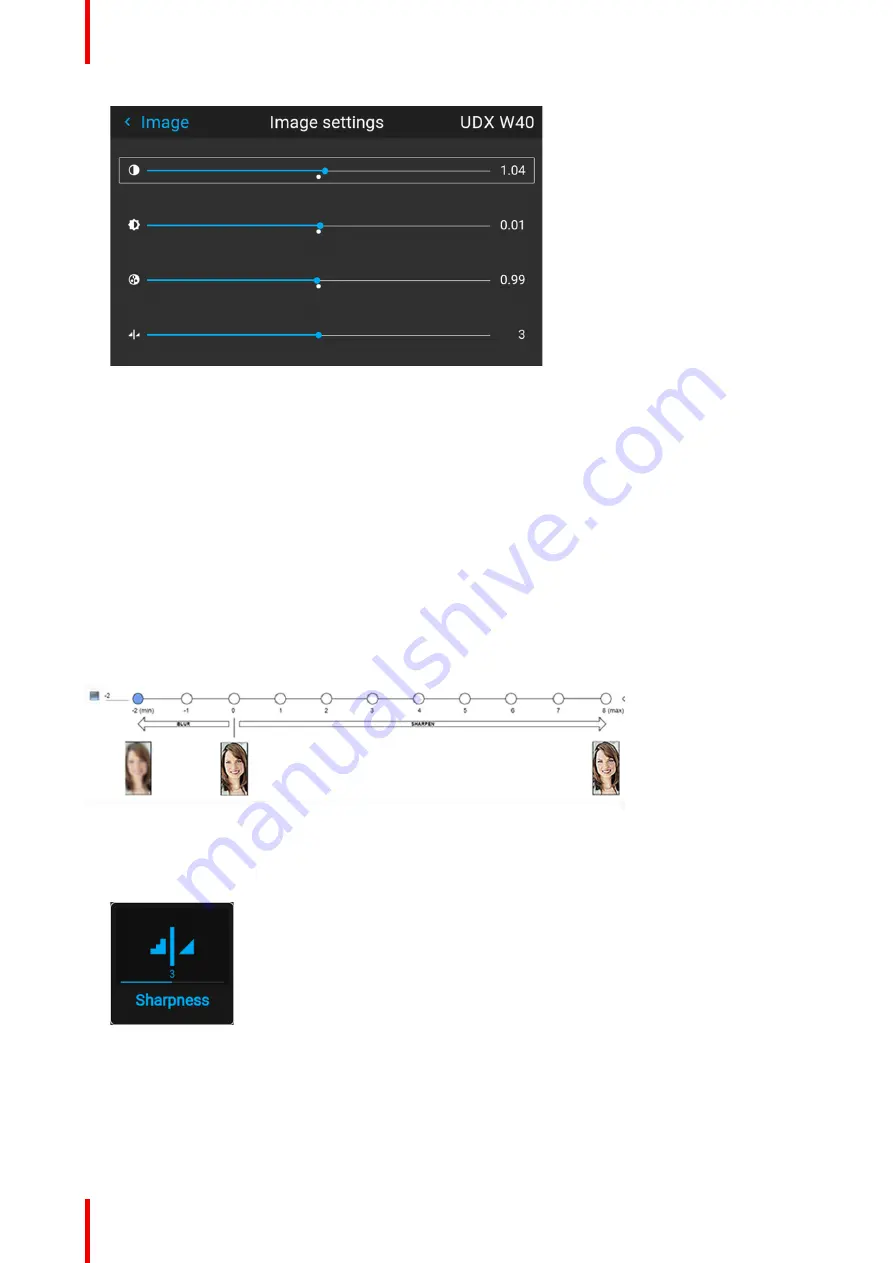
Image 7–6 Example of the image sliders, Saturation is the third slider
3.
If necessary, use the ▲ or ▼ key to select the other image adjustment options.
7.4 Adjusting the sharpness
About adjusting the sharpness
The sharpness adjustment amplifies the high frequency components in the picture. This means that by
increase the sharpness, the picture will be perceived as sharper, and if decreased, the picture will be
perceived as more blurry.
Increasing the sharpness will have the best effect in high contrast images, eg a table with text and borders.
In a natural picture, high sharpness can be perceived as noise, as all details in the picture will be amplified.
Available range: -2 to 8.
Default value: 0
Image 7–7 Effect of sharpness adjust
How to adjust
1.
In the main menu, select
Image
→
Sharpness
.
Image 7–8 Image menu – Sharpness
2.
Use the
◄
or
►
key to change the sharpness until the desired value is reached.
Summary of Contents for F400
Page 1: ...ENABLING BRIGHT OUTCOMES User guide Fx400 Series...
Page 2: ......
Page 10: ...R5915525 00 Fx400 Series 10...
Page 21: ...21 R5915525 00 Fx400 Series 1 6 Compliance Safety Information...
Page 22: ...R5915525 00 Fx400 Series 22 Safety Information...
Page 32: ...R5915525 00 Fx400 Series 32 Remote Control Unit...
Page 38: ...R5915525 00 Fx400 Series 38 Input Communication...
Page 62: ...R5915525 00 Fx400 Series 62 GUI Source...
Page 118: ...R5915525 00 Fx400 Series 118 GUI Installation...
Page 126: ...R5915525 00 Fx400 Series 126 GUI Projector profiles...
Page 158: ...R5915525 00 Fx400 Series 158 GUI Advanced settings...
Page 162: ...R5915525 00 Fx400 Series 162 GUI Status menu...
Page 186: ...R5915525 00 Fx400 Series 186 Advanced blend...
Page 210: ...R5915525 00 Fx400 Series 210 Video timing tables...
Page 218: ...R5915525 00 Fx400 Series 218 Index...
Page 219: ......


