46
P/N 133487
Banner Engineering Corp.
•
Minneapolis, U .S .A .
www .bannerengineering .com • Tel: 763 .544 .3164
SC22-3 Safety Controller
Instruction Manual
Configuration — Onboard Interface
The first step in creating a configuration using the OBI is
entering Configuration mode . To enter Configuration mode from
the main Run mode screen, press the OK button to display the
System menu . At the System menu, press the down arrow push
button until
Configuration Mode
is highlighted . Then press the
OK button (press OK) .
5.3.1 Enter Controller Password
Before any configuration can take place, the password must
be entered . The default password is 0000 . For instructions on
changing the password, refer to Section 5 .3 .4 .
• Use the left/right arrows to select the password digit position .
• Use the up/down arrows to select the digit (value) for each
position (choices 0-9) .
• When the password is entered, press OK to enter Configuration
mode .
• After reading the caution that the safety outputs will turn OFF
when Configuration mode is entered, press OK .
Confirm Safety
Outputs
Edit
Password
Set
Language
Confirm
System Settings
Confirm
Inputs
Receive File
from XM
Send File
to XM
Erase
Configuration
System
Options
(Section 5.3.4)
Configuration
File
(Section 5.3.2)
Confirm
Configuration
(Section 5.3.3)
Configuration
Mode
Configuration
Mode
(Section 5.3)
Exit
Configuration
(Section 5.3.4)
Edit
Configuration
(Section 5.4)
←
O
K
ES
C
→
←
O
K
ES
C
→
←
O
K
ES
C
→
←
O
K
ES
C
→
←
O
K
ES
C
→
Enter Password
(Section 5.3.1)
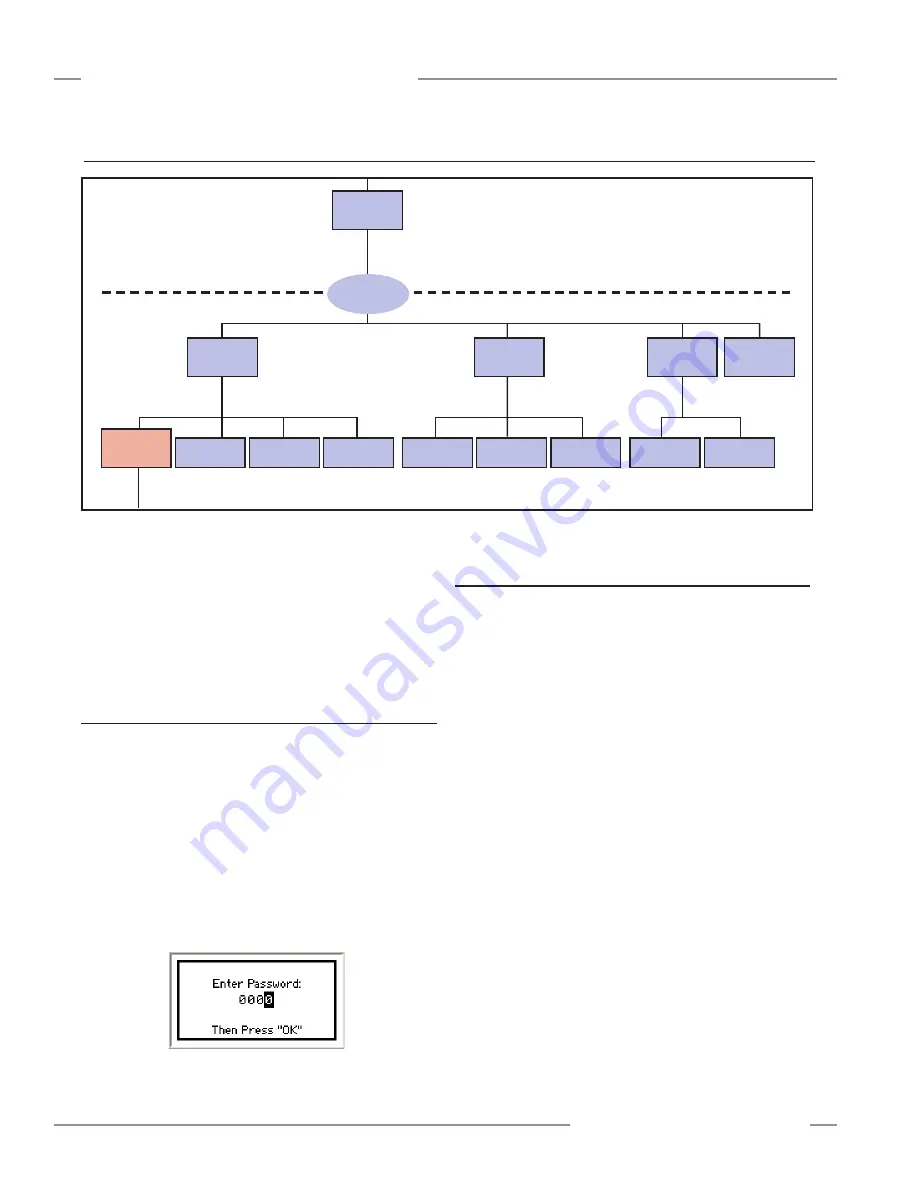
Figure 5-3. OBI Configuration mode options
5.3.2 Configuration File
Edit Configuration —To edit the configuration from the
Configuration Mode menu, select Configuration File and press
OK . See Section 5 .4 for more instructions . To begin editing the
configuration, select Edit Configuration from the Configuration
File menu and press OK .
Erase Configuration — This selection is used to remove the
current configuration from the Controller, so a new configuration
can be created (the Controller can hold only one configuration at
a time) . To keep the current file, send it to the XM card before
erasing it from the Controller .
To perform an Erase, use the up/down arrows to select the
option from the menu and press OK. When prompted whether
you want to do this, highlight Yes and press OK.
Send File to XM — This selection is used to send a
configuration file to the XM card plugged into the Controller’s XM
port . The file can then be stored and/or transported to another
Controller . Insert the XM card into the Controller’s XM port,
highlight the selection and press OK .
Receive File from XM — This selection is used to receive a
configuration from the XM card . Highlight the selection and press
OK . The Controller will ask if you want to overwrite the current
configuration (if not, send the existing configuration to an empty
XM card first) . Answer Yes, then if one is not already in the
port, insert an XM card and press OK . If the new configuration
is unconfirmed, the Controller provides the option to confirm it at
this time .
5.3 Configuration Mode


