


different versions of these packages or have other dependencies, Avaya
recommends that you install these packages using yum.
Checking the USB drive format and suitability
1. Insert the USB drive.
2. Type the command
dmesg
.
This command can produce quite a lot of output so you may wish to pipe the output
to
less
.
3. Scroll to the end of the output and search for a block of lines beginning with
usb-
storage: device found at
.
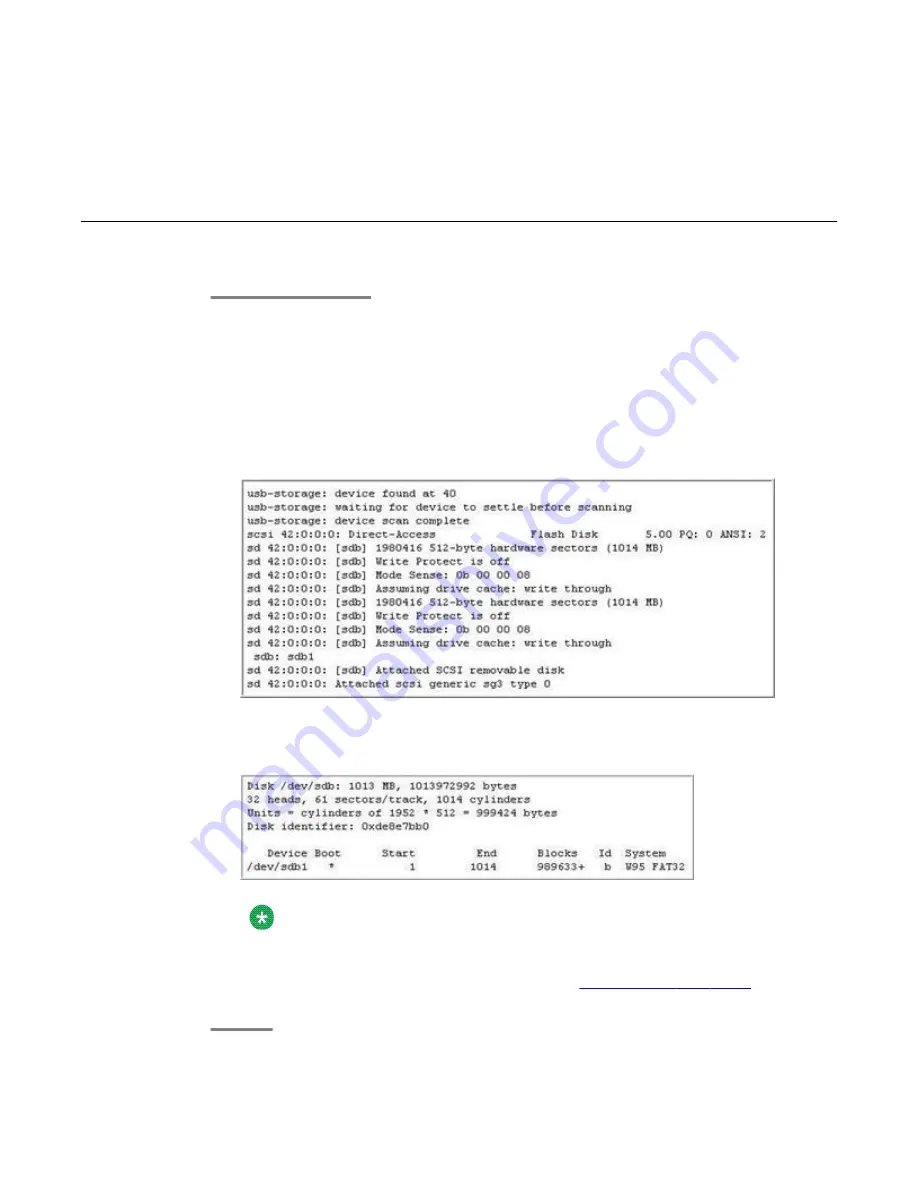
A typical screen output can appear as shown below:
4. Run the command
fdisk -l /dev/sdb
on the USB drive found in the output of
the
dmesg
command to find the partition information.
The system displays output similar to the one shown below:
Note:
Ensure that the bootable flag is set on the partition. This is shown with a * in the
Boot
column. The format of the partition must be W95 FAT 32. If the output is
not similar to the above one, follow the task
89.
Using USB drive for System Platform installation
88 Installing and Configuring Avaya Aura
™
System Platform
April 2010
Summary of Contents for Aura System Platform
Page 1: ...Installing and Configuring Avaya Aura System Platform Release 1 1 1 April 2010...
Page 4: ...4 Installing and Configuring Avaya Aura System Platform April 2010...
Page 8: ...8 Installing and Configuring Avaya Aura System Platform April 2010...
Page 104: ...104 Installing and Configuring Avaya Aura System Platform April 2010...