


Appendix C: Troubleshooting
193
MVP-8400i 8.4" Modero® ViewPoint® Touch Panel with Intercom
USB Driver
Symptom:
My USB driver has a yellow exclamation point and doesn’t appear to be working.
The USB driver was incorrectly installed and should be re-installed:
1.
Power up the panel without connecting the USB cable.
2.
Plug in the USB cable into the G4 panel. You should see a USB icon show up in the System Tray.
3.
Double click on the icon to bring up the list of USB devices. The "AMX USB LAN LINK" device
should appear in the list.
4.
If the "Install Driver" dialog doesn't appear automatically, select the
Properties
button and then the
Update Driver
button.
5.
When the Install Driver dialog does appear, click
Next
to accept all the default prompts.
The OS will notify you that the driver you are installing/updating does not have a digital
signature. This is acceptable, agree to continue the installation.
After installation is complete, the exclamation point will disappear. If this does not solve your problem:
1.
Try re-installing the latest version of either NetLinx Studio 2 or TPDesign4. The necessary driver is
downloaded to the PC as part of the software installation procedure.
2.
Repeat the above procedures.
Panel Not in Listed as a Connected Device
Symptom:
My panel is not showing up in the Virtual Master’s System list of connected devices.
If a Virtual Master was already connected to the target panel, the G4 panel retains the information of the
previous Virtual Master System number.
1.
Power up the panel without connecting the USB cable.
2.
Configure NetLinx Studio for a Virtual Master connection.
Note the
System Number
used in the Edit Settings window.
3.
Stop communication on the Virtual Master (
Settings > Stop Communications
).
4.
Click
Yes
to stop communication.
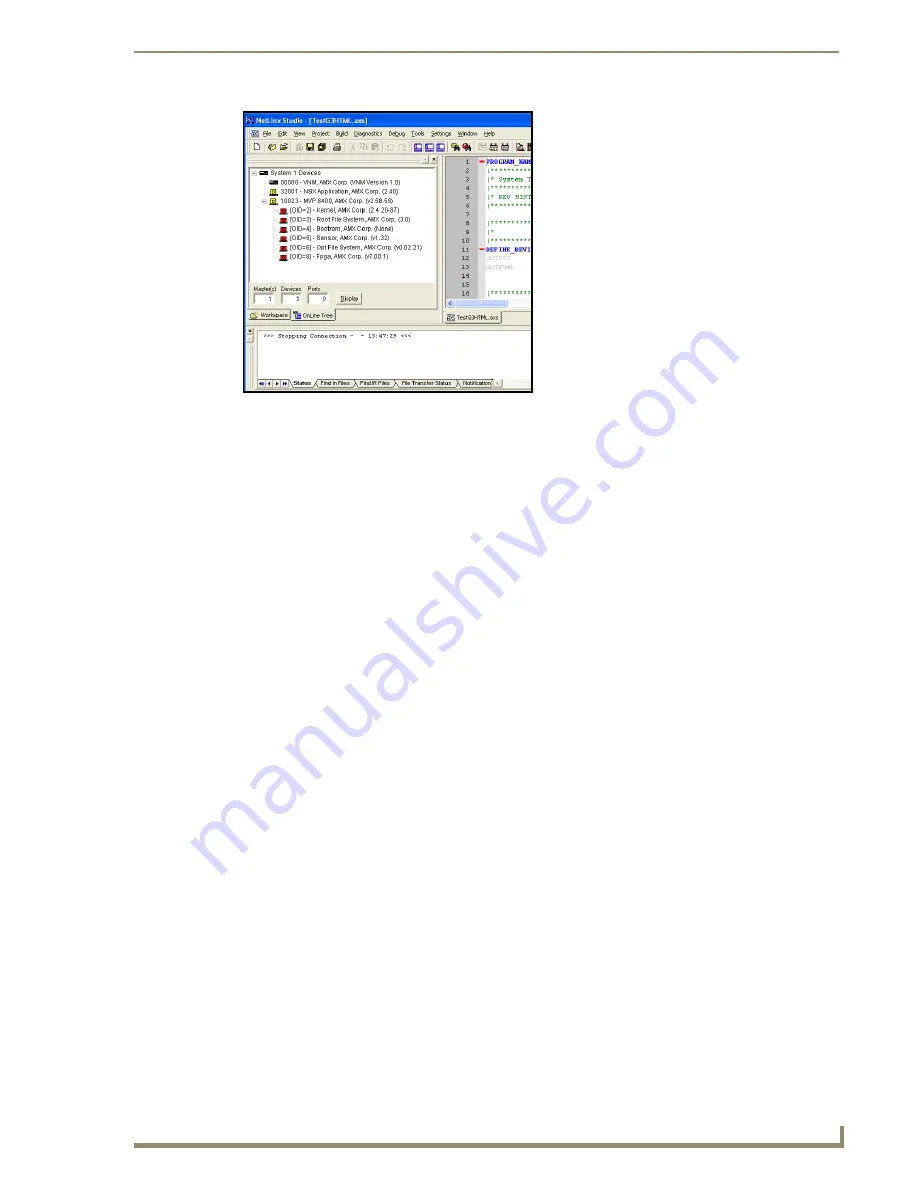
5.
Select the System Number (from the Online Tree tab) and use a right mouse click to select
Refresh
System
. This re-establishes communication with the Virtual Master.
FIG. 80
Using USB for Virtual Master communication (NetLinx Studio)
Summary of Contents for Modero ViewPoint MVP-8400i
Page 24: ...NXA CFSP Compact Flash 10 MVP 8400i 8 4 Modero ViewPoint Touch Panel with Intercom ...
Page 52: ...Configuring Communications 38 MVP 8400i 8 4 Modero ViewPoint Touch Panel with Intercom ...
Page 112: ...EAP Security Server Certificates 98 MVP 8400i 8 4 Modero ViewPoint Touch Panel with Intercom ...
Page 188: ...Programming 174 MVP 8400i 8 4 Modero ViewPoint Touch Panel with Intercom ...
Page 194: ...Appendix A Text Formatting 180 MVP 8400i 8 4 Modero ViewPoint Touch Panel with Intercom ...
Page 212: ...Appendix C Troubleshooting 198 MVP 8400i 8 4 Modero ViewPoint Touch Panel with Intercom ...
Page 213: ...Appendix C Troubleshooting 199 MVP 8400i 8 4 Modero ViewPoint Touch Panel with Intercom ...


