


Configuring Communication
69
12” and 15” Modero Touch Panels
7.
The
Network Interface Select
field is read-only and displays the method of communication to the web.
Verify you have selected the proper interface connection as this field does not auto-detect the
connection type being used (
see below
)
.
Wired
is used when a direct Ethernet connection is being used for communication to the web.
This
is the default setting if either no wireless interface card is detected or if both an Ethernet and
wireless card connection is detected by the panel.
Wireless
is used when a wireless card is detected within the internal card slot. This method
provides an indirect communication to the web via a pre-configured Wireless Access Point.
8.
Press the
Web Control Name
field to open the Web Name keyboard.
9.
From the Web Name keyboard, enter a unique alpha-numeric string to identify this panel. This
information is used by the NetLinx Security Web Server to display on-screen links to the panel.
The on-
screen links use the IP Address of the panel and not the name for communication
(FIG. 67).
10.
Press
Done
after you are finished assigning the alpha-numeric string for the Web Control name.
11.
Press the
Web Control Password
field to open the Web Password keyboard.
12.
From the Web Password keyboard, enter a unique alpha-numeric string to be assigned as the G4
Authentication session password associated with VNC web access of this panel.
13.
Press
Done
after you are finished assigning the alpha-numeric string for the Web Control password.
14.
Press the
Web Control Port
field to open the Web Port Number keypad.
15.
Within the keypad, enter a unique numeric value to be assigned to the port the VNC Web Server is
running on. The default value is
5900
.
16.
Press
Done
when you are finished entering the value.
The remaining fields within the G4 Web Control
Settings section of this page are read-only and cannot be altered.
17.
Press the
Up/Down
arrows on either sides of the G4 Web Control
Timeout
field to increase or decrease
the amount of time the panel can remain idle (
no cursor movements
) before the session is closed and the
user is disconnected.
18.
Press the
Back
button to open the Protected Setup page.
19.
Press the on-screen
Reboot
button to save any changes and restart the panel.
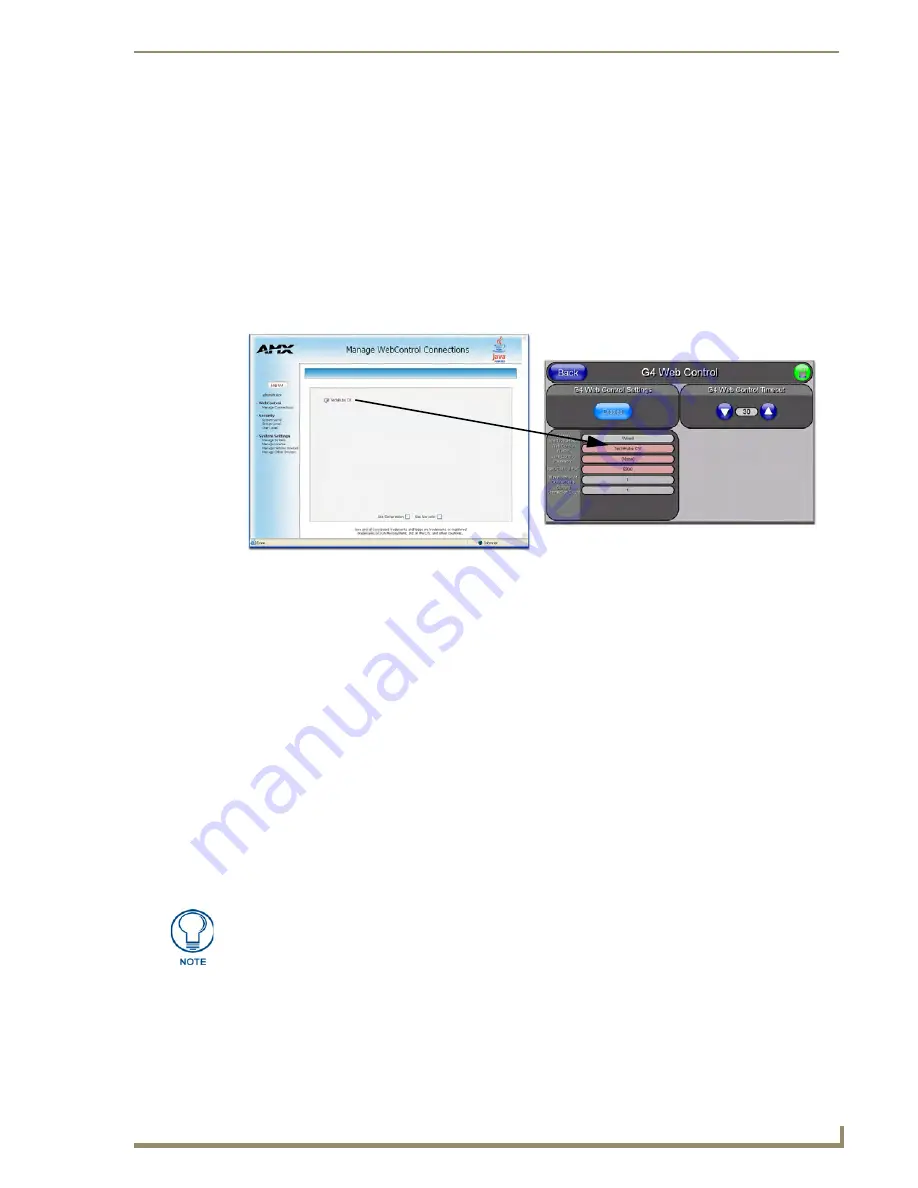
FIG. 67
Sample relationship between G4 Web Control and Mange WebControl Connections window
Verify your NetLinx Master’s IP Address and System Number have been properly
entered into the Master Connection section of the System Connection page.


