


Setup Pages and Descriptions
57
NXD-500i 5" Modero Wall/Flush Mount Touch Panel with Intercom
3.
Press the
Enable
button to turn on image caching. The button is illuminated when enabled.
Flash memory may be allocated for image caching, but RAM cache is always enabled.
Select the
Up
and
Down
arrows for the field
Flash Cache Size
to increase or reduce the amount of Flash memory used;
the maximum amount of flash that can be allocated for caching is 75% of available flash.
Clearing the image cache
In the
Protected Setup
page:
1.
Press the
Cache
button in the Other Settings popup menu. This opens the
Cache Settings
page.
2.
Press
Clear Cache
. This clears all image cache currently stored on the panel (both Flash and RAM).
Checking image cache status
In the
Protected Setup
page:
1.
Press the
Cache
button in the Other Settings popup menu. This opens the
Cache Settings
page. All status
information is located in the
Image Cache Status
section of the page.
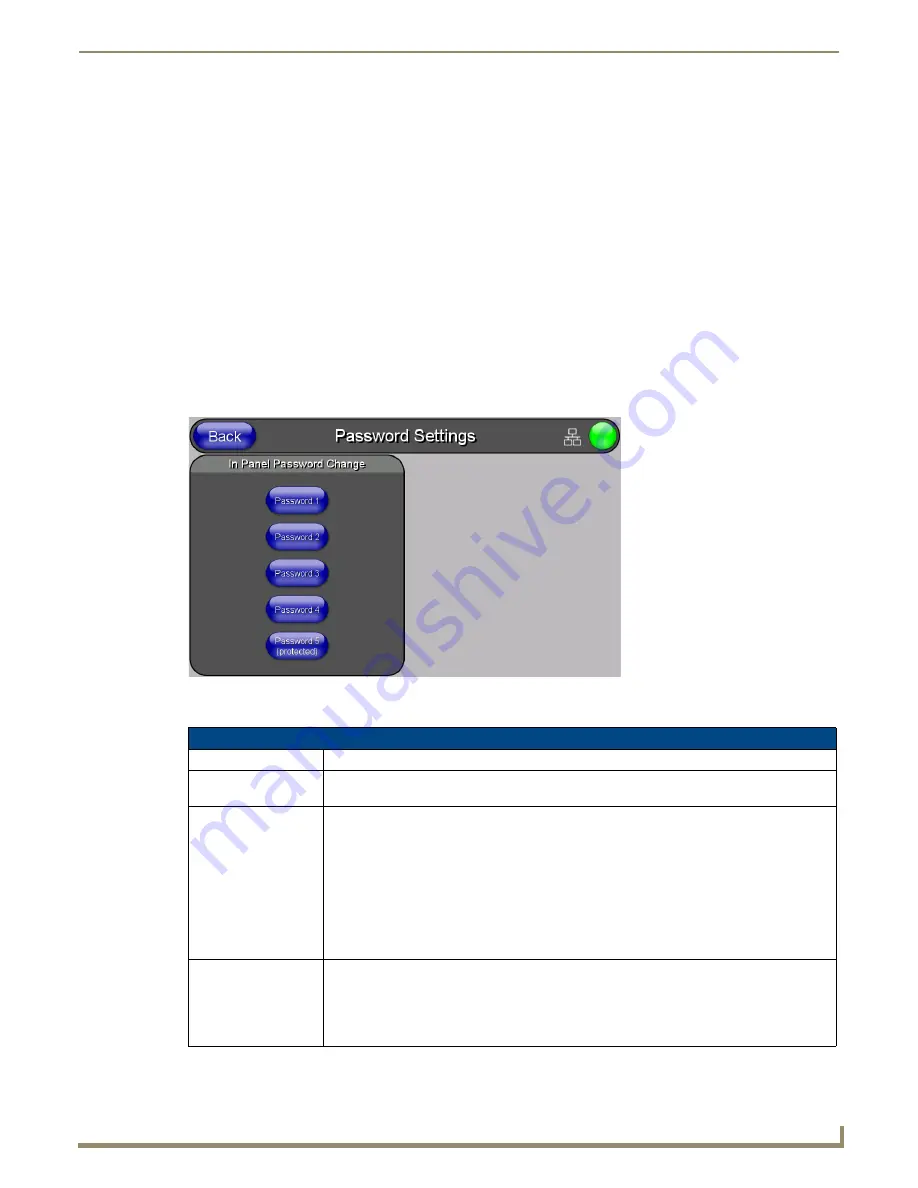
Password Settings Page
The options on the
Password Settings
page allow you to assign the passwords required for users to access the
Protected
Setup
page (FIG. 56).
Features on this page include:
FIG. 56
Password Settings page
Password Settings Page
Back:
Saves all changes and returns to the previous page.
Wired icon:
The icon to the left of the Connection Status Icon displays that the current connection to the
Master is
Wired
(image of three networked computers).
Connection Status icon: The icon in the upper-right corner of each Setup page shows online/offline state of the panel to
the master.
• Bright red - disconnected
• Bright green - connected. Blinks when a blink message is received to dark green every 5
seconds for half a second then go back to bright green.
• Bright yellow - panel missed a blink message from the master. It will remain yellow for 3
missed blink messages and then turn red. It will return to green when a blink message is
received.
Note
: a Lock appears on the icon if the panel is connected to a secured NetLinx Master.
In Panel Password
Change:
Accesses the alphanumeric values associated to particular password sets.
The PASSWORD 1, 2, 3, 4 and 5 (protected) buttons open a keyboard to enter alphanumeric
values associated to the selected password group.
Note
: Clearing Password #5 removes the need to enter a password before accessing the
Protected Setup page.
Summary of Contents for Modero NXD-500i
Page 4: ......
Page 12: ...viii NXD 500i 5 Modero Wall Flush Mount Touch Panel with Intercom Table of Contents...
Page 32: ...Panel Calibration 20 NXD 500i 5 Modero Wall Flush Mount Touch Panel with Intercom...
Page 130: ...Programming 118 NXD 500i 5 Modero Wall Flush Mount Touch Panel with Intercom...
Page 134: ...Troubleshooting 122 NXD 500i 5 Modero Wall Flush Mount Touch Panel with Intercom...


