35
Chapter 2: Recording on the DPS16
4. In the same way, store the punch out point (OUT point) in the [OUT] key.
5. Press the Quick Function [F4] (
SELECT
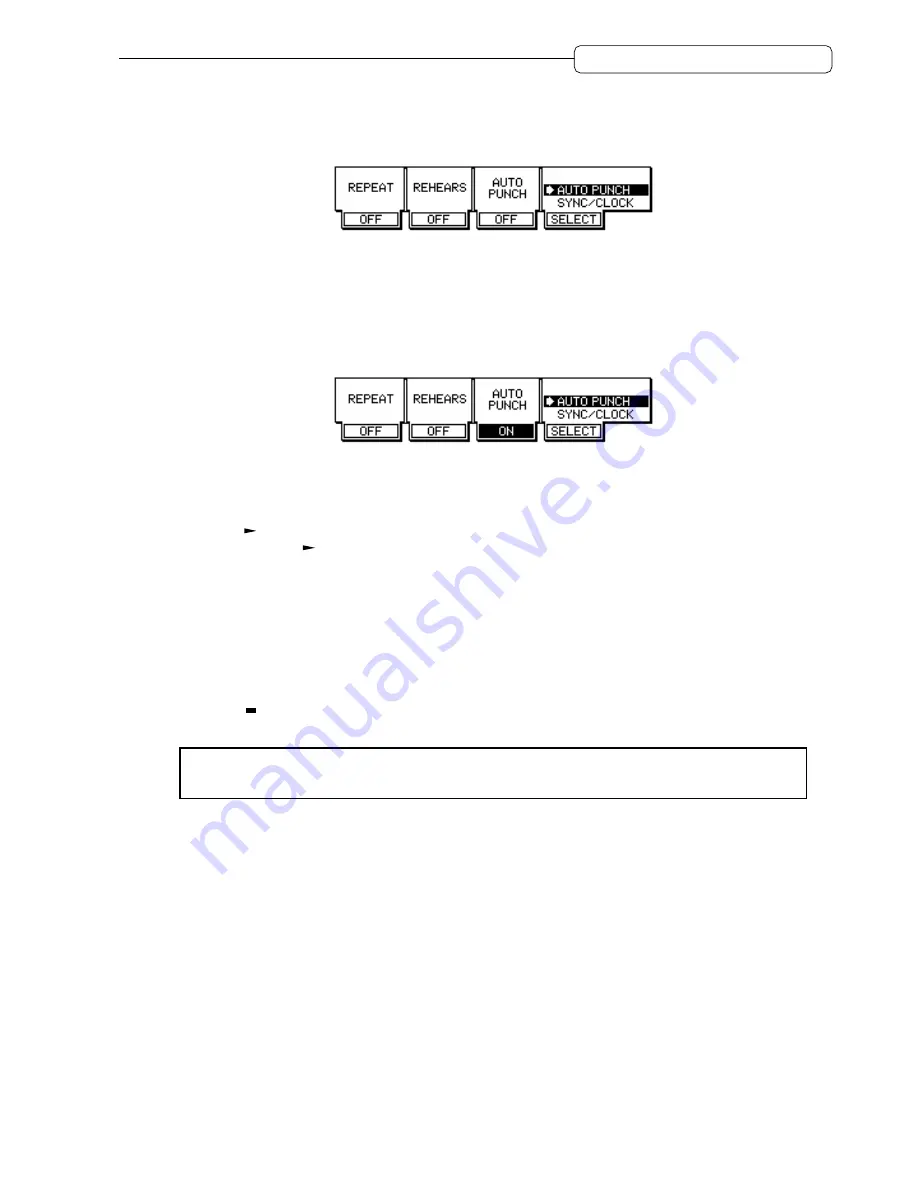
) key and turn the [JOG] wheel to select the
AUTO PUNCH
function.
While the DPS16 displays the Main screen, the
[F1]
–
[F4]
function keys are used to quickly edit various
internal settings. First, press the
[F4]
(
SELECT
) key, then turn the
[JOG]
wheel to select a function you want to
set. The parameters displayed in the positions of the
[F1]
–
[F3]
keys vary depending on the function you select.
Use the
[F1]
–
[F3]
keys to edit the parameters.
6. Press the [F3] key to set the AUTO PUNCH field to on.
Now the Auto Punch In/Out function is turned on.
7. Locate a point a little before the punch in point.
8. Make sure that [RECORD SELECT] key 3 is turned on.
9. Press the [
] button.
Playback starts. The [
] button’s LED lights up and the
[REC]
button’s LED flashes. The previously recorded
sound is played from the recorder section.
10. When the punch in point is reached, start playing the bass guitar.
• When the time counter value reaches the IN point:
The
[REC]
button’s LED lights up, and the record-ready track starts recording.
• When the time counter value reaches the OUT point:
The
[REC]
button’s LED turns off and the DPS16 automatically resumes playback.
11. Press the [
] button to stop playback.
Refer to “Chapter 4: Punch In/Out” on page 49 for more information on the Punch In/Out function.
✐
TIP :
Using the Rehearsal function enables you to practice punch in/out recording. See page 52 for
more information.


