Zaxcom Fusion User’s Manual______________________________________________________Chapter 5
141
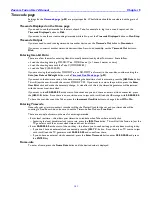
Timecode page
Settings for the
Timecode page
{
p.50
} are project specific. What follows should be considered with a grain of
salt!
Timecode Displayed on the Home page
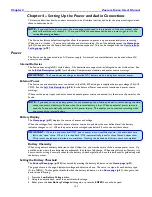
If you need to see the timecode for the start of each Take, for example to log it on a sound report, set the
Timecode Displayed
button
to
Disk
.
If you want to see the current running timecode while in Stop, set the
Timecode Displayed
button
to
Gen Stop
.
Timecode Output
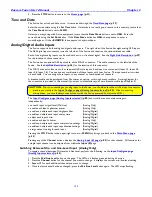
If you just need to send running timecode to another device, set the
Timecode Out
button
to
Generator
.
If you want to control another timecode device with an Auto-Load capability, set the
Timecode Out
button
to
Disk
.
Entering User-bit Data
There are a few themes for entering User-bits, usually determined by what Post wants. Some follow:
Load the shooting date (e.g. MM:DD:YY:xx, MM:DD:xx:xx) {x = doesn‟t matter or zero}
Load the shooting date with the Take # (MM:DD:00:00)
Load the Take # (00:00:00:00)
If you are storing the date (either MM:DD:YY:xx or DD:MM:YY:xx format) in the user-bits, consider setting the
Auto Jam Date at Midnight
button
on the
Timecode Run Mode page
{
p.52
}.
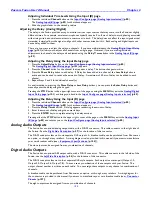
If you want to load some version of the date, assuming the date/time clock is accurate, press the
JAM Date
button
.
This will jam the user-bits with the current MM:DD:YY:00. If you want to remove the year bits, press the
Enter
User Bits
button
and make the necessary change. A side effect of this is the timecode generator will be jammed
with the current real-time clock.
If you want to load
00:00:00:00
at the start of the shoot and you don‟t have an external clock connected, press
the
JAM U.B.
button
. Since there is no user-bit source to jam with, it will load the UB storage with
00:00:00:00
.
To have the user-bits count the Takes, press the
Increment User Bits
button
to change it from
Off
to
On
.
Entering Timecode
Generally, your primary soundcart recorder will be the Master Clock for the set and your timecode will be
counting in Free-Run mode, so be sure to set the Timecode Run Mode to
Free Run
.
There are a couple of common themes for entering timecode:
Enter local real-time – this allows your timecode to indicate when Takes where actually shot.
o
Assuming the local date/time clock is accurate, press the
JAM Time
button
. This will tell the Fusion to Jam the
TC generator with the current clock time and count from there.
Enter
00:00:00:00
at the start of the workday – this allows you to see how long you have been working today.
o
If you don‟t have an external clock connected, press the
JAM T.C.
button
. Since there is no TC source to jam
with, it will load the TC generator with
00:00:00:00
and count from there.
o
If you do have an external clock connected, press the
Enter Timecode
button
, enter
00:00:00:00
and press
the
ENTER
key
.
Frame-rate
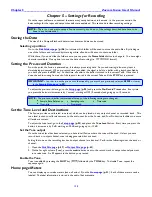
To enter a frame, press the
Frame Rate
button
until the desired value is displayed.


