23
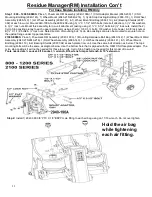
Residue Manager Installation Con’t
Step 3:
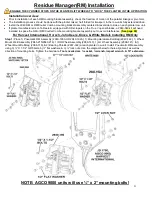
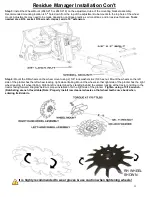
Install the Wheel Mount (2940-215 or 2940-216) on the adjustment tube of the mounting bracket assembly.
Recommended mounting location is 5
th
hole down from the top of the adjustment tube mounts to the top hole of the wheel
mount. Adjustments may need to be made depending on tillage practice, soil conditions, and/or residue thickness.
Tools
needed are a 9/16 socket, 9/16 wrench, impact, and a 10” extension.
Step 4:
Mount the RM wheels on the wheel mount using 2)
5/8” lock washers & 2) 5/8 hex nut. Mount the wheels so the left
side of the planter has the left wheel leading, right wheel trailing. Mount the wheels so that right side of the planter has the right
wheel leading, left wheel trailing. Right & left is determined by standing behind the planter looking at the tractor or sitting in the
tractor facing forward. Diagram below is proper installation for the right side of the planter.
Tighten using a 15/16 wrench.
(Ratcheting wrench if available) Note: Properly install row cleaner wheels so that wheel teeth curve back when
entering field debris.
It is highly recommended to wear gloves & use caution when tightening wheels!
RH WHEEL
SHOWN
Содержание GERMINATE UNIFORMITY 2940
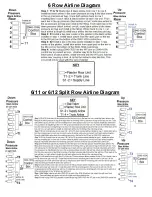
Страница 35: ...35 6 Row Airline Diagram 6 11 or 6 12 Split Row Airline Diagram...
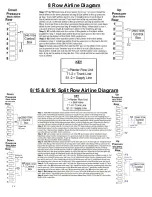
Страница 36: ...36 8 Row Airline Diagram 8 15 8 16 Split Row Airline Diagram...
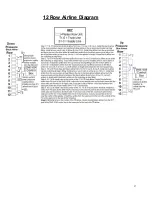
Страница 37: ...37 12 Row Airline Diagram...
Страница 39: ...39 16 Row Airline Diagram...
Страница 40: ...40 16 31 16 32 Split Row Airline Diagram...
Страница 42: ...42 24 Row Airline Diagram...
Страница 43: ...43 24 47 24 48 Row Airline Diagram...
Страница 45: ...45 32 Row Airline Diagram...
Страница 46: ...46 36 Row Airline Diagram...
Страница 47: ...47 48 Row Airline Diagram...
Страница 48: ...48 54 Row Airline Diagram...
Страница 78: ...78 HYDRAULIC PUMP 2940 545 PARTS IDENTIFICATION PART REFERENCE ONLY...
Страница 82: ...82 2565 983_REV_B 09 21...

