GETTING STARTED
17
MY CLOUD USER MANUAL
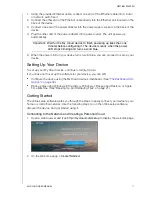
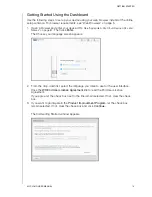
4. At the first Getting Started window, enter your first and last name, and your email
address to sign up for your MyCloud.com account. You can also add the name and
email address for another user. When finished adding the names and email addresses
for users, click
Next
.
Note:
If you entered an email address for another user, make sure that the user checks
their email account. They will receive an email with instructions on how to set up
and activate a password for cloud access.
Note:
The My Cloud app provides free remote access to your My Cloud device. Once
you create your account, you can access your device using your mobile devices
with Internet access.
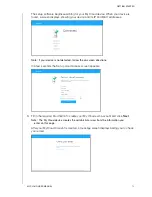
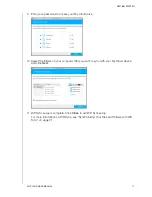
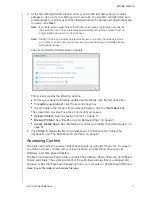
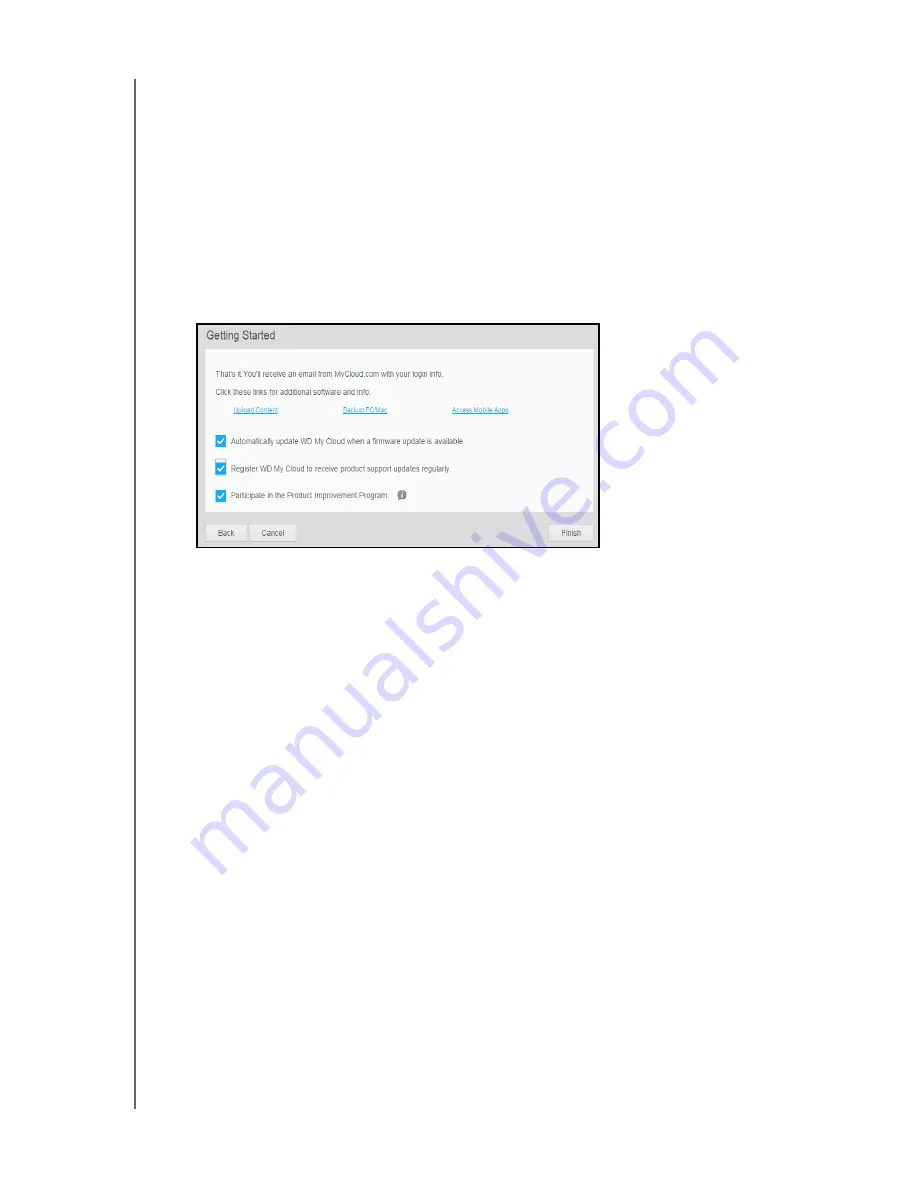
The second Getting Started screen appears:
This screen provides the following options:
To have your device’s firmware updated automatically, click the first check box.
To
register your product
, click the second check box.
To participate in the Product Improvement Program, click the
third check box.
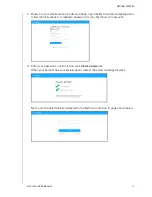
The screen also provides three links to important processes:
Upload Content
: See “Accessing Content” on page 17.
Backup PC/Mac
: See “Backing Up and Retrieving Files” on page 21.
Access Mobile Apps
: See “Mobilizing Your Files with the My Cloud Mobile App” on
page 51.
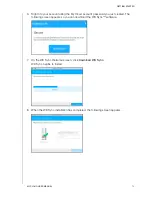
5. Click
Finish
to display the My Cloud dashboard. For instructions on using the
dashboard, see “The Dashboard Home Page” on page 31.
Accessing Content
The preferred method to access content anywhere is by using MyCloud.com. However if
you want to access content over your local network, your My Cloud drive supports
Windows- and Mac-based transfers.
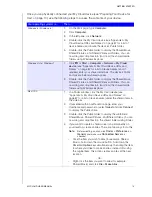
The My Cloud device’s Public folder contains Shared Music, Shared Pictures, and Shared
Videos subfolders. The existing content of the subfolders are files that you dragged and
dropped or files that have been backed up from your computer or an attached USB drive.
Note: Any of the folders can hold any file type.

