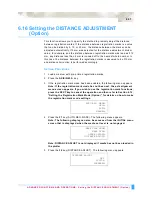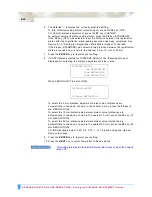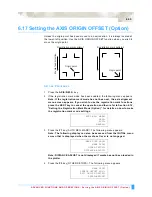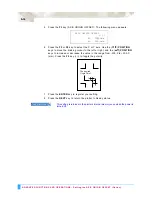
ADVANCED FUNCTIONS AND OPERATIONS : Setting the Registration Mark Mode (Option)
6-21
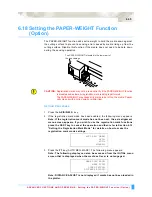
6.12 Setting the Registration Mark Mode (Option)
This function is used to align media with printed markings such as registration
marks with the plotter’s X and Y axes.
• The line thickness must be between 0.3 to 1.0 mm for auto registration mark
recognition.
•
Media that is not white and lines in colors other than black may not be read
correctly.
•
If the edges of the registration mark lines are blurred, they may not be read
correctly.
•
If there is any dirt in the reading area, the plotter may recognize it incorrectly as
a registration mark.
•
If the media used is not suitable for auto registration mark recognition, use the
axis alignment function to perform manual recognition.
•
Use the POSITION keys to move the pen carriage within the registration mark
reading mark area before performing auto registration mark recognition.
•
When the media is loaded in the plotter, the lower-left registration mark (when
viewed from the front of the plotter) must be positioned at a distance of at least
22 mm from the left edge. If the distance is less than 22 mm, a registration
mark reading error may occur.
S
ETTING
P
ROCEDURE
1
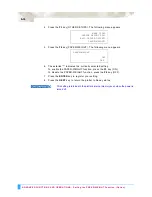
Raise the media set lever. The following menu appears.
2
Press the
F4
key (INITIAL MENU). The following menu appears.
3
Press the
F1
key (AUTO REG. MARK). The following menu appears.
LOAD MEDIA!
INITIAL MENU>
AUTO REG. MARK>
AUTO PRE FEED>
INITIAL FEED SPEED>
INTERFACE>
MARK SCAN MODE>
MARK TYPE>
OTHER SETUPS>
Registration mark pattern 1
Media feed direction
Registration mark pattern 2
At least 22 mm
At least 22 mm
Содержание Q100
Страница 34: ...Cutter Blades and Cutter Pens Adjusting the Blade Length 2 6 ...
Страница 64: ...Pen Setting Conditions Adjusting the Blade Length 4 12 ...
Страница 140: ...ADVANCED FUNCTIONS AND OPERATIONS Selecting the Type of Perforated Line 6 62 ...
Страница 148: ...OPTIONS Pen Offset for 2 pen models only 7 8 ...
Страница 174: ...INTERFACES COMMAND Settings 10 8 ...


