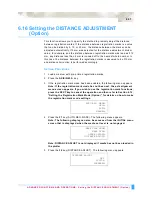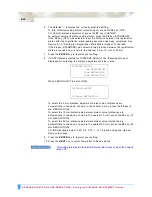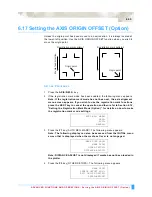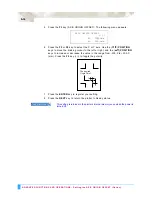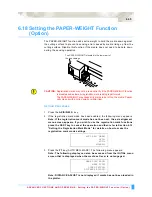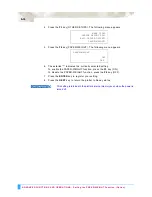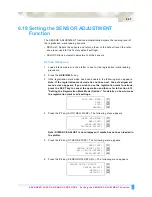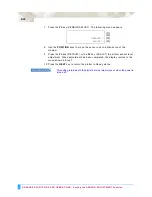
ADVANCED FUNCTIONS AND OPERATIONS : Selecting the Axis Alignment Method
6-43
6.22 Selecting the Axis Alignment Method
This function allows you to select the method for manual axis alignment. There are
three methods: 2-point alignment, 3-point alignment, and 4-point alignment. If 3-
point alignment or 4-point alignment is selected, distance correction can be
performed at the same time if distances are input at each point.
S
ELECTING
THE
A
XIS
A
LIGNMENT
M
ETHOD
1
Press the
MENU
key.
2
Press the
NEXT
key until the following menu appears.
3
Press the
F4
key (FUNCTION 2). The following menu appears.
4
Press the
F2
key (AXIS ALIGNMENT). The following menu appears.
5
Press the
F3
key (METHOD). The following menu appears.
6
The asterisk “*” indicates the currently selected setting. Press the
F2
key
(2POINTS) to perform 2-point alignment, the
F3
key (3POINTS) to perform 3-
point alignment, or the
F4
key (4POINTS) to perform 4-point alignment.
7
Press the
ENTER
key to register your setting.
8
Press the
MENU
key to return the plotter to Ready status.
This setting is retained in the plotter’s internal memory even when the power is
turned off.
INTERFACE>
AREA PARAMETERS>
FUNCTION 1>
FUNCTION 2>
DATA SORTING>
AXIS ALIGNMENT>
AUTO PRE FEED>
TANGENT EMULATION>
AXIS ALIGNMENT
METHOD>
TOOL>
AXIS ALIGNMENT
METHOD
2POINTS*
3POINTS
4POINTS
Содержание Q100
Страница 34: ...Cutter Blades and Cutter Pens Adjusting the Blade Length 2 6 ...
Страница 64: ...Pen Setting Conditions Adjusting the Blade Length 4 12 ...
Страница 140: ...ADVANCED FUNCTIONS AND OPERATIONS Selecting the Type of Perforated Line 6 62 ...
Страница 148: ...OPTIONS Pen Offset for 2 pen models only 7 8 ...
Страница 174: ...INTERFACES COMMAND Settings 10 8 ...


