ADVANCED FUNCTIONS AND OPERATIONS : Setting the Registration Mark Mode (Option)
6-22
4
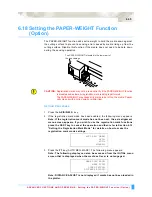
Press the
F1
key (MARK SCAN MODE). The following menu appears.
5
Press the
F4
key (DISABLED) if you do not wish to perform auto registration
mark recognition, and then press the
ENTER
key. To perform 2-point, 3-point,
or 4-point reading, press the
F3
(ENABLED) key and then press the
ENTER
key.
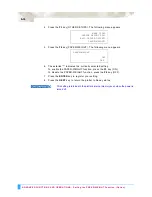
6
The asterisk “*” indicates the currently-selected setting.
Press the
F2
key (2POINTS) to select 2-point reading.
Press the
F3
key (3POINTS) to select 3-point reading.
Press the
F4
key (4POINTS) to select 4-point reading.
7
Press the
ENTER
key to register your setting.
8
If ON was selected, perform the registration mark area reading setting (see
Section 6.13, “Setting the Registration Mark Reading Area (Option)”. If OFF
was selected, the plotter returns to Ready status.
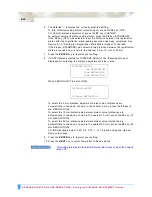
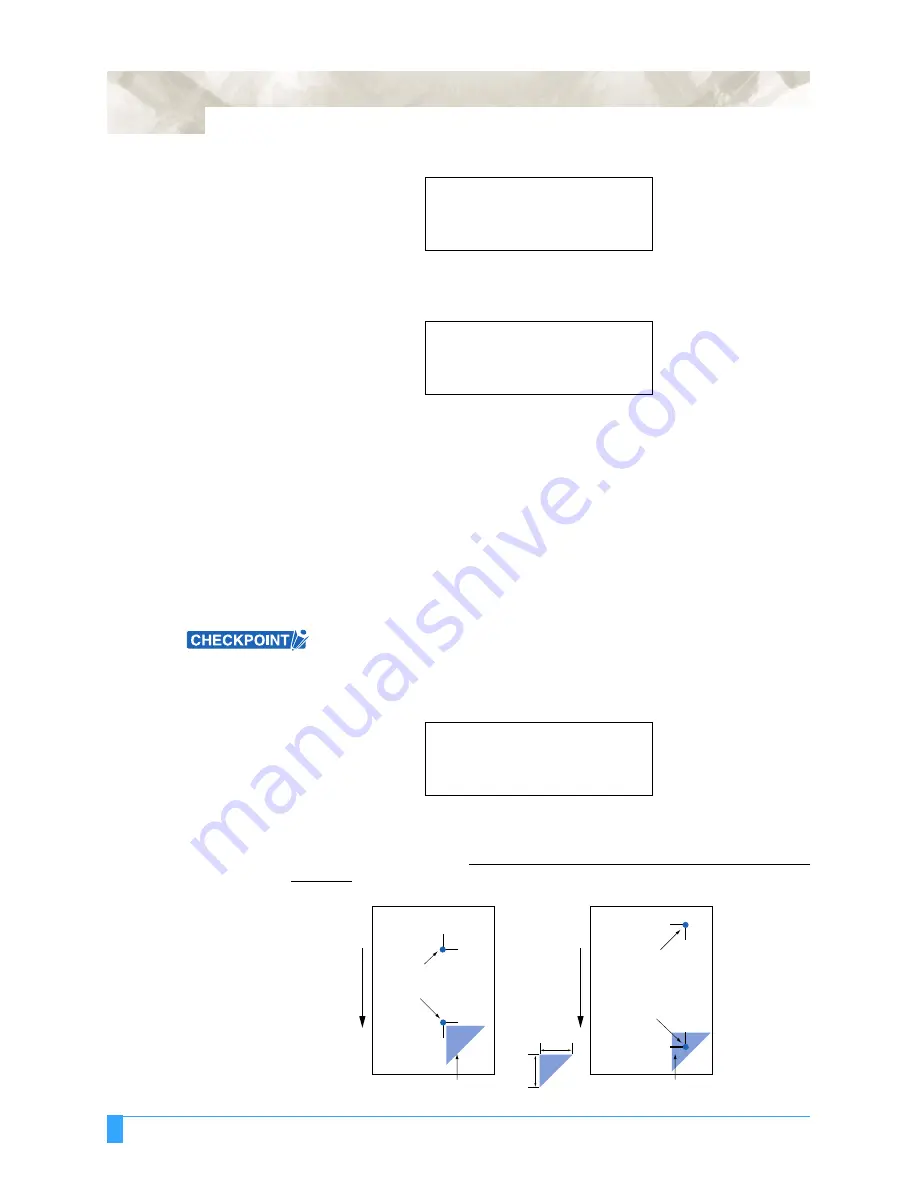
2-point reading (2POINTS)
This procedure explains how to align the coordinate axes based on two points.
The plotter reads two registration marks in the X-axis direction, corrects the tilt in
the X axis and then performs distance adjustment.
If Custom or Standard has been selected for the registration mark distance
adjustment setting (see Section 6.16, “Setting the DISTANCE ADJUSTMENT
(Option)”), the screen for inputting corrective values is not displayed.
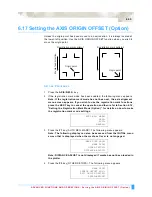
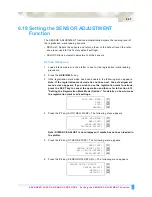
1
Select 2POINTS for MARK SCAN MODE, load media in the plotter, and then
press the
AXIS/R.M.S
key. The following menu appears.
2
If you wish to skip the registration mark sensing function, press the
F2
key
(SKIP) to return the plotter to Ready status.
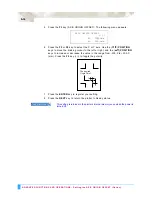
3
If you press the
F3
key (AUTO), sensing begins from the current pen position.
Use the
POSITION
keys to move the pen tip to the shaded area in the following
diagrams, and then press the
F3
key.
MARK SCAN MODE
ENABLED*
DISABLED
MARK SCAN MODE
2POINTS
3POINTS*
4POINTS
AUTO REG. MARK>
SKIP>
AUTO>
MANUAL>
100mm
100mm
Point 2
Registration mark pattern 1
Media feed direction
Registration mark pattern 2
Point 1 (the desired
Origin Point)
Point 2
Point 1 (the desired
Origin Point)
Move the pen tip within this area
Move the pen tip within this area
Содержание Q100
Страница 34: ...Cutter Blades and Cutter Pens Adjusting the Blade Length 2 6 ...
Страница 64: ...Pen Setting Conditions Adjusting the Blade Length 4 12 ...
Страница 140: ...ADVANCED FUNCTIONS AND OPERATIONS Selecting the Type of Perforated Line 6 62 ...
Страница 148: ...OPTIONS Pen Offset for 2 pen models only 7 8 ...
Страница 174: ...INTERFACES COMMAND Settings 10 8 ...