Archiving
134
5. Enter the location for storage of your archived videos, or use the
Browse
button to navigate to a directory on your PC or an external drive mapped to
your PC.
Note:
When archiving video from a large number of cameras, you should use a
separate drive of adequate size to store the archived video as it can take
up a significant amount of space. See
Saving Archived Events to a
Mapped Drive
, below.
6. Determine how you want your archived videos deleted. You can decide to
have your files deleted based on a predetermined number of days to prevent
running out of disc space, or by available disc space.
7. Click
OK
.
Note:
If your PC or network drive does not have enough space to store files for
the number of days indicated in the Settings box, the oldest files will
automatically be deleted when the space capacity has been reached.
Creating an Archive Schedule
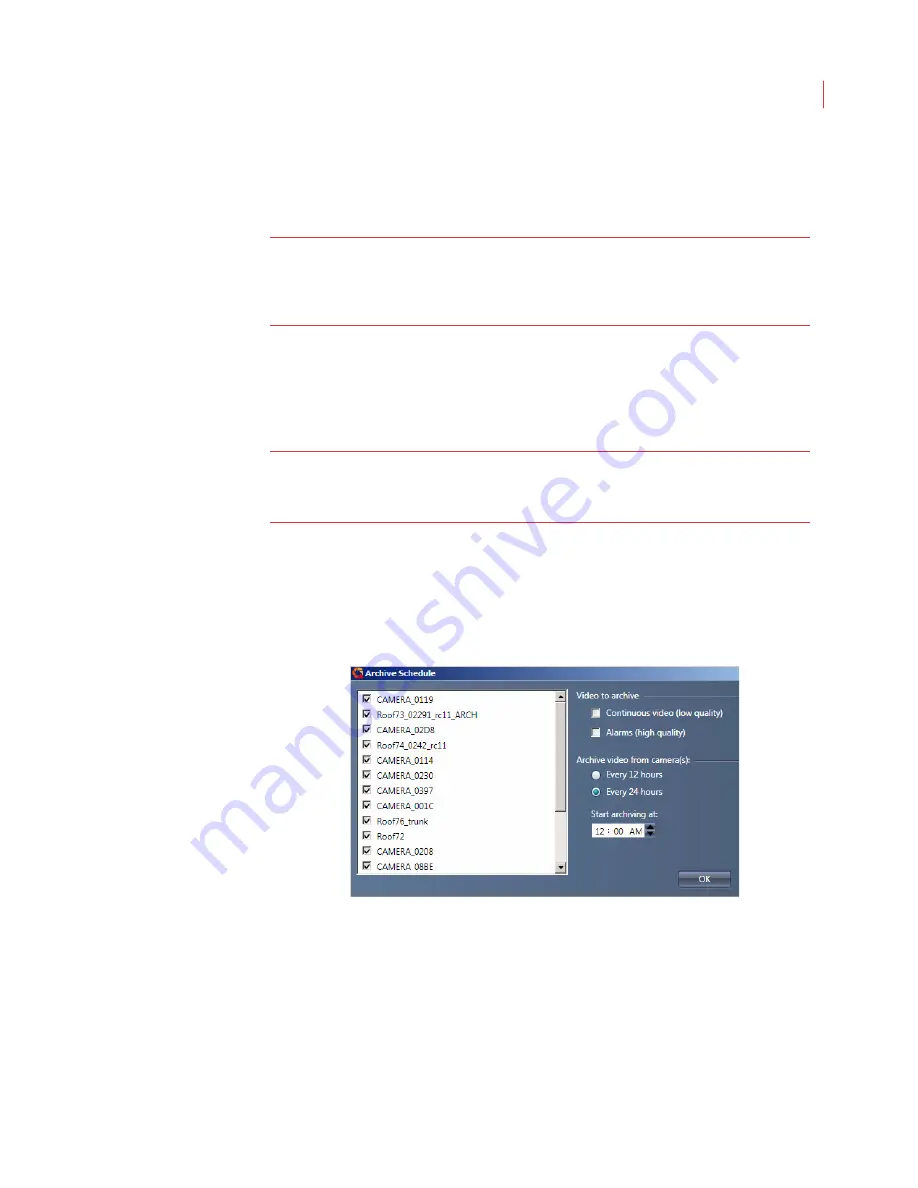
Once you’ve configured your settings you will need to create an archive schedule:
1. Select one or more cameras or camera groups.
2. Click the
Schedule
button. The Archive Schedule box displays.
3. Determine if you want to archive only continuous video, only event video, or
both.
4. Select the frequency of archiving. You can choose to archive every
12
or
24
hours.
5. Choose a time to begin archiving video. When archiving a large number of
cameras you may want to stagger start times so that not all cameras are
archiving at once.
Содержание ICVR
Страница 1: ...VideoIQ User Guide Release 3 0 ...
Страница 5: ......
Страница 120: ...VideoIQ User Guide 110 The Exported Items Viewer Displays Double click on a row to view the video in the Video Player ...
Страница 121: ...Exporting 111 3 If you don t have the plug in to play the video you can download it from the VideoIQ support site ...


