Installing Virtuo
Connecting Power to Virtuo
Virtuo Installation and Setup Guide
61
5.
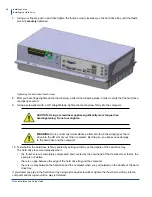
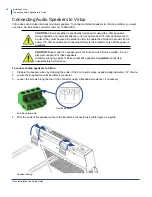
Using a flat-head screwdriver, tighten the screws of the slots to secure the speaker cable to the connector.
6. Attach the Euroblock connector to the connector labelled
Zone A or Zone B on the amplifier.
7.
Route the free end of the cables out of Virtuo through the cable channel.
8.
Connect the other end of the cables to the speakers.
9.
Ensure that positive terminals on the speaker () are connected to the positive output terminal on the
amplifier and that negative terminals on the speaker (marked –) are connected to the negative output terminal on
the amplifier.
Incorrect connection can result in poor imaging and thin sound.
Connecting Power to Virtuo
1.
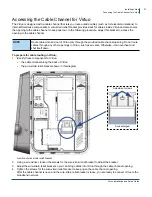
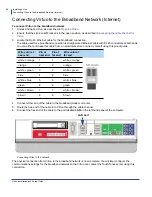
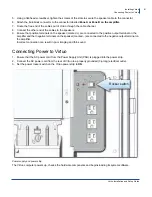
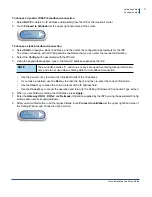
Ensure that the AC power cord from the Power Supply Unit (PSU) is plugged into the power strip.
2.
Connect the AC power cord from the rear of Virtuo to a properly grounded (3-prong) electrical outlet.
3.
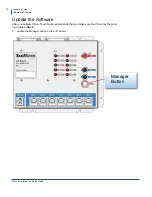
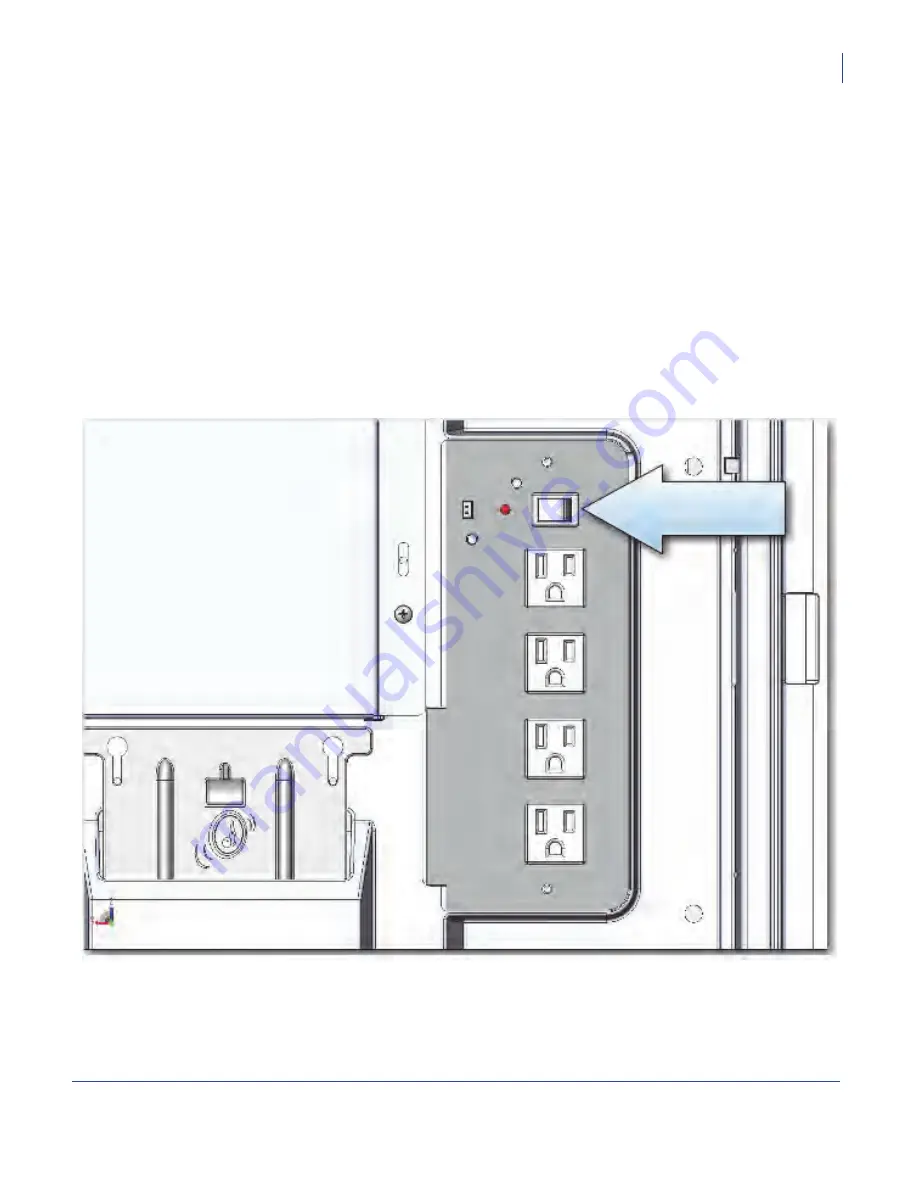
Set the power rocker switch on the Virtuo power strip to
ON
.
Power supply and power strip
The Virtuo computer powers up, checks the hardware components and begins loading its system software.
Rocker switch
Содержание Virtuo 700259-001
Страница 1: ...Installation and Setup Guide...
Страница 6: ...6...
Страница 48: ...Virtuo Installation and Setup Guide Pre Installation Preparing Tools for Installation 48...
Страница 108: ...Virtuo Installation and Setup Guide Service and maintenance 108...
Страница 120: ......

