Installing Virtuo
Wall-Mounting the Virtuo SmartJuke
Virtuo Installation and Setup Guide
51
Wall-Mounting the Virtuo SmartJuke
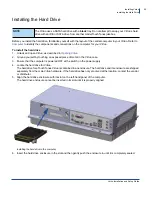
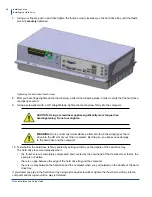
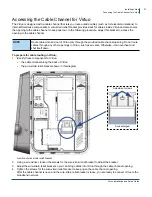
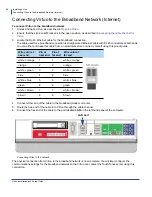
In this section, you install Virtuo, level it so it is stable and then open its case to access internal components.
1.
Important:
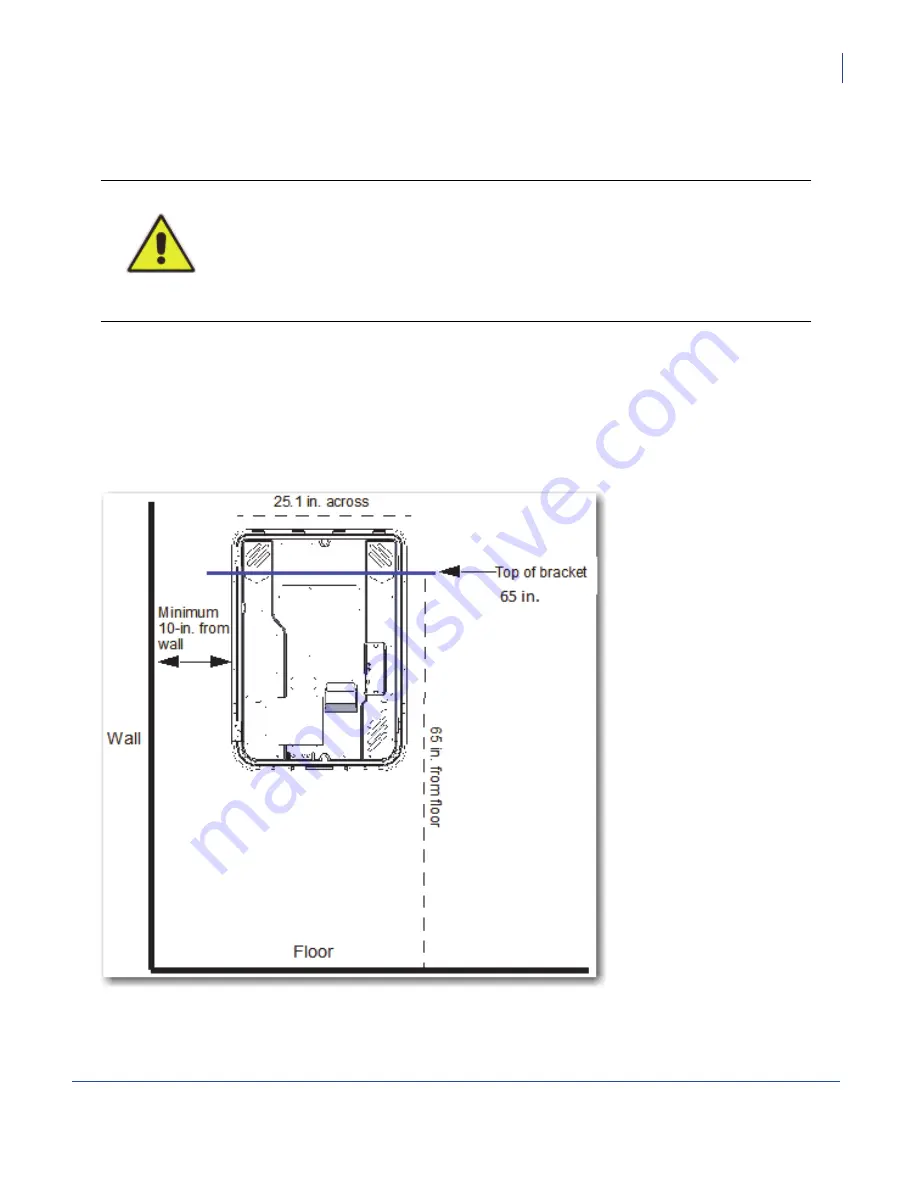
When installing in a location where there is an intersecting wall to the left, allow at least 10 inches
clearance between the wall and Virtuo to allow free movement of the door and prevent it from being damaged.
2.
On the wall where Virtuo is to be installed, measure 65 inches (5’ 5”) from the floor and mark this measurement.
This measurement identifies where the top of the bracket will be located on the wall.
3.
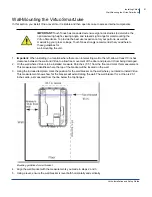
Using the included template, mark the position for the wall bracket on the wall where you intend to install Virtuo.
This measurement shows how far the bracket will extend along the wall. The wall bracket for a Virtuo is 25.1
inches wide, as measured from the line below the top flanges.
Mounting guidelines for wall bracket
4.
Align the wall bracket with the measurements you made in steps 2 and 3.
5.
Using a level, ensure the wall bracket is level both horizontally and vertically.
IMPORTANT:
TouchTunes has conducted extensive ergonomic studies to determine the
optimal viewing height, viewing angle, and relaxed sight range for wall-mounting the
Virtuo SmartJuke. To provide the best user experience for your patrons, as well as
maximizing your gross coinage, TouchTunes strongly recommends that you adhere to
these guidelines for
wall-mounting the unit.
Содержание Virtuo 700259-001
Страница 1: ...Installation and Setup Guide...
Страница 6: ...6...
Страница 48: ...Virtuo Installation and Setup Guide Pre Installation Preparing Tools for Installation 48...
Страница 108: ...Virtuo Installation and Setup Guide Service and maintenance 108...
Страница 120: ......

