


UDL & Digi Options
Premier Elite Series Installation Manual
104
INS176-15
•
Click on
Site Name
and enter a
Site Name & Site Summary
•
Click
Back
and then
IP Details
, enter the
IP address
and
Host
Port
of the
ComIP
from the previous steps in these
instructions.
o
Update IP
should be enabled if you want to setup
Push Notifications.
(Unless you are using your own
Dynamic DNS)
o
Stay Connected
stops the app disconnecting from
the control panel when swiping between screens.
•
Click
Back
then
Security Details
, enter the
UDL Password
from the Control Panel. This cannot be left blank and must
match the Control Panel UDL password. For details on
Protected UDL Password
please see the app Instruction
Manual.
•
Click
Back
and then
User Areas
, Enter the
User Code
that
you use with the Control Panel and the
User Number
(iOS)
User ID
(Android). The
User Number/ID
will be for example
1
,
do not type User 1.
The app is now set up for Local (LAN) connections.
Remote connection & Push Notifications
For remote connections it is highly recommended that you enable
Push Notifications. This will mean that
Texecom
will track the IP
address and update it as required. If the service provider does not
provide you with a fixed IP address (most don't) you will require a
third party DDNS provider to allow the app to operate remotely if
you do not "Enable" push notifications.
Port Forwarding must be setup on the router to allow
remote connections. Please see Page 46
Follow the instructions given above for Local Connections and then
do the following:
•
Click on
My Sites
then enter Edit mode for the chosen site.
•
Click on
Notifications
. You must press
Yes
and accept the
disclaimer before you can proceed.
•
Choose & enter a
User Name
•
Choose & enter a
Password
•
Enter a valid
Email Address
(Notifications will not be setup
without a valid address)
•
Leave the
Account Number
field blank.
•
Click
Register Account
You will receive an email with a
Verification Code
, follow the
instructions in the email. Enter the
Verification Code
you are given
into the
Account Number
box and press
Register
. Once you have
completed this step the
Account Number
will be automatically
populated with an
Account Number
allocated by the Server.
Record all of the details here for future use, and if you choose to
add an additional device to receive notifications from the same site.
Setting up additional devices to receive notifications from the same
site requires that
ALL
details are
Identical
all devices. This includes
the
Site Name
&
Site Summary,
and are
case sensitive.
To
register an additional device complete all details for the
Site
. On the
Registration page complete all details including the
Account
Number
you now have and press
Register
.
Site Name
Site Summary
User Name
Password
Address
Push Notification Account Number
Texecom
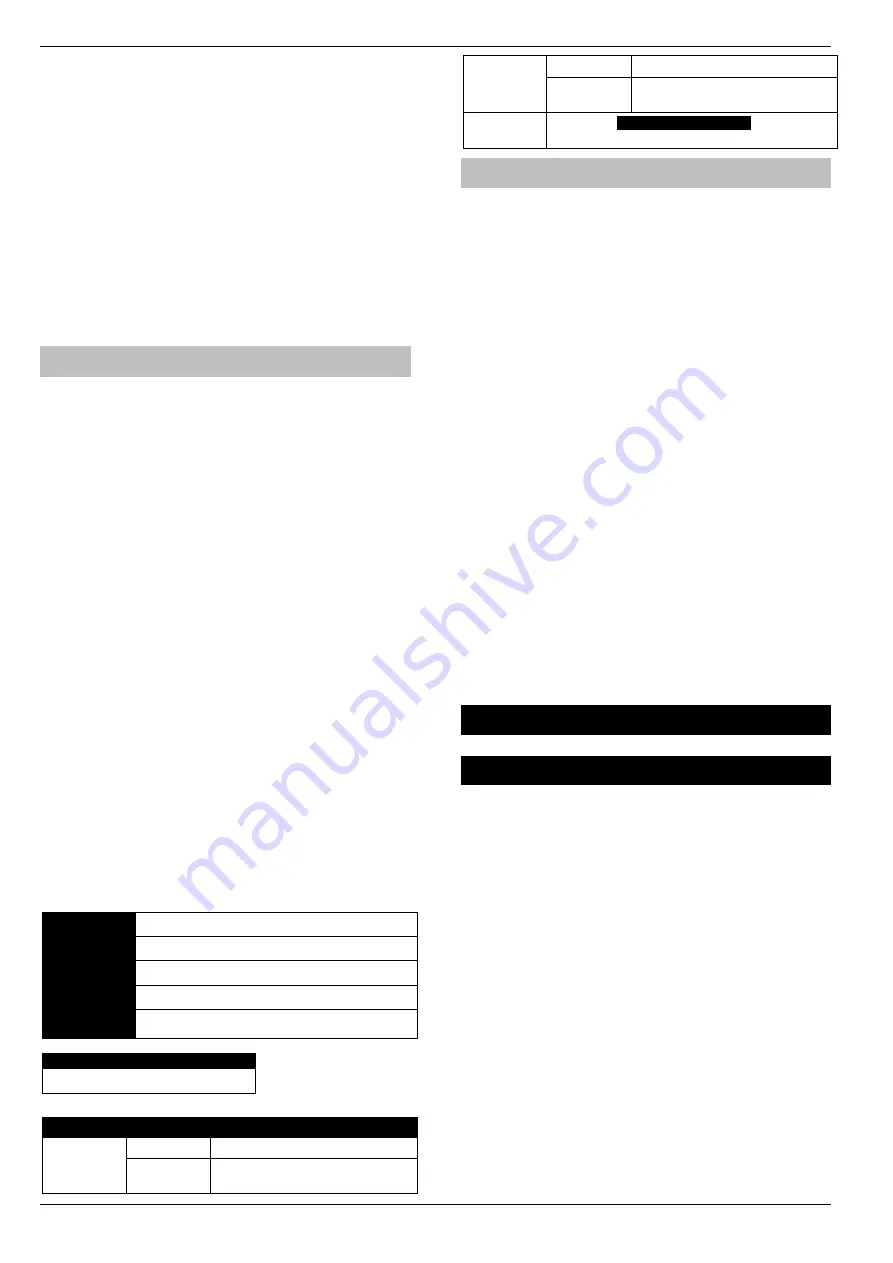
App Server Information
Primary
IP Address
54.88.92.200
Port
Number
10001
Secondary
IP Address
52.28.12.230
Port
Number
10001
Polling
Time
15 Minutes
Poll Timer MUST be set
ARC Settings & Reporting Options
•
Enter the Engineers Code
•
Press
y
/
(
UDL/Digi Options
)then
(
Program
Digi
)
y
/
•
Using the Scroll key select Which ARC you wish to use
•
Press
n
/
and scroll to change the
ARC protocol
to either
SIAII
or
Contact ID
, both are supported.
•
Press
y
/
twice then
n
/
•
In the
Pri. Tel No:
screen enter the Push Notification Sever
Address exactly like this:
54.88.92.200/10001
To enter the dot
press the
/
key twice. To enter the / press the
C
/
key twice
o
54.88.92.200/10001
•
Press
y
/
twice then
n
/
•
In the
Sec. Tel No:
screen enter the Push Notification Sever
Address exactly like this:
52.28.12.230/10001
To enter the dot
press the
/
key twice. To enter the / press the
C
/
key twice
o
52.28.12.230/10001
•
Press
y
/
•
Press
n
/
and then enter the six digit XXXXXX
Account
Number
you were given in the app
•
Press
y
/
then
n
/
(
Dial Attempts
) enter a minimum
of
6
•
Press
y
/
twice
•
Press
n
/
and edit the
Areas
you wish to receive
notifications for.
•
Press
y
/
then
n
/
and toggle the reporting options
on or off, depending on what you want to receive notifications
of. Use the
n
/
button to toggle each option on or off.
•
Press
y
/
then
n
/
and scroll across the screen and
use the
n
/
button to toggle option 7
Connect Via IP
ON
(an
I
will be shown on the screen)
•
If you chose
SIAII
as the
Protocol
in previous steps scroll once
more to Option 8 and toggle
Send SIA Text
to ON (a
T
will be
shown).
•
V3 or later only
y
/
twice then
n
/
and select which
Com Port the IP details apply too.
•
Press
y
/
DO NOT EXIT ENGINEERS MODE YOU MUST SETUP POLLING
FOR THE SYSTEM TO WORK CORRECTLY.
Control Panel Setup for Polling
To setup the Control Panel for Polling do the following:
•
Press
N
/
twice
•
Press
then
y
/
twice (
Global Options/System
Timers
)
•
Scroll to
Poll IP Every
•
Press
n
/
and then enter a value 15 minutes (015).
The polling time is controlled by the server and may be
changed.
Enable Digi, Dial All Numbers & Test Call
To test the settings, initialize a Push Notification and update the IP
address in the app a test call should be carried out. Please ensure
the
Digi is Enabled & Dial All Numbers
is enabled for systems with
multiple communication devices installed.
Digi Enabled & Dial All Numbers
If you have more than one communication device connected to the
control panel,
Dial All Numbers
MUST be enabled; continuing from
the previous steps:
•
Press
N
/
then
(Digi Options)
•
Press
y
/
then
n
/
scroll through the options and
ensure
Digi is Enabled
(
E
shown on Screen) and
Dial All


