24
ECO II FEEDING rev.06
ECO II FEEDING
3.
MOUNTING INSTRUCTIONS
3.1
Installing the Controller on the Wall
Open the latch and lift the cover. Remove the black caps located on each of the four mounting
holes. Mount the enclosure on the wall using four screws. Be sure the electrical knockouts are
at the bottom of the enclosure in order to prevent water from entering the controller. Insert the
screws in the mounting holes and tighten. Fasten the four black caps provided with the
controller onto the four mounting holes. The enclosure must be mounted in a location that will
allow the cover to be completely opened right up against the wall.
3.2
Connections
3.2.1 Controller’s Main Wiring
Refer to the wiring diagram enclosed with this user's manual to connect the controller. Use the
electrical knockouts provided at the bottom of the enclosure. Do not make additional holes in the
enclosure, particularly on the side of the enclosure when using a computer communication module.
WARNING!
All wiring must be done by an authorized
electrician and must comply with applicable
codes, laws and regulations. Be sure power
is off before doing any wiring to avoid elec-
trical shocks and equipment damage.
Do not install rigid conduit into electrical
knockouts. Only nylon cable glands are per-
mitted for cable or wire fastening.
This controller has no power-on switch. An
external switch or circuit breaker shall be
included in the building installation to inter-
rupt power to L and N electric power lines.
It shall be in close proximity to the equip-
ment and within easy reach of the opera-
tor. It shall be marked as the disconnecting
device for the equipment.
3.2.2 Alarm Connection
There are two types of alarms on the market. One type activates
when current is cut off at its input, whereas the other activates
when current is supplied at its input. For an alarm of the first
type, use the NC terminal as shown on the wiring diagram. For an
alarm of the second type, use the NO terminal.
53
ECO II FEEDING rev.06
ECO II FEEDING
8
MONITORING FUNCTIONS
8.1 Animal Inventory / Starting a New Batch
The animal inventory allows keeping track of the number of animals that are fed by
each drop. In the case where a specific dosage per animal is specified, the controller
automatically adjusts this dosage if the number of animals changes.
To use these automatic feed distribution functions, the user must post up the initial
number of animals that are served by each drop. Any changes in the number of
animals must also be signalled (mortalities, new entries, delivered animals) as they
occur.
Starting a New Batch:
This function allows clearing all controller’s histories at once. The number of animals
of each drop is reset as well. The batch must be started separately for each drop.
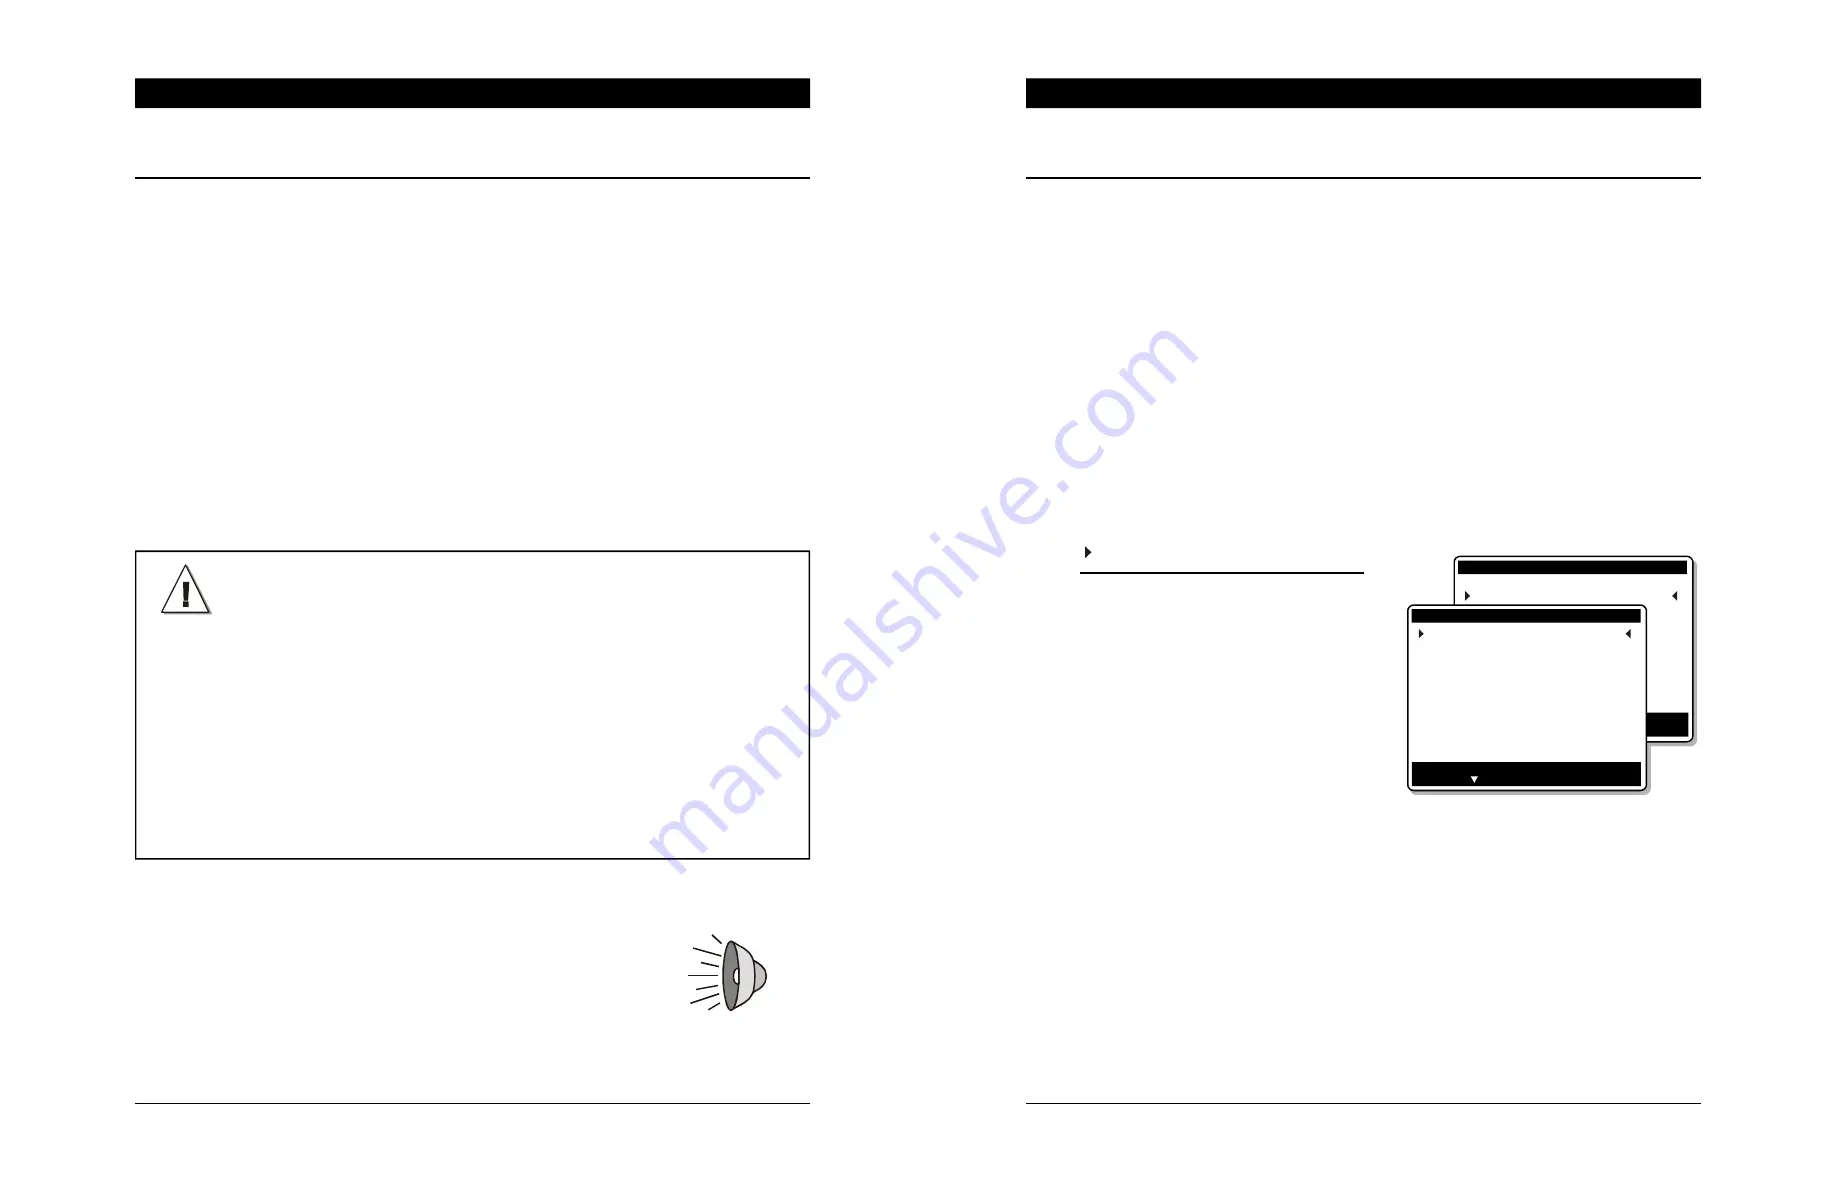
Select
6. Animal Inventory
• Select a drop
The following parameters are asso-
ciated with the chosen drop and
must be set separately for each drop
in use.
• New entered:
Enter the initial number of animals
that are served by the selected drop
at the beginning of a batch and post
up every new animal entry as it oc-
curs. Once the value is validated, the menu automatically returns to “0”. The
value is transferred to in the
Entered
menu. It is also added to the
Total Entered
and to the
Remaining
.
•
New Mortality / New Delivered:
Post up the number of mortalities and the number of shipped animals as it
occurs. Once a value is posted, the displayed value automatically returns to
“0”. The value is transferred in the
Mortality
or
Delivered
menus and is also
added to the
Total Mortality
or
Total Delivered
menu and is removed from the
Remaining
count.
Main Menu
5.
Feeding schedule
6.
Animal inventory
Animal inventory
Exit: Press BACK
Change: Press Modify
Press to Select an item
Select Drop #
1
Start new batch ?
No
New Entered
0
New Mortality
0
New Delivered
0
Entered
5
Mortality
2
Delivered
10
Total Entered
105
Total Mortality
2
Total Delivered
10
Remaining
93


