b). Rotate function knob to select "Disable" or
"Enable";
Disable: disable DHCP, set network address and
subnet mask manually;
Enable: main unit gets IP address and subnet
mask automatically;
c). Press the function knob to save and return to upper
level menu.
When the network settings finished, rotate the function
knob to "5.Return " and press the function knob to
return to upper level menu.
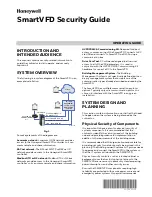
9. Work Mode
If two CMU are installed in one system, they are set as
“Master Mode” and “Slave Mode” separately.
a). Rotate the function knob to select the sub menu;
b). Press the function knob to enter work mode setting
interface;
c). Rotate function knob to select work mode;
If “Master” is selected, press the function knob to
confirm and return to upper level menu;
If “Slave” is selected, press the function knob to
confirm and go to step d);
d). Rotate function knob to select "Disable" or
"Enable";
If “Disable” is selected, slave CMU will backup
master CMU automatically in the meeting
process. If master CMU stops, slave CMU will
NOT switch to master mode;
If “Enable” is selected, slave CMU will backup
master CMU automatically during the meeting
process. If master CMU stops, slave CMU will
switch automatically to master mode and act as
master CMU;
e). Press the function knob to save and return to upper
level menu.
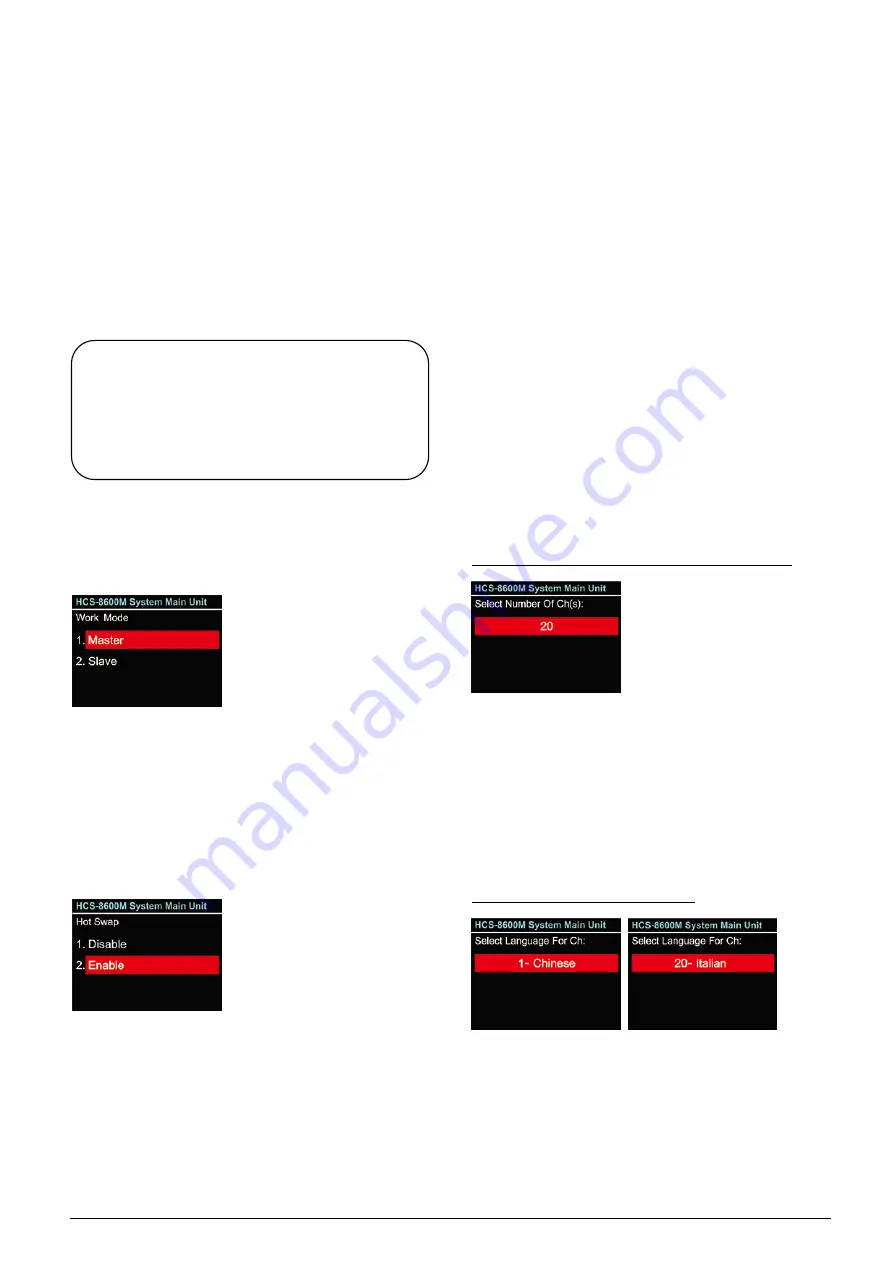
10. SI Setting
In “SI Setting” submenu, the following parameters need
to be setup:
“Select Number Of Ch(s):”
“Select Language For Ch:”
“Select Number Of Booth(s):”
“Interlock Mode Between Booths:”
“Interlock Mode In a Booth:”
“Select Output CH Language for Booth:”
“Auto-Relay Booth Setting”
Operation steps:
a). Setup the number of interpretation channels
Rotate function knob to switch between 0-63;
If “0” is selected, it stands for no SI function,
press function knob to save and return to main
menu;
If other values are selected, it stands for the
number of interpretation channels, use the
“MENU” button to go to step b).
b). Setup interpretation language
1).
Setup channel 1 first, rotate function knob to
switch between languages;
2).
Press function knob to confirm selected language
and go to next channel;
3)
. Repeat 1) - 2) to setup language for all channels,
and go to step c).
Note:
When controlled by PC software, “Subnet
Mask” and “Gateway” should be setup
according to the PC configuration, otherwise it
may cause a connection problem.
22
Содержание HCS-8600 Series
Страница 1: ...Paperless Multimedia Congress System Installation and Operating Manual V 1 0...
Страница 14: ...Figure 1 1 4 HCS 8668 Series Paperless Multimedia Congress System connection diagram 3...
Страница 69: ...Figure 3 2 7 Daisy chain connection between HCS 8668 8638 series Paperless Multimedia Congress Terminals 58...
Страница 91: ...3 3 2 Fixed installation Figure 3 3 2 Fixed installation of HCS 8665 series congress unit 80...
Страница 99: ...3 4 2 Installation Figure 3 4 2 Fixing of HCS 8635 series compact multimedia congress terminal 88...
Страница 109: ...4 1 Functions and indications Front Side Bottom Figure 4 1 HCS 8685 Interpreter unit 98...
Страница 118: ...Blue 107...
Страница 138: ...Figure Audio parameter setting Normal Figure Audio parameter setting PEQ Figure Audio parameter setting DRC 127...
Страница 145: ...Figure 6 2 3 HCS 8668 Series Paperless Multimedia Congress System connection diagram POE 134...
Страница 180: ...Appendices Custom made cables Appendix Ethernet Cable 169...
Страница 181: ...Appendix CBL4PK 01 Power Adapter Cable 170...
Страница 182: ...Appendix CBL4PT 02 Power Branch Cable 171...
Страница 183: ...Appendix CBL4PS 4 pin Extension Cable 172...