Synology DiskStation User's Guide
Based on DSM 4.1
49
Chapter 6: Enhance Internet Security
3
Choose an option in the
Ports
section. You can apply the rule to all ports or selected ports using one of the
following options:
All
: Choose this option to apply the rule to all ports on Synology DiskStation.
Select from a list of built-in applications
: Tick the system services that will be included in the rule.
Custom
: Specify the type and protocol of the port, and enter the custom port number.
You can enter up to 15 ports separated with comma, or by specifying a port range.
4
Specify the
Guaranteed Bandwidth
and
Maximum Bandwidth
.
For more information about the bandwidth
setting formula, click the
Help
button (with a question mark) at the top-right corner.
To change the priorities of rules:
Reorder the rules by dragging any of them up or down, or use the
Up
,
Down
button. Rules at the top will have
higher priorities.
To disable rules:
Uncheck the checkboxes next to the rules.
To delete rules:
Select the rules you want to delete and click
Delete
.
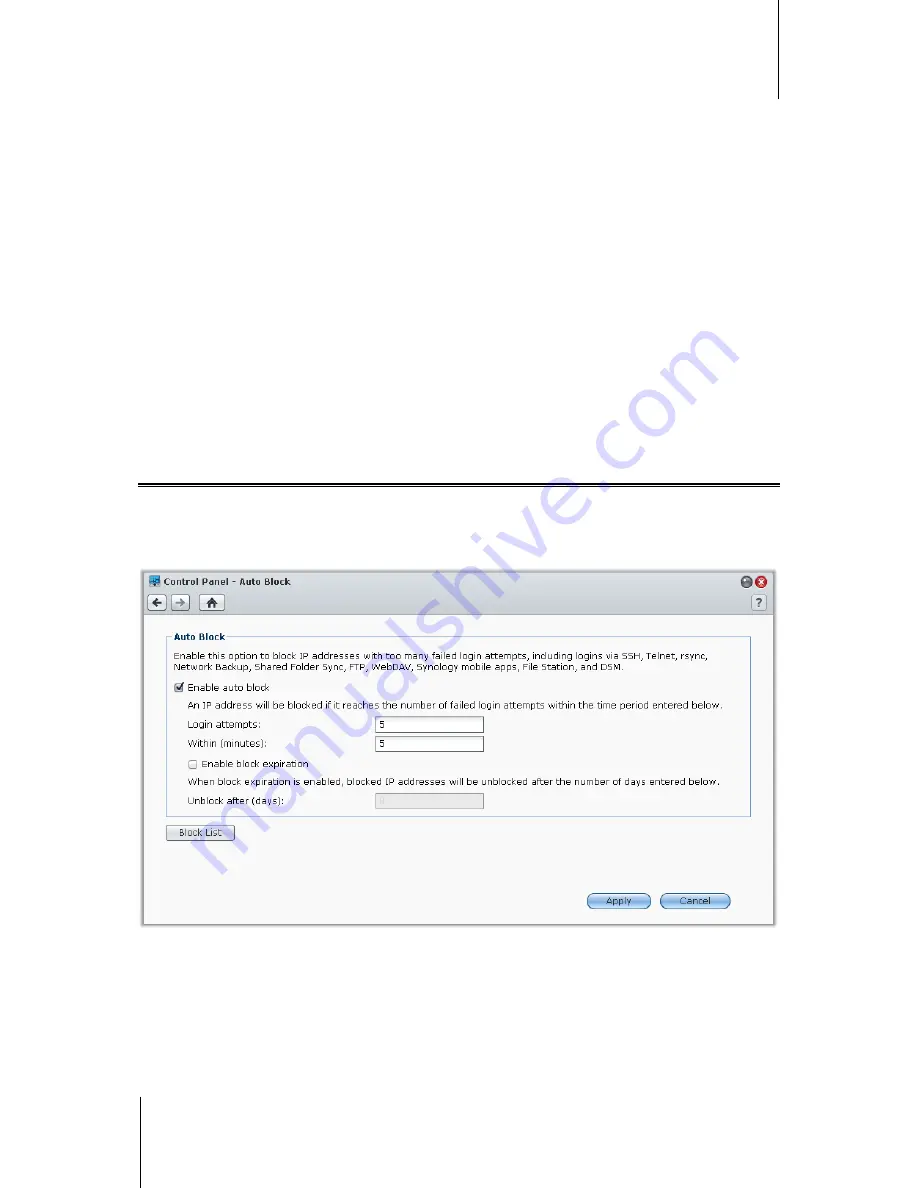
Automatically Block Suspicious Login Attempts
Auto block allows you to prevent unauthorized login. After enabling the service, an IP address will be blocked if it
has too many failed login attempts. Failed login attempts via SSH, Telnet, rsync, Network Backup, Shared Folder
Sync, FTP, WebDAV, Synology mobile apps, File Station, or DSM will all add up.
Go to
Main Menu
>
Control Panel
>
Auto Block
to manage auto block.
To enable auto block:
1
Tick
Enable auto block
.
2
Enter the following information to block an IP address with a number of failed login attempts within the
specified minutes :
Login attempts
: The number for failed login attempts
Within (minutes)
: The number of minutes


