22
The Camera Menu
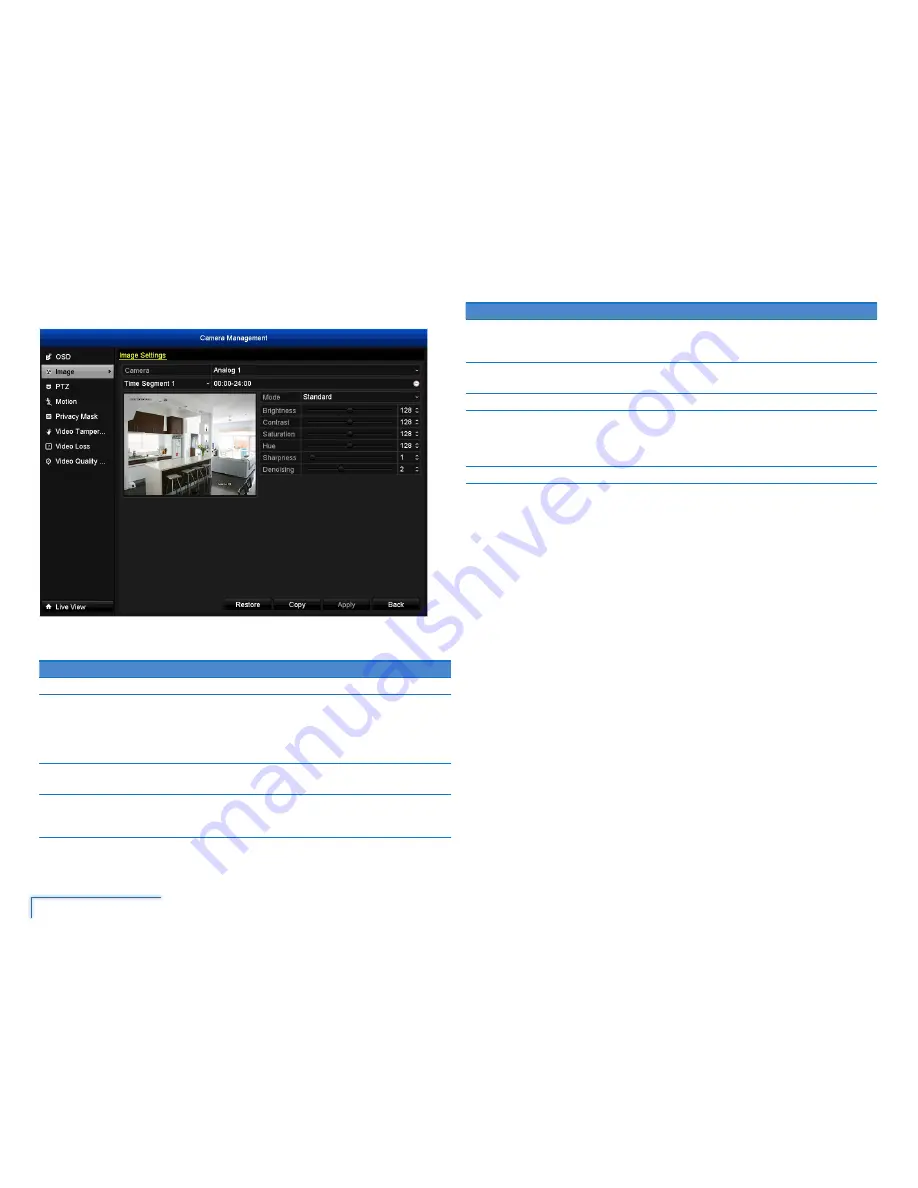
Image
You can make adjustments to how the DVR displays the image coming from your
cameras.
Option
Description
Camera
Select the camera you want to configure.
Time
Segment
This determines the period that you would like to apply the settings
for. The default setting is for 24hrs. This is particular useful if you
would like to have different image settings for different times of
the day. You may want to have a different set of image settings for
daytime and night time for example.
Mode
There are four preset modes that you can select from: Standard,
Indoor, Dim Light and Outdoor.
Brightness
Change how light the image appears to be. However, it can’t make
the camera see further in the dark, or increase the clarity of an
image in low-light environment.
Option
Description
Contrast
Increase the difference between the blackest black and the
whitest white in the image. Useful if sections of the image “grey
out” but setting the contrast too high will degrade image quality.
Saturation
Alter how much color is displayed in the image. The higher the
saturation, the more bright and vivid colors will appear to be.
Hue
Change the color mix of the image.
Sharpness
How crisp your images will be. Setting the sharpness too high will
make your pictures look pixelated. On the other hand, setting the
sharpness too low will make everything look soft and blurry – a bit
like looking through lightly frosted glass.
Denoising
Select the level of noise reduction to be applied to the video signal.
Note:
If the camera’s image does not turn out worse than before, you can always
reset image settings to the default values by clicking
Restore
.
Note:
You can easily copy the current camera’s image settings to other cameras.
Simply click
Copy
, select which cameras, and then click
OK
.


