104
Menu Operations
Setting the routings for each channel
Proceed as follows, to assign the routing of the
specified input channel to the output channel.
1
Display the input and output channel to be
connected using the INPUT, OUTPUT,
V
,
v
,
B
,
b
buttons, the ten key pad and the +/– buttons.
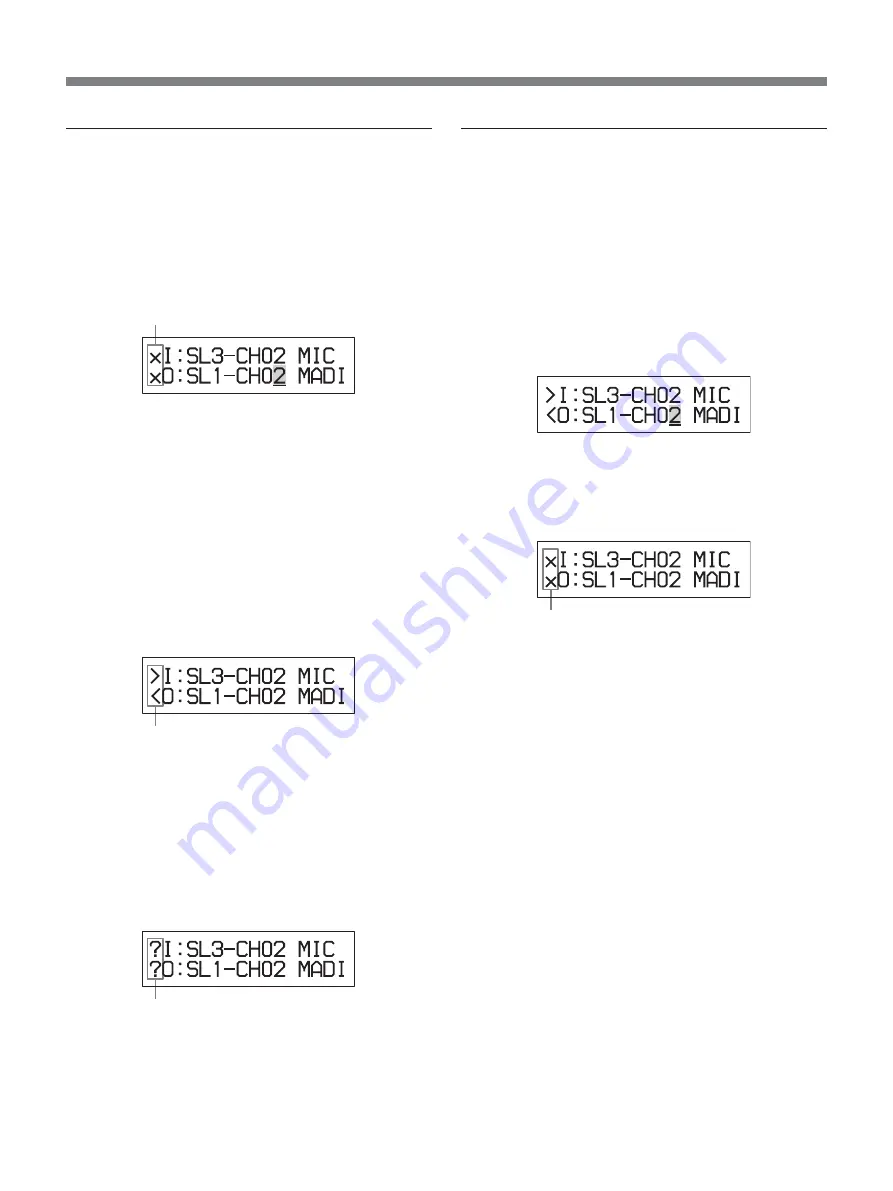
No connection mark
If the confirmation connection mark [<] and [>]
that indicates that those input and output channels
are routed is displayed, you do not need to perform
the following operations.
2
Push the CROSS POINT ON (ENTER) button.
The connection confirmation mark starts blinking
and the unit is in confirmation mode.
When the specified output channel has just been
routed to the specified input channel:
The confirmation connection marks [<] and [>]
blink.
Blinking
When another input channel has already been
assigned to the specified output channel:
The connection confirmation marks [?] and [?]
appear and blink. In such a case, if you continue
this operation by going to step 4, the current
routing is cleared and the input channel specified
in step 1 is then routed to the specified output
channel.
Blinking
3
Push the ENTER button.
The routing has been executed.
To cancel the routing assignment:
Push the CANCEL button instead of the ENTER
button.
Clearing the routing for channels
Proceed as follows to clear the routing between input
channels and output channels already connected.
1
Display the input and output channel whose
routing is to be cleared using the INPUT,
OUTPUT,
V
,
v
,
B
,
b
buttons, ten key pad and the
+/– buttons.
Or display the connection status using the CHECK
button (perform operations of steps 1 and 2 of
“Confirming the channel routing” on page 105).
2
Push the CROSS POINT OFF (CANCEL) button.
The connection confirmation marks change to [X]
and [X] and blink. The unit is in confirmation
mode.
Blinking
3
Push the ENTER button.
The routing has been cleared.
To retain the routing assignment:
Push the CANCEL button instead of the ENTER
button.


