E_MH_Installation_instructions_Skylux_Climax
20/11/2020
16/88
Preparation
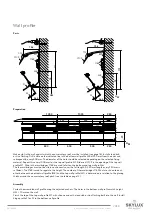
The Climax roof can be delivered cut-to-size to reduce the installation time.
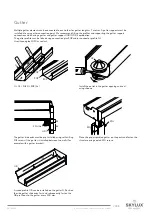
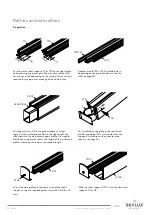
The seals and certain other components are, when possible, fixed onto or into the profiles for the preinstalled roof
system.
Walls
Check that the walls, against which the structure is to be installed, are:
- Sufficiently load-bearing to anchor the roof.
- Free of obstacles such as water drains, window sills, etc.
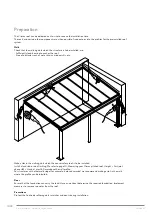
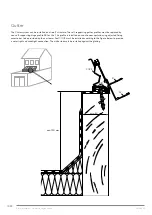
Make a slot in the walls against which the conservatory roof is to be installed.
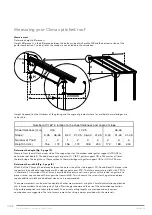
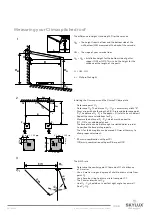
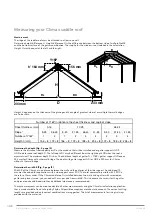
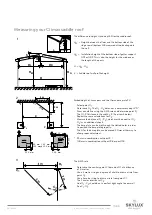
Install a lead slab or zinc flashing. We refer to page 10: Measuring your Climax pitched roof. Height = first joint
above HM + H and at most 60 mm above the wall profile.
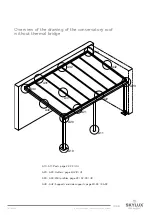
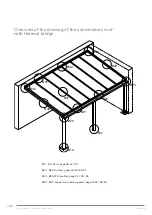
For structures with a thermal bridge (for example, a closed veranda) we recommend making a slot in the walls
where the profile can be installed.
Floor
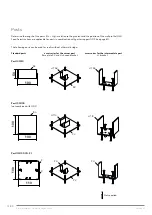
Ensure that the foundation can carry the load. Have an architect determine the required foundation. Implement
measures to remove rainwater from the roof.
Precautions
Protect the finished profiles against scratches and dents during installation.
Содержание Climax 36178
Страница 1: ...CANOPY Climax Installation instructions Self supporting aluminium profile system EN Art N 36178...
Страница 85: ...20 11 2020 85 88 E_MH_Installation_instructions_Skylux_Climax...
Страница 86: ...E_MH_Installation_instructions_Skylux_Climax 20 11 2020 86 88...
Страница 87: ...20 11 2020 87 88 E_MH_Installation_instructions_Skylux_Climax...

