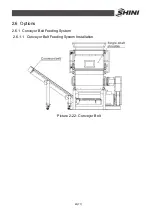

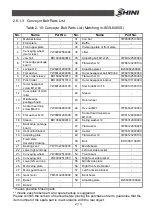


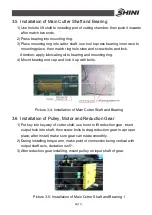


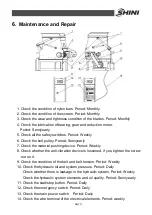


59(77)
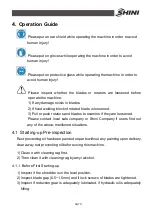
4.1.2 2 Hours Later after First Starting-up
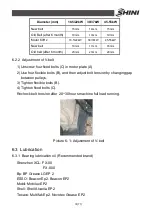
1) Recheck blade gap, including fixed and rotate ones, then check blade screws
are loosened.
2) Check motor positioning screw and check if positioning screw is tightened.
4.1.3 20~30 Hours Later after First Starting-up
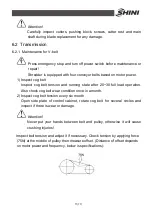
Check belt tension after full-load 20~30 running, then adjust belt tension if it
goes wrong.
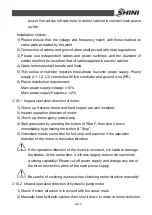
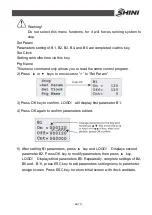
4.2 Circuit Connection
Circuit installation of shredder shall be accomplished by professional
electricians.
1) Connects shredder power.
2) Shredder motor and oil pump motor rotate clockwise
4.2.1 Inspect the Operation Direction of Motor
1) Confirm main power switch is "ON".
2) Check up if emergency switch acts.
3) Start shredder by pressing the button of "Start"; then shut it down immediately
by pressing the button of "Stop".
4) Shredder needs some time for full stop and examine if the operation direction
of the motor is clockwise direction.
Warning!
Be careful not being crushed by belt when manually checking motor
operation direction.
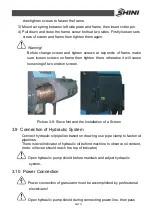
4.2.2 Inspect the Operation Direction of Hydraulic Motor
Start pump and shut it down to check if motor vanes rotate in accord with the
arrow mark in nameplate.
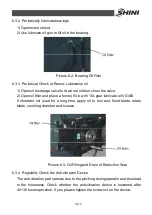
4.3 Open Screen Frame
Turn off control power switch and shredder power before opening screen frame.
Содержание SGS-6080S
Страница 1: ...SGS S Single shaft Shredders Date May 2014 Version Ver B English...
Страница 2: ......
Страница 8: ...8 77...
Страница 24: ...24 77 2 3 3 Cutting Chamber Structure Picture 2 8 Cutting Chamber Structure...
Страница 31: ...31 77 2 3 12 Pushing Device Assembly Picture 2 12 Pushing Device Assembly...
Страница 34: ...34 77 2 3 15 Hydraulic System 2 3 15 1 Principle of Hydraulic System Picture 2 14 Principle of Hydraulic System...
Страница 37: ...37 77 2 4 Wiring Diagram 2 4 1 Wiring Diagram Picture 2 16 Wiring Diagram...
Страница 38: ...38 77 2 4 2 Control Wiring Diagram Picture 2 17 Control Wiring Diagram 1...
Страница 39: ...39 77 Picture 2 18 Control Wiring Diagram 2...
Страница 40: ...40 77 2 4 3 Electrical Components Layout Picture 2 19 Electrical Components Layout 1...
Страница 41: ...41 77 Picture 2 20 Electrical Components Layout 2...


