102
Tel: 886.2.2175 2930 Email: [email protected]
setup of different segments can overlap.
6.6.1.
Create and edit ripple limit line
It can make multiple ripple limit test at one time and you only need to set the ripple limit after activating the trace.
6.6.1.1.
By mouse or touch screen
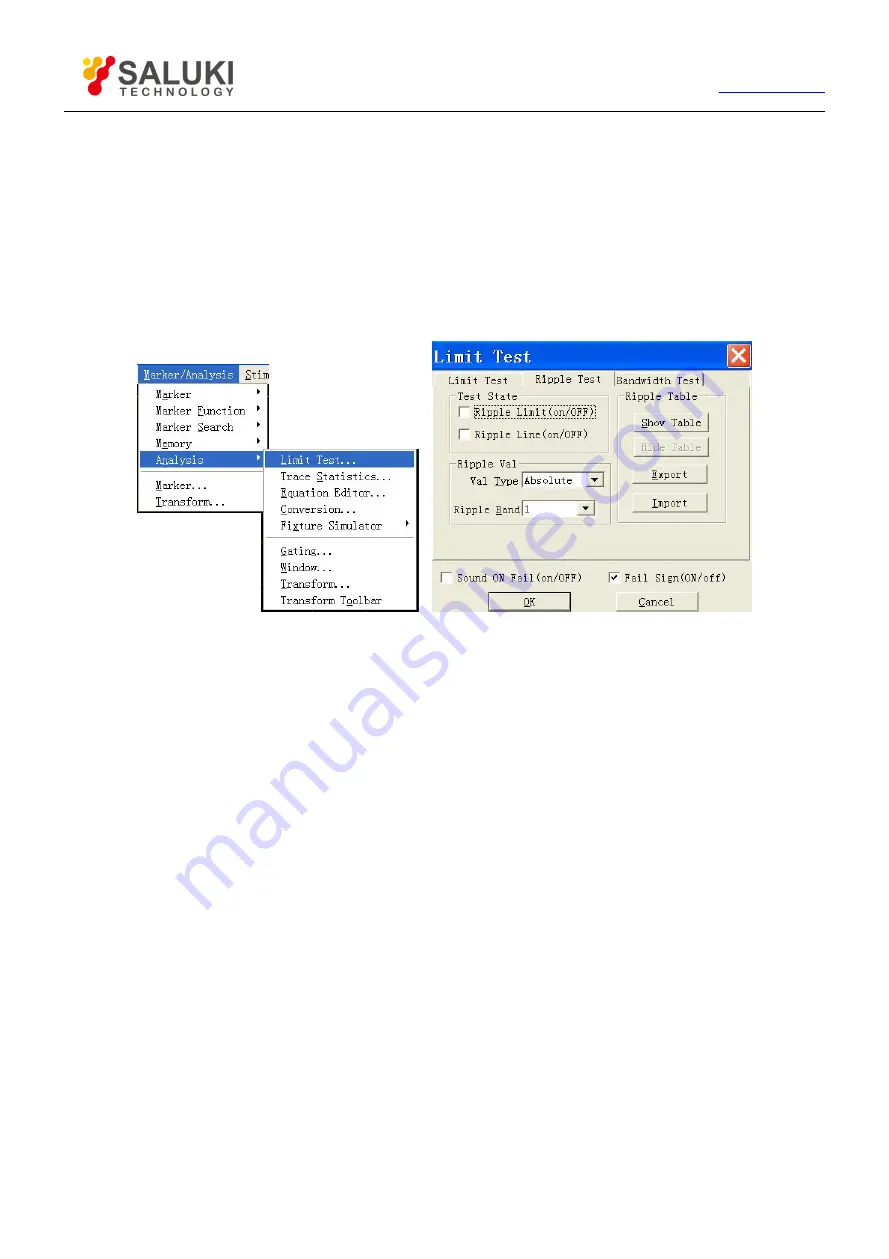
1) Click [Marker/Analysis] and click [Limit Test...] of the [Analysis]to display limit test dialog box.
2) Click [ Ripple Test] in the dialog box to display the ripple test box.
Figure 6-19 Display Ripple Test Box
3) Click [Show Table] in the dialog box to enable ripple limit table.
4) Click [Type] box in the ripple limit table, and select “ON” to activate the table.
5) Double click [Begin Stimulus] to set the initial stimulus value.
6) Double click [End Stimulus] to set the stop stimulus value.
7) Double click [MAX Ripple] to set maximum fluctuation value.
8) The analyzer will add a new row to the limit table after opening the last row.
9) Repeat step 4)~7)to completer the editing and adding of all limit segments.
6.6.1.2.
By front panel keys
1) Press
【
Analysis
】
in MKR/ANALYSIS area
,
press corresponding soft-key of [Ripple Test] on the soft-key menu that
turns up, press [Edit Ripple Limit] and press [Ripple Table on|OFF ] on the sub-menu to open the ripple limit table.
2) Press
【
Tab
】
in ADJUST area to [Type] box of ripple limit table
,
press
【
Click
】
in ADJUST area to open type
drop-down box, rotate the knob or
【
↑
】
,
【
↓
】
in ADJUST area to select, and press
【
Click
】
to confirm the selection.
3) Press
【
Tab
】
to [Begin Stimulus] box
,
press
【
Click
】
to enable the start stimulus input box to set the initial stimulus
value.
4) Press
【
Tab
】
to [End Stimulus] box
,
press
【
Click
】
to enable the stop stimulus input box to set the stop stimulus value.
5) Press
【
Tab
】
to [MAX Ripple] box
,
press
【
Click
】
to enable maximum fluctuation input box to set maximum
fluctuation value.
6) The analyzer will add a new row to the limit table after opening the last row.


