-41-
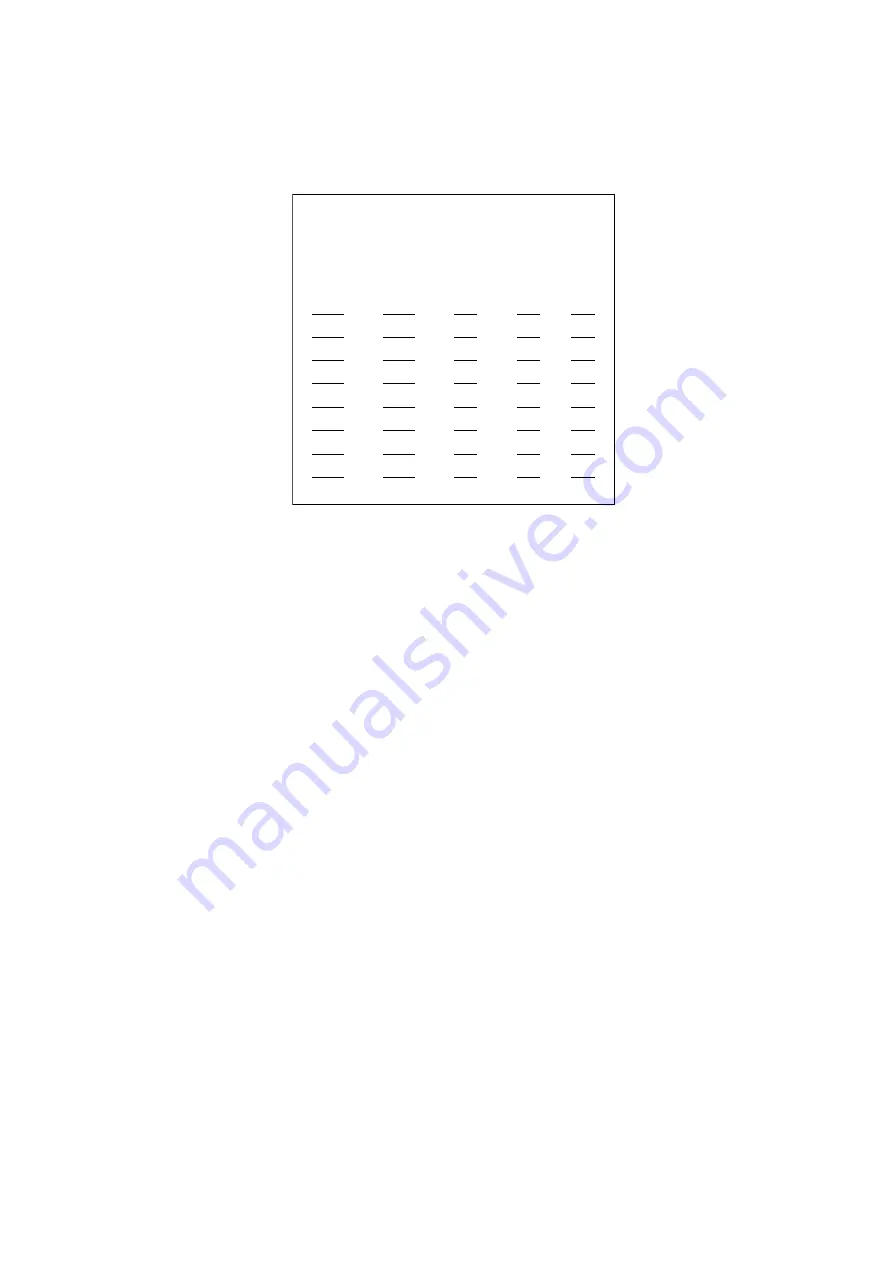
5.8.2 Alarm Export Form
Select<Alarm Export Form>at<Alarm Setup>menu: move the joystick up and down at<Alarm Setup>menu,
move the flashing cursor to 2, then enter<Alarm Export Form>by moving the joystick right or input number
2 directly. As figure 56 shows:
Figure 56
Alarm Export Form
Setting at<Alarm Export Form>:
1. Move the joystick up and down or input the page number directly, move the joystick right to enter probe
ID
.
2. Move the joystick up and down to select probe ID, turn the joystick clockwise to enter editing area.
3. Move the joystick up and down or input number directly to select camera ID, move the joystick right in
turns to enter a setup. The setting is the same as Camera setup.
4. Turn the joystick anticlockwise to go back probe editing, move the joystick left to go back page number
editing, then move the joystick left to exit the setting. If no item needs to be changed, move the joystick left
to go back the upper menu.
Note: The value of
AUX is corresponding to the alarm input port.
5.9 System Information
Select<System Info>from<System Setup Menu>: Move the joystick up and down at the<System Setup Menu>,
move the flashing cursor to 9, then enter<System Info>by moving the joystick right or input number 9
directly at the<System Setup Menu>; <System Info>includes 9 information: 1
.
System Config 2
.
Hard-
ware Connect 3
.
Video Switch 4
.
Video Loss 5
.
Probe Setup 6
.
Probe State 7
.
Fortify State 8
.
Fortify Record 9
.
Alarm Record, as figure 57 shows:
Note: it can be look over by pages if each submenu over one page. Move the joystick up and down to select
the page or input the page number directly.
Alarm Export Form
===================
Page: 001 Total:128
ID CAM PRE DWE AUX
0001 0001 000 001 000
0002 0002 001 002 001
0003 0003 002 003 002
0004 0004 003 004 003
0005 0005 004 005 004
0006 0006 005 006 005
0007 0007 006 007 006
0008 0008 007 008 007
15/7/2004 16:42:32


