-39-
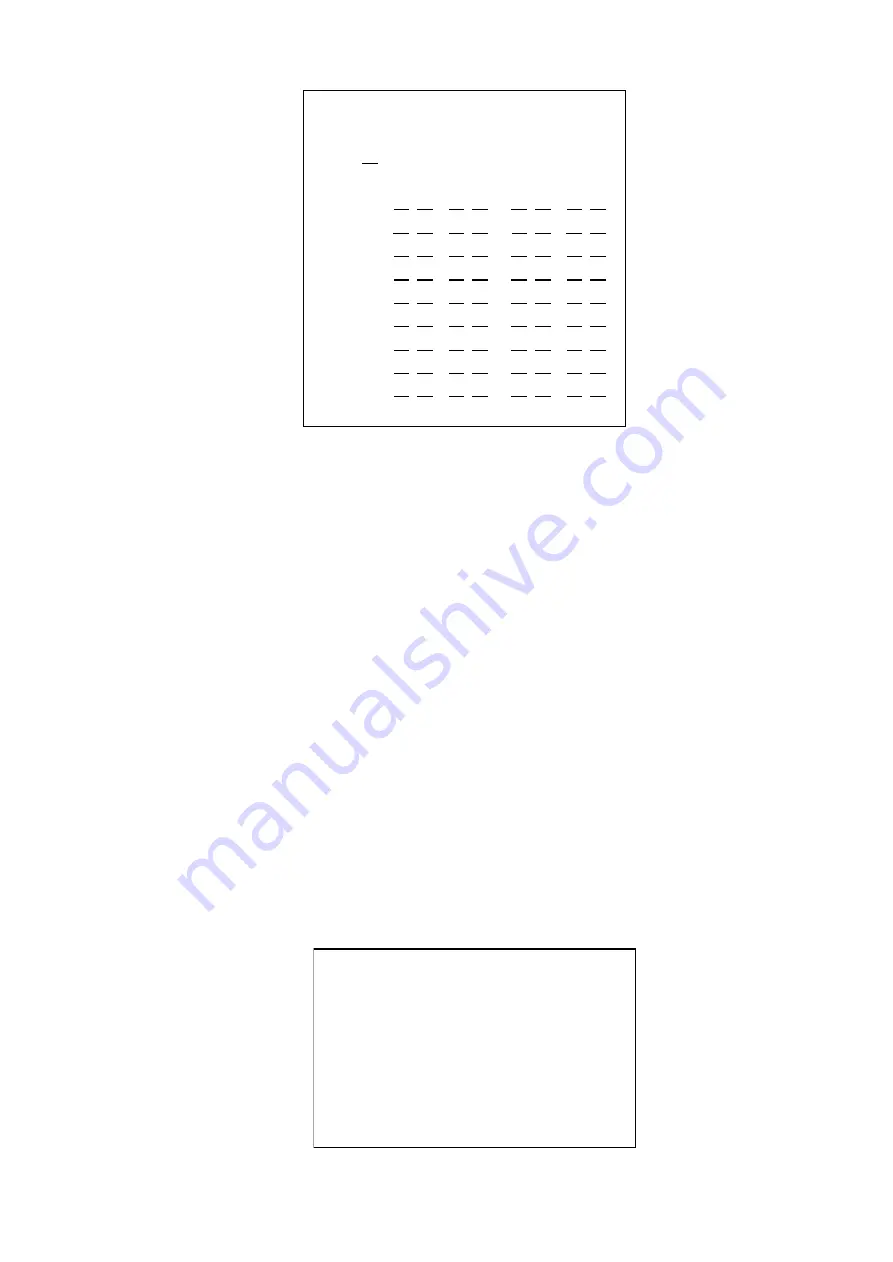
Figure 53 Fortify Form
Setting at<Fortify Form >:
1. Move the joystick up and down to select the Table, then move the joystick right to enter the setup.
2. Move the joystick up and down to select different area (1-64), while 8 areas per page. When the flashing
cursor moved to the front or end of each page, page can be turned automatic by moving the joystick up and
down or pressing PREV key and NEXT key.
3. After selected the area number, turn the joystick clockwise to enter the time setup of this area
’
s fortify.
4. Move the joystick left and right to select the position needed to be modified. Move the joystick up and
down or input the number directly to modify.
5. Turn the joystick anticlockwise to exit the setup. Repeat the upper steps if other item needs to be modified.
Note:
1. Time tables can
’
t cross within the same day and must be set
clockwise
2. Time setup can
’
t cross the other day: each day has a time tables, it can record any time period from 0:0 to
23:59.
3. The set items corresponding to the auto fortify area only be effective when area setup is auto fortify.
5.8 Alarm Setup
Select<Alarm Setup>from<System Setup Menu>: Move the joystick up and down at the<System Setup
Menu>, move the flashing cursor to 8, then enter<Alarm Setup>by moving the joystick right or input num-
ber 8 directly at the<System Setup Menu>; <Alarm Setup>includes two setups: 1. <Alarm Mode Setup>, 2.
<Alarm Export Form>. As figure 54 shows.
Figure
54
Alarm Setup
Fortify Form
===================
Table 01
Total: 10 sheets
Area Time Slice 1 Time Slice 2
01 00:01->02:30 13:00->06:30
02
14:00->07:30 13:00->06:30
03 15:00->08:30 13:00->06:30
04 16:00->09:30 13:00->06:30
05 17:00->10:30 13:00->06:30
06 18:00->11:30 13:00->06:30
07 19:00->12:30 13:00->06:30
08 20:00->13:30 13:00->06:30
09 20:00->13:30 13:00->06:30
15/7/2004 16:42:32
Alarm Setup
===================
1
.
Alarm Mode Setup
2
.
Alarm Export Form
0
.
Exit
15/7/2004 16:42:32


