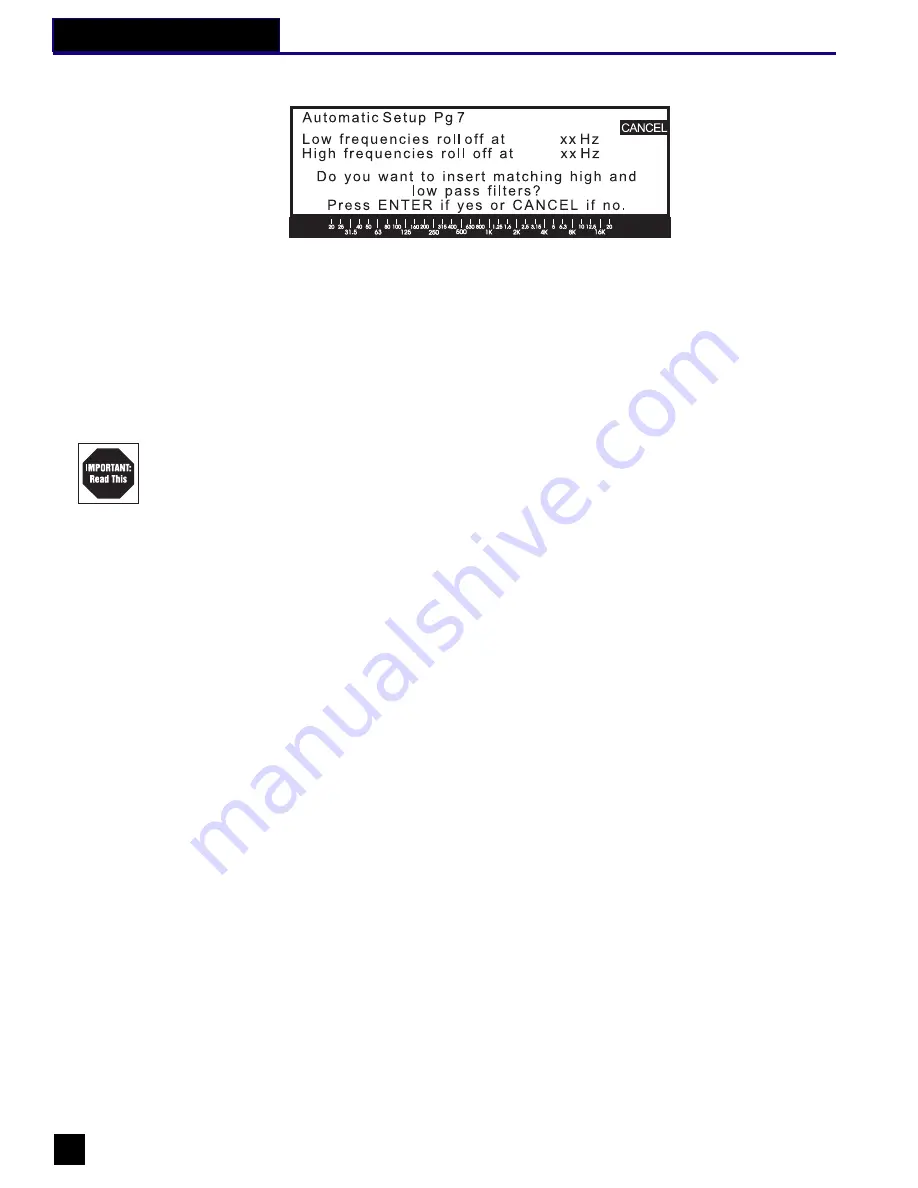
When the analysis is complete, the POWER-Q will display page 7:
The analysis shows the high and low frequency roll-offs inherent in your sound system, and this
screen allows the user the option of having the POWER-Q insert matching high pass and low
pass filters. Press ENTER to insert the HPF and LPF, or press CANCEL if you choose not to
insert roll-offs. Either ENTER or CANCEL will return you to the MAIN MENU. Note that if your
system response is quite flat from 20 Hz to 20 kHz, page 7 will not be displayed, and the
POWER-Q will return you to the MAIN MENU.
It is possible to interrupt the Automatic Room EQ function at any time by pressing the “CAN-
CEL” soft key. This will return you to the MAIN MENU. If you do this after the procedure
begins, but prior to its conclusion, the ROOM EQ response will be reset to zero boost/cut.
Important: Note that the AUTOMATIC ROOM EQ function will NOT add more than 6 dB boost
to any EQ slider.
Also, note that the Graphic EQ screen on the POWER-Q will NOT show any boost or cut of
sliders after the Automatic Room EQ function is completed. The Auto Room EQ settings are
shown only as a superimposed response curve, leaving the EQ sliders free for you to make
additional changes to the EQ (what we call Program EQ). The total EQ and filtering added by
the POWER-Q will produce an EQ curve that can be displayed by pressing the third soft key
(CURVE/CU A/CU B/CUA&B), which selects the curve display you desire (either channel singly,
both channels together, or no curve). Prior to adding (or when bypassing these features, using
the BYPASS screen from the MAIN MENU) any additional filtering or program EQ, this curve
will display the adjustments calculated by the POWER-Q to make the room/system response
as flat as possible at the reference microphone position. Different curve display options thus
can show the results of separate POWER-Q EQ adjustments or all adjustments together. For
more information, see Section 10.
Fig. 33: Automatic Room EQ, page 7.
28
Section 9: Auto Room EQ


