8.2 POWER-Q DIGITAL DELAY ADJUSTMENTS: Manual & Automatic.
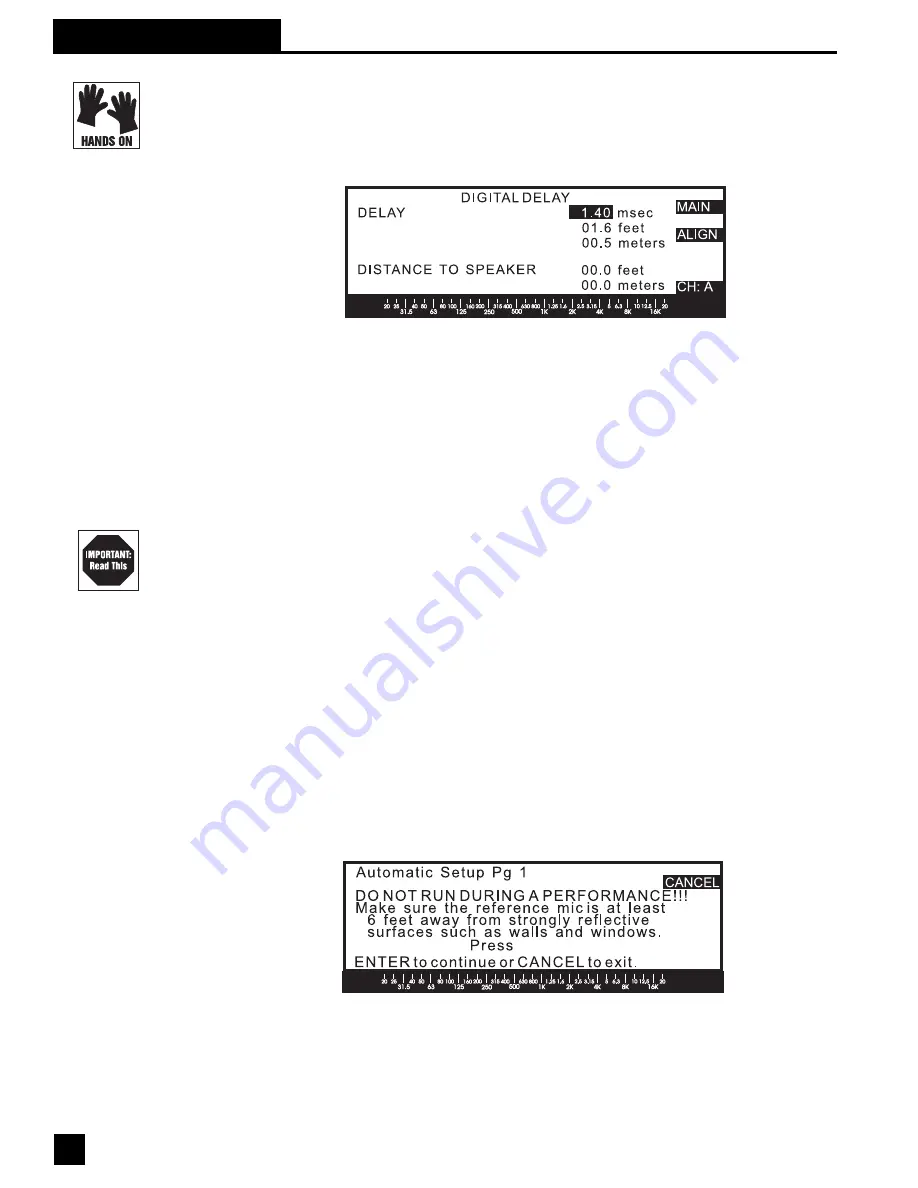
To access the POWER-Q digital
delay controls, choose #7 (“DIGITAL DELAY” from the MAIN MENU. Use the up and down arrow
keys to scroll the MAIN MENU screen, and the soft key or ENTER key to select DIGITAL DELAY.
You will be presented with the following screen:
You may set the delay time for channels A and B independently, either manually or automatically.
Manual adjustment. Delay time can be set in milliseconds, feet, or meters, with an adjustment
resolution of 20 microseconds (approximately 1 cm, or half an inch). Adjusting any one delay
parameter automatically changes the corresponding readout in the unselected measurement
units. The time unit display will always be the most accurate. (The distance displays are approxi-
mations based on the speed of sound at standard temperature and pressure conditions: 1127 feet/
second at 20 degrees C and 760 mm Hg atmospheric pressure.) The minimum delay time
allowable is 1.38 milliseconds per channel; the maximum is 83.2 milliseconds.
Note that manually adjusting the digital delay during audio program may cause discontinuities
(popping sounds) while the adjustments are made. This is unavoidable and will cease when the
delay is set.
Delay times may also be set manually from inside the POWER-Q REAL-TIME ANALYZER
window. Refer to Section 13.3 for more details.
Automatic Delay Alignment. If you have positioned a reference microphone for RTA analysis, or
Automatic Room EQ, the same microphone can be used by the POWER-Q to measure the
distance from the speaker to the microphone. (The qualities of the microphone are not an impor-
tant consideration for delay alignment, although they are for EQ adjustments). The POWER-Q will
then set the delay times for its two channels to allow the sound from each speaker to reach the
microphone at the same time, compensating for the different distances from the mic to the two
speakers.
To execute Automatic Delay Alignment, press the ALIGN soft key in the DIGITAL DELAY screen.
The following screen will appear:
Section 8: Digital Delay
20
Fig. 15: Auto Delay page
Fig. 16: Auto Delay Setup page 1


