19
Video Operations
Formats supported for importing
Format
PNG File (.png), 24-bit color
* The PNG alpha channel is not supported.
JPEG File (.jpg .jpeg), 24-bit color
Resolution
Maximum 1920 x 1080 pixels
File name
Maximum of 32 single-byte alphanumeric characters,
including the file extension
Importing
Importing from a USB flash drive
1.
Save the still image to the root directory of the USB
flash drive.
2.
Connect the USB flash drive containing the still
image to the USB MEMORY port.
1.
Insert the SD card (p. 7).
2.
[MENU] button
Ó
“Import”
Ó
select “Import Still File”,
and then press the [VALUE/CURSOR] knob.
3.
Select “Still Memory”, and then press the [VALUE/
CURSOR] knob.
4.
Turn the [VALUE/CURSOR] knob to select the memory
(1–8) to which the still image is to be saved, and then
press the [VALUE/CURSOR] knob.
¹
When “Safety Image” is selected, the still image is imported as a
still image that switches when you use the safety delay function
¹
The “*” mark is displayed for memories that contain a still image.
Importing a sample file
5.
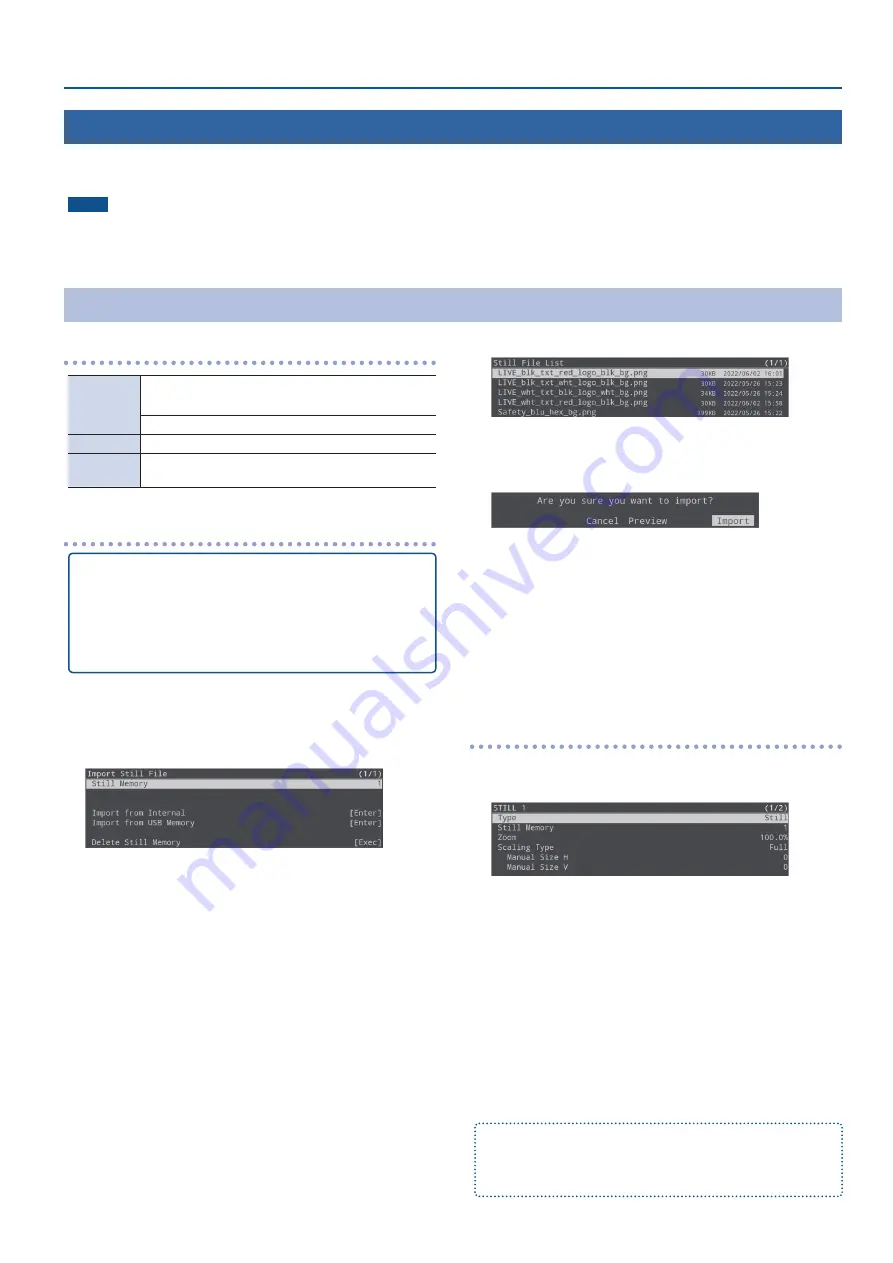
Turn the [VALUE/CURSOR] knob to select “Import from
Internal”, and then press the [VALUE/CURSOR] knob.
Importing from a USB flash drive
5.
Turn the [VALUE/CURSOR] knob to select “Import from
USB Memory”, and then press the [VALUE/CURSOR]
knob.
A list of the still images is shown.
6.
Turn the [VALUE/CURSOR] knob to select the still image
to import, and then press the [VALUE/CURSOR] knob.
A confirmation message appears.
If you want to cancel the operation, select “Cancel”.
¹
Select “Preview” to check the still image.
The still image is output to HDMI OUT PVW.
7.
Turn the [VALUE/CURSOR] knob to select “OK”, and then
press the [VALUE/CURSOR] knob.
When the operation is finished, the message “Completed” appears.
8.
Press the [MENU] button to quit the menu.
Using a still image for the [STILL 1] button’s video source
1.
[MENU] button
Ó
“Video Input”
Ó
select “STILL 1”, and
then press the [VALUE/CURSOR] knob.
2.
Select “Type”, and then press the [VALUE/CURSOR]
knob.
3.
Turn the [VALUE/CURSOR] knob to select “Still”, and
then press the [VALUE/CURSOR] knob.
4.
Turn the [VALUE/CURSOR] knob to select “Still Memory”,
and then press the [VALUE/CURSOR] knob.
5.
Turn the [VALUE/CURSOR] knob to select the still
image (1–8) to be used for STILL 1, and then press the
[VALUE/CURSOR] knob.
6.
Press the [MENU] button to quit the menu.
You can assign the function that switches the still image used for STILL 1
to the VIDEO FUNCTION buttons.
For details, see “Assigning a Function to the VIDEO FUNCTION Buttons”
Using Still Images and Videos
You can load (import) still images and videos from a USB flash drive to an SD card and use them as the video source for “STILL 1”.
You can also import and use still images (the sample files) contained in the internal memory of this unit to an SD card.
NOTE
¹
When using an SD card for the first time, you must format it using the SR-20HD (p. 7).
¹
Depending on the SD card/USB flash drive, recognition of the SD card/flash drive might take some time.
¹
Never turn off the power or remove the SD card/USB flash drive while the message “Processing...” is shown.
Importing Still Images
Содержание SR-20HD
Страница 1: ...Reference Manual 02 2022 Roland Corporation...
Страница 68: ...68 Appendix Dimensions 300 86 215 Unit mm...


