15
Video Operations
Split
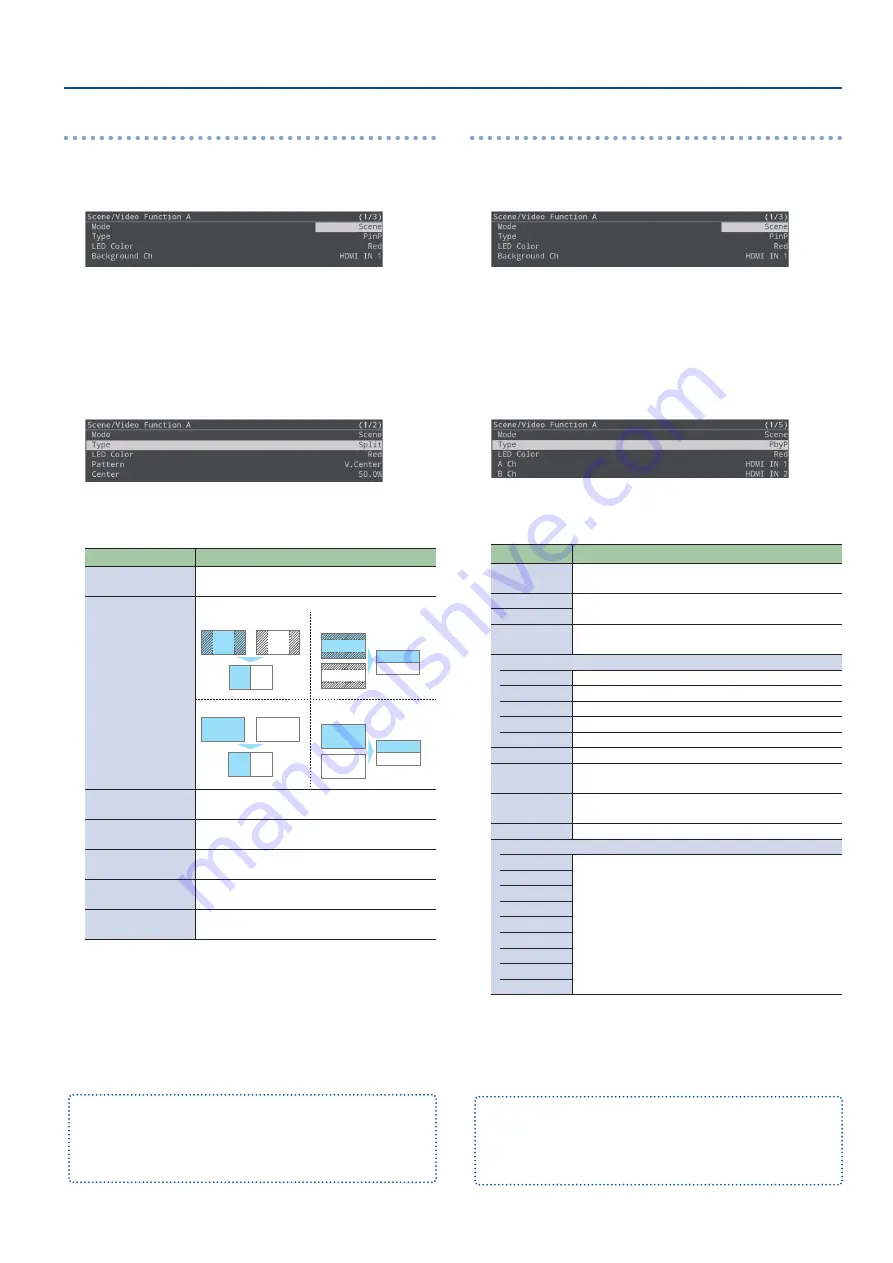
1.
[MENU] button
Ó
“Scene/Video Function”
Ó
“Scene/
Video Function A–E”
Ó
select “Mode”, and then press
the [VALUE/CURSOR] knob.
2.
Turn the [VALUE/CURSOR] knob to select “Scene”, and
then press the [VALUE/CURSOR] knob.
3.
Turn the [VALUE/CURSOR] knob to select “Type”, and
then press the [VALUE/CURSOR] knob.
4.
Turn the [VALUE/CURSOR] knob to select “Split”, and
then press the [VALUE/CURSOR] knob.
5.
Turn the [VALUE/CURSOR] knob to select a menu item,
and then press the [VALUE/CURSOR] knob.
Menu item
Explanation
LED Color
Specifies the illumination color of the SCENE
[A]–[E] button.
Pattern
Specifies the pattern for the split.
V.Center:
A B
B
A
B
A
B
A
B
A
B
A
B
A
B
A
B
A
H.Center:
A B
B
A
B
A
B
A
B
A
B
A
B
A
B
A
B
A
V.Stretch:
A B
B
A
B
A
B
A
B
A
B
A
B
A
B
A
B
A
H.Stretch:
A B
B
A
B
A
B
A
B
A
B
A
B
A
B
A
B
A
Center
Adjusts the position at which the screen is
divided.
A Ch (Left/Upper)
Specifies the video that is shown in the left or
upper side.
B Ch (Right/Lower)
Specifies the video that is shown in the right or
lower side.
A-Center
(*1)
Adjusts the horizontal/vertical position of the
video that’s shown in the left or upper area.
B-Center
(*1)
Adjusts the horizontal/vertical position of the
video that’s shown in the right or lower area.
(*1) This is valid if “Pattern” is set to “V.Center” or “H.Center”.
2.
Turn the [VALUE/CURSOR] knob to change the value
of the setting, and then press the [VALUE/CURSOR]
knob.
3.
Press the [MENU] button to quit the menu.
Still images assigned to the [STILL 2] button (p. 21) cannot be
reduced in size.
If you use “V.Stretch” or “H.Stretch” to show a still image, the stretch
effect might not apply correctly depending on the resolution of the
still image or the display region of the screen.
Picture-by-picture (PbyP)
1.
[MENU] button
Ó
“Scene/Video Function”
Ó
“Scene/
Video Function A–E”
Ó
select “Mode”, and then press
the [VALUE/CURSOR] knob.
2.
Turn the [VALUE/CURSOR] knob to select “Scene”, and
then press the [VALUE/CURSOR] knob.
3.
Turn the [VALUE/CURSOR] knob to select “Type”, and
then press the [VALUE/CURSOR] knob.
4.
Turn the [VALUE/CURSOR] knob to select “PbyP”, and
then press the [VALUE/CURSOR] knob.
5.
Turn the [VALUE/CURSOR] knob to select a menu item,
and then press the [VALUE/CURSOR] knob.
Menu item
Explanation
LED Color
Specifies the illumination color of the SCENE [A]–[E]
button.
A Ch
Specifies the video for each window (screen A,
screen B).
B Ch
Layer Order
Specifies the overlay order (foreground/ background)
for screen A and screen B.
A Ch
Position H
Adjusts the horizontal position of the screen A.
Position V
Adjusts the vertical position of the screen A.
Aspect
Specifies the aspect ratio of the screen A.
Size
Adjusts the size of the screen A.
Cropping H
Adjusts the horizontal size of the screen A.
Cropping V
Adjusts the vertical size of the screen A.
View Pos H
Adjusts the horizontal position of the video shown in
the screen A.
View Pos V
Adjusts the vertical position of the video shown in
the screen A.
View Zoom
Adjusts the zoom of the video shown in the screen A.
B Ch
Position H
Adjusts screen B in the same way as screen A.
Position V
Aspect
Size
Cropping H
Cropping V
View Pos H
View Pos V
View Zoom
6.
Turn the [VALUE/CURSOR] knob to change the value of
the setting, and then press the [VALUE/CURSOR] knob.
7.
Press the [MENU] button to quit the menu.
Still images assigned to the [STILL 2] button (p. 21) cannot be
reduced in size.
If the still image is shown, a portion of the still image is cut out and
shown, instead of making it smaller to match the size of the screen A
or screen B.
Содержание SR-20HD
Страница 1: ...Reference Manual 02 2022 Roland Corporation...
Страница 68: ...68 Appendix Dimensions 300 86 215 Unit mm...


