


82 | Installing NICs in CX xx55, DX, EX xx60, and SteelFusion Core Appliances
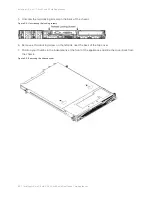
Installing NICs in 1U CX xx55 and EX xx60 appliances
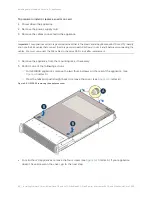
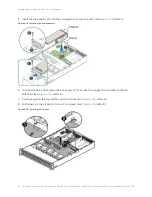
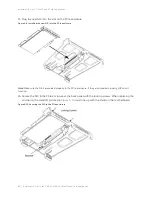
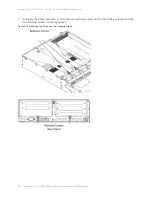
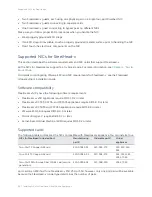
10. Remove the two securing screws on the face plate of the filler bracket on the rear panel of the PCIe
enclosure.
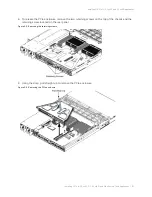
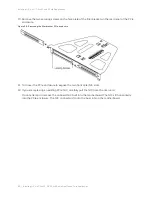
Figure 5-6. Removing the filler bracket PCIe enclosure
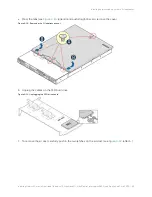
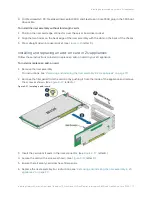
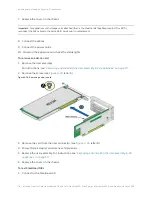
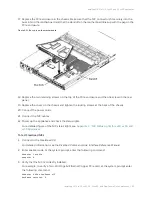
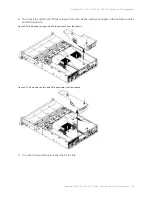
11. Turn over the PCIe enclosure to expose the two horizontal NIC slots.
12. If you are replacing an existing PCIe NIC, carefully pull the NIC from the riser card.
Do not attempt to remove the onboard NIC built into the motherboard. The NICs fit horizontally
into the PCIe enclosure. The NIC connectors fit into the bus slots on the motherboard.
Содержание SteelCentral AppResponse 2170
Страница 8: ...8 Contents ...
Страница 16: ...16 Getting Started Troubleshooting ...
Страница 166: ...166 NIC Status Lights for xx60 xx55 and xx50 Appliances NICs for Series xx50 platforms ...