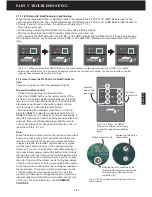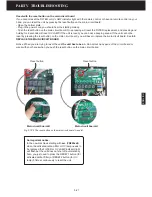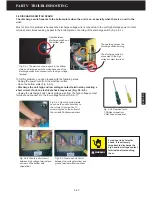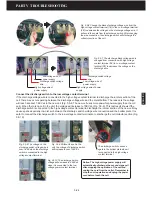
Phillips
screwdriver
Nut screwdriver
5.5mm/ M3
PART VI HOW TO REPLACE THE PARTS
6-5
ENGLISH
6.4 REPLACE THE POWER COTACT BOARD
If you have to replace the unit epoxy resin power contact board, you can
follow the below steps.
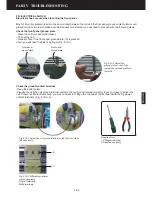
- Stop the operation and unplug the power plug from the electrical outlet.
- Open the bottom plate.
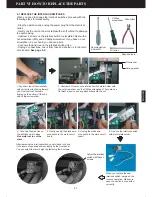
- Discharge the unit high and low voltage contact terminals by
creating a short circuit. If not, an electrical shock may occur (See the
below picture).
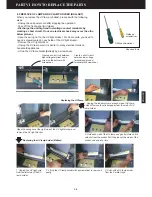
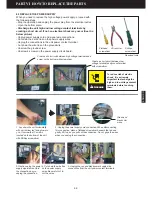
- Unplug the high and low and voltage wire connections of the power
supply. Disconnect the discharge voltage wire connection.
- Open screws on the power contact board.
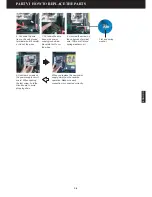
1. Unplug the red high
voltage wire connection of
the power supply, pushing
down the terminal with
screwdriver.
2. Unplug the black low
voltage wire connection of
the power supply.
There are flat and
spring washers
beneath the nut.
3. Unplug the black voltage
wire connection of the
discharge switch.
4. Open 2 nuts at the left
side of the board with
Phillips and nut screwdriver.
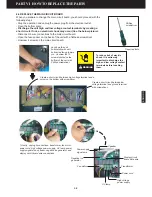
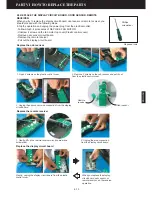
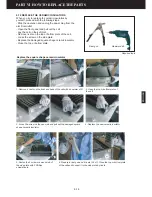
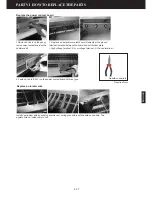
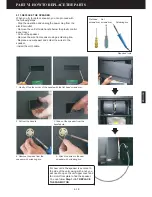
Required tools
Create a short circuit between low
voltage terminal and ground terminal
with screwdriver.
Create a short circuit between high voltage terminal and a
screw on the bottom with screwdriver.
WARNING
To reduce risk of electric
shock, it is extremely
important to discharge the
high and low voltage contact
terminals before touching
them.
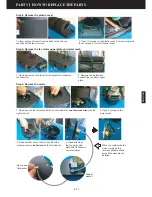
Lay down the unit
horizontally with unit
bottom led facing toward
you. Unscrew the 10
screws located on the
bottom of the unit with
Phillips screwdriver.
Содержание R200T
Страница 69: ...ENGLISH NOTES ...


