26
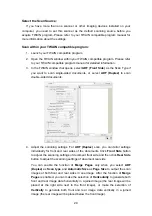
Go to the
Filename
,
File Format
,
Scan
,
Save
and
Adjust
page to configure
scan profile settings. Click
OK
to save the settings. The scan profile button you
created will be displayed in the window.
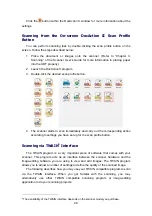
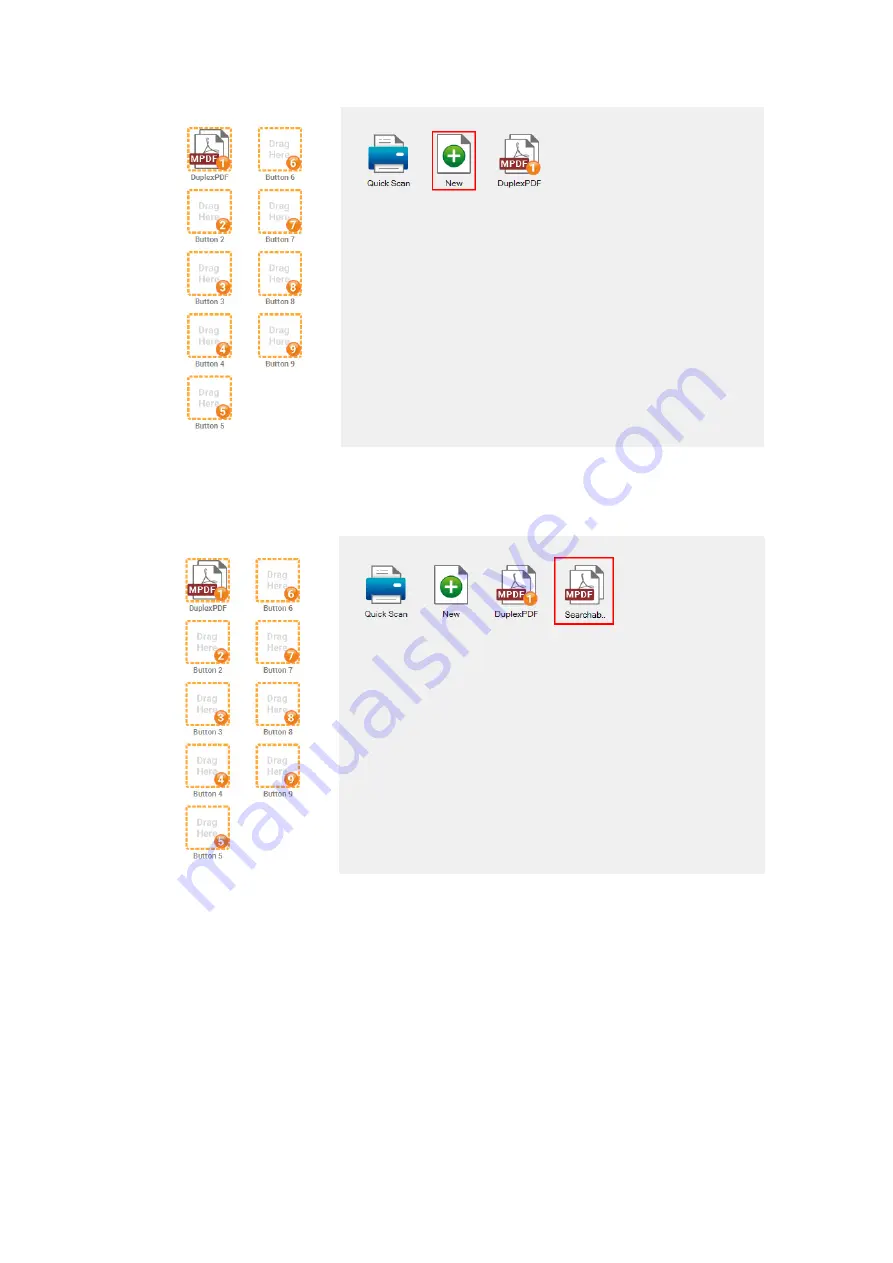
4. You can assign the scan profile button to be the function button displayed in the
left side of the window.
The button number underneath corresponds to the
function number displayed on the scanner front panel. There are different ways
to assign the scan profile button:
Right-click the scan profile button and select
Set to button
in the pop-up
menu that opens. Select the desired number from the pop-up list to assign
the scan profile to be the button displayed in the left side of the window.
Содержание SmartOffice PS286 Plus
Страница 2: ...Scanner User s Guide SmartOffice ...
Страница 44: ...40 Dimensions W x D x H 263 x 128 x 148 mm 10 36 x 5 02 x 5 83 ...
Страница 48: ...9 The TWAIN Interface 9 Scan Settings 9 How to Scan ...
Страница 92: ...9 Program Window Overview 9 Configure Scan Profiles 9 Scan Images with Scan Profiles ...
Страница 123: ...9 Scanner Connection 9 Standby Mode ...
Страница 128: ...Scanner User s Guide SmartOffice ...
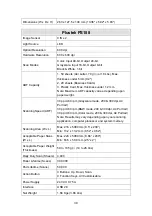
Страница 162: ...32 Net Weight 1 66 Kgs 3 66 Lbs Dimensions W x D x H 263 x 128 x 148 mm 10 36 x 5 02 x 5 83 ...
Страница 166: ...9 Button Configuration Window Overview 9 Common Scan Parameters 9 Using the Scanner Buttons ...

