168
7
Se
ttings
13
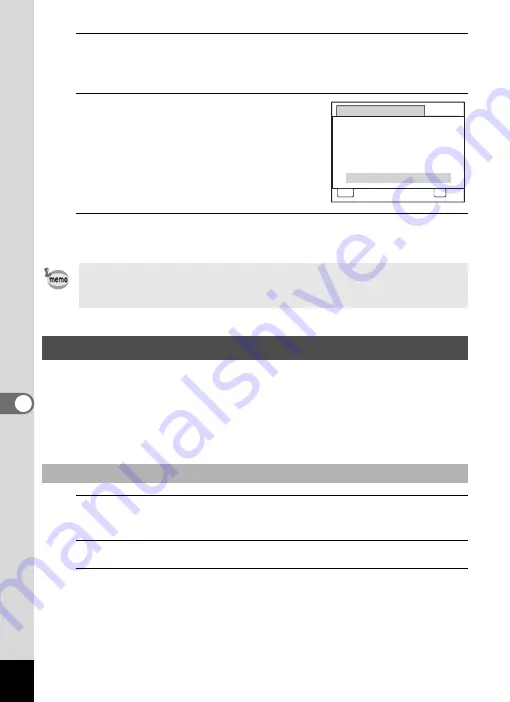
Change the time in the same way as in Steps 8 to 12.
If you select [12h] in Step 7, the camera automatically switches the
display between am and pm corresponding to the time.
14
Press the four-way controller (
3
)
to select [Settings complete].
15
Press the
4
button.
The date and time settings are saved.
The date and time selected in “Setting the Date and Time” (p.46) and
“Changing the Date and Time” (p.166) serve as the Hometown date and
time. If you set the Destination city using the World Time function, you
can display the Destination date and time when taking pictures in a
different time zone.
1
Press the
3
button in
Q
mode.
The [
W
Setting] menu appears.
2
Use the four-way controller (
23
) to select [World Time].
3
Press the four-way controller (
5
).
The [World Time] screen appears.
When you press the
4
button in Step 15, the camera clock is reset to
0 seconds. To set the exact time, press the
4
button when the time
signal (on the TV, radio, etc.) reaches 0 seconds.
Setting the World Time
To Set the Destination
MENU
D a t e A d j u s t m e n t
C a n c e l
D a t e F o r m a t
D a t e
Ti m e
S e t t i n g s c o m p l e t e
0 0 : 0 0
mm dd yy
/
/
24h
0 1 / 0 1 / 2 0 11
OK
O K
Содержание 15936
Страница 30: ...Memo 28...
Страница 50: ...Memo 48...
Страница 51: ...2 Common Operations Understanding the Button Functions 50 Setting the Camera Functions 55...
Страница 64: ...Memo 62...
Страница 136: ...Memo 134...
Страница 158: ...Memo 156...
Страница 159: ...6 Recording and Playing Back Sound Recording Sound Voice Recording 158 Adding a Voice Memo to Images 161...
Страница 165: ...7 Settings Camera Settings 164...
Страница 182: ...Memo 180...
Страница 183: ...8 Connecting to a Computer Connecting to a Computer 182 Using the Provided Software 186...
Страница 196: ...Memo 194...
Страница 220: ...Memo 218 9 Appendix...


