138
5
Edi
ting and Pr
inting
Ima
ges
4
Press the
4
button.
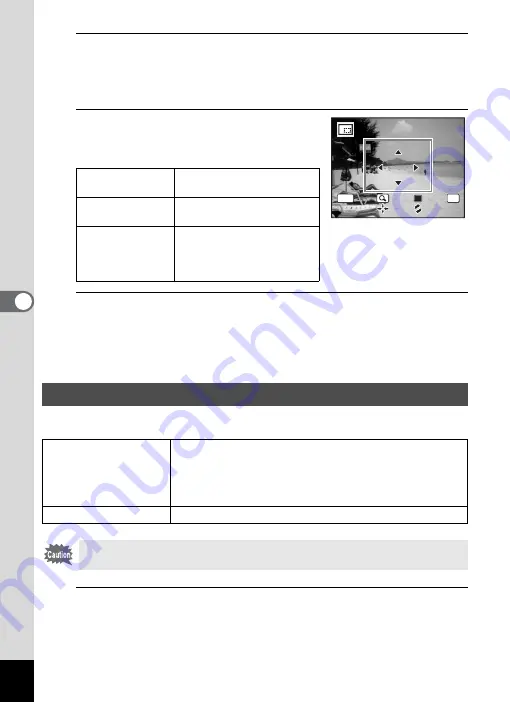
The cropping screen appears.
The largest size of cropped image is shown with a green frame on the
screen. The cropped image cannot be larger than this cropping frame size.
5
Choose the cropping area.
Change the size and/or position of the
cropping frame by the following operations.
6
Press the
4
button.
The cropped image is saved with a new file name.
The number of recorded pixels is selected automatically according to
the size of the cropped image.
This function lets you perform special processing on the selected image.
1
In
Q
mode, use the four-way controller (
45
) to
choose the image you want to edit.
Zoom button
Changes the size of the
cropping frame.
Four-way controller
(
2345
)
Moves the cropping frame
up, down, left and right.
Green button
Rotates the cropping frame.
• The button is displayed only
when the cropping frame
can be rotated.
Processing Images with the Miniature/HDR Filter
o
Miniature Filter
Processes the subjects in the images to look like miniature
objects.
The processed image is saved with the recorded pixels of
f
(2592×1944). Images of size
f
or smaller cannot be
processed.
p
HDR Filter
Processes image into HDR-like image.
Movies and images taken with another camera cannot be processed
using the Miniature/HDR Filter function.
OK
MENU
C a n c e l
C a n c e l
O K
O K
O K
Содержание 15936
Страница 30: ...Memo 28...
Страница 50: ...Memo 48...
Страница 51: ...2 Common Operations Understanding the Button Functions 50 Setting the Camera Functions 55...
Страница 64: ...Memo 62...
Страница 136: ...Memo 134...
Страница 158: ...Memo 156...
Страница 159: ...6 Recording and Playing Back Sound Recording Sound Voice Recording 158 Adding a Voice Memo to Images 161...
Страница 165: ...7 Settings Camera Settings 164...
Страница 182: ...Memo 180...
Страница 183: ...8 Connecting to a Computer Connecting to a Computer 182 Using the Provided Software 186...
Страница 196: ...Memo 194...
Страница 220: ...Memo 218 9 Appendix...


