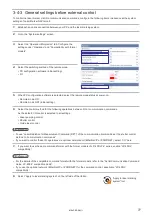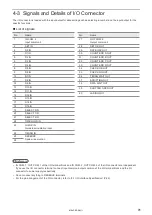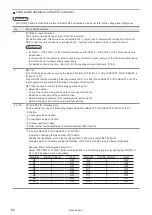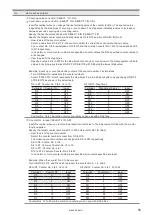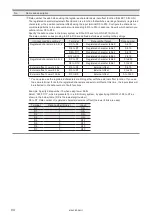
79
12.
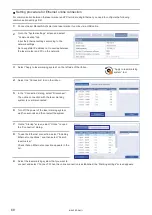
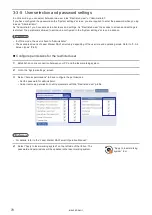
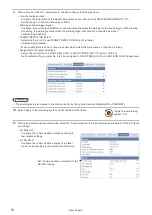
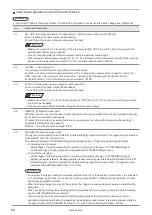
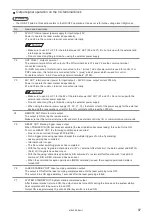
Under “Command format”, specify the communication command format.
• Start code: STX (initial setting) / None
• Include command in response: ON (initial setting) / OFF
• Sub-command for response data: Any single byte character of ASCII code from 01(HEX) to 7F(HEX) can be
specified.
• Initial setting of positive response code: A
• Initial setting of negative response code: E
• Initial setting of read request response code: A
• Encoding for non-ASCII characters: Shift-JIS (initial setting) / GB 2312 / Latin-1
ンㄆㄇㄆㄓㄆㄏㄆ
• For details of the command format, refer to the “Serial Communication Command Guide”.
• The command format settings here are applied to the standard communication format, but not applied to LP-400/LP-V
compatible format. For the details of the compatible mode with the former models of LP-400/LP-V series, refer to the
“Serial Communication Command Guide: LP-400/V compatible mode”.
• “Encoding for non-ASCII characters” is used for the European special characters, Japanese and Chinese characters
which cannot be specified by the ASCII codes. Select “Shift JIS” for Japanese characters and “GB 2312” for simplified
Chinese. If you use European special characters such as À or Ä, select “Latin-1”.
13.
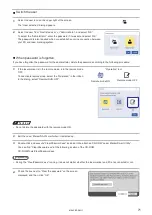
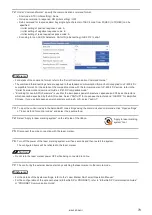
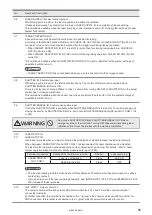
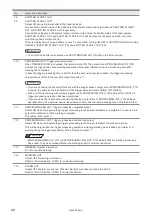
To input the control codes in the barcode/2D code strings using the communication commands, click “Open settings”
of “Input method for control codes” and select the input method.
14.
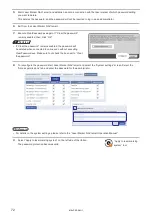
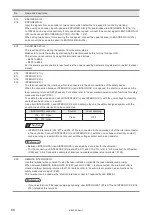
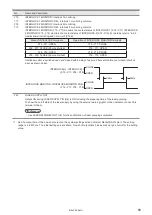
Select “Apply to laser marking system” on the left side of the ribbon.
15.
Disconnect the online connection with the laser marker.
16.
Turn off the power of the laser marking system, wait five seconds and then restart the system.
The configured items will be reflected to the laser marker.
ワㄐㄕㄊㄆ
• Do not turn the laser marker power OFF while being connected to online.
17.
The control by the external device starts by switching the laser marker to the remote mode.
ンㄆㄇㄆㄓㄆㄏㄆ
• For the details of the System settings, refer to the “Laser Marker NAVI smart Operation Manual”.
• For the configuration of the optional network (EtherNet/IP or PROFINET), refer to “EtherNet/IP Communication Guide”
or “PROFINET Communication Guide”.
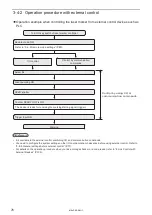
“Apply to laser marking
system” tool
ME-LPRF-SM-11
Содержание LP-RF Series
Страница 17: ...1 Product Overview ME LPRF SM 11...
Страница 34: ...2 Laser Marker Installation ME LPRF SM 11...
Страница 57: ...3 Operation Method ME LPRF SM 11...
Страница 81: ...4 External Control Using I O ME LPRF SM 11...
Страница 126: ...5 External Control by Communication Commands ME LPRF SM 11...
Страница 135: ...6 Link Control with External Devices ME LPRF SM 11...
Страница 160: ...7 Maintenance ME LPRF SM 11...
Страница 186: ...Troubleshooting ME LPRF SM 11...
Страница 214: ...Index ME LPRF SM 11...
Страница 216: ...216 USB 32 55 W Warning 205 ME LPRF SM 11...
Страница 217: ......


