34
www.Observint.com
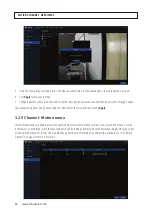
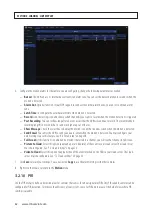
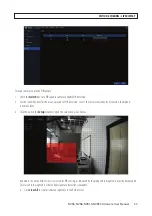
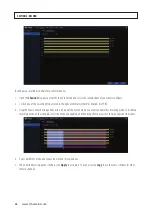
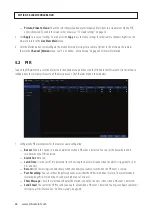
b. Select areas for PIR sensing as follows:
*
To enable PIR sensing in an area of the screen where it is not being sensed, drag a rectangle with the mouse across
the area, starting on a segment that is not highlighted, where PIR sensing is disabled.
*
To disable PIR sensing in an area of the screen where it is being sensed, drag a rectangle with the mouse across the
area, starting on a segment highlighted in orange, where PIR sensing is enabled.
c. Right click on the
Setup
screen to return to the PIR menu, and then click
Apply
to retain your settings.
4. Click the
Alarm
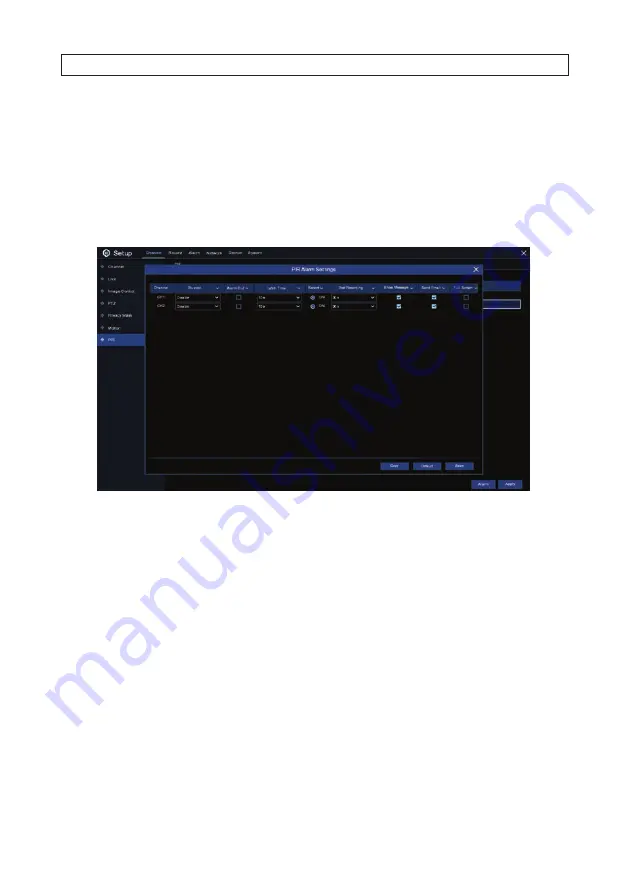
button at the bottom of the screen to open the PIR Alarm menu.
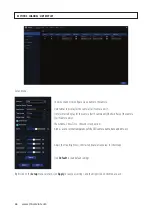
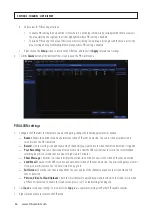
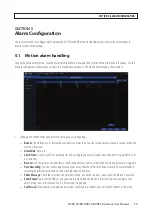
PIR ALARM settings
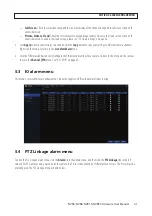
5. Configure the PIR alarms for the camera you are configuring, change the following parameters as needed:
—
Buzzer
: Enable this option to sound an alarm tone when a PIR event is detected. You can set the buzzer duration in
seconds when the PIR is detected.
—
Record
: Click the settings icon and choose which channel(s) you want to record when the motion detection is triggered.
—
Post Recording
: You can set how long after an event occurs that the NVR will continue to record. The recommended
recording length is 30 seconds but it can be set higher up to 5 minutes.
—
Show Message
: Check the select box to display the motion icon on the live view screen when a PIR event is detected.
—
Send Email
: You can let the NVR to send you an auto-email when a PIR event is detected. You must configure your email
settings to use this feature. See “6.3 Email setup” on page 48.
—
Full Screen
: Check the select box to expand the live view display of the channel to expand to full screen when a PIR
event is detected.
—
Picture, Video to Cloud Uploads
: Check the select box(es) to upload images and/or videos to the Cloud service when
a PIR event is detected. To enable the cloud service, please see
“7.2 Cloud settings” on page 53
.
6. Click
Save
to retain your settings. You can also click
Copy
to use your alarm settings with other PIR capable cameras.
7. Right click the mouse to return to the PIR menu.
SECTION 3: CHANNEL - LIVE DISPLAY
Содержание NVR4
Страница 6: ...vi www Observint com NOTES...
Страница 24: ...18 www Observint com Status Icons SECTION 2 INITIAL SETUP...
Страница 92: ...86 www Observint com The Search result is shown in the chart SECTION 9 SEARCH PLAYBACK BACKUP AND TAGS...
Страница 104: ...98 www Observint com 11 2 2 Live View 11 2 3 Remote Playback SECTION 11 HDVISION MOBILE APP FOR REMOTE ACCESS...
Страница 106: ...100 www Observint com 11 2 6 Remote Setting 11 2 7 Alarm SECTION 11 HDVISION MOBILE APP FOR REMOTE ACCESS...
Страница 107: ...101 NVR4 NVR8 NVR16 NVR32 Firmware User Manual SECTION 11 HDVISION MOBILE APP FOR REMOTE ACCESS 11 2 8 Device Manager...
Страница 114: ...108 www Observint com SECTION 12 USING VIDEO PLAYER SOFTWARE...


